Summer is synonymous with vacations and beach trips! As the sun shines brighter and the days get longer, it’s the perfect time to let your nails join the fun with vibrant Summer Nail Art beach-inspired designs. Whether you’re lounging on the sand or taking a dip in the ocean, these nail art ideas will add a splash of color to your summer look. Here are some fun and achievable nail art designs that complement the beachy vibes, complete with step-by-step instructions and product recommendations.
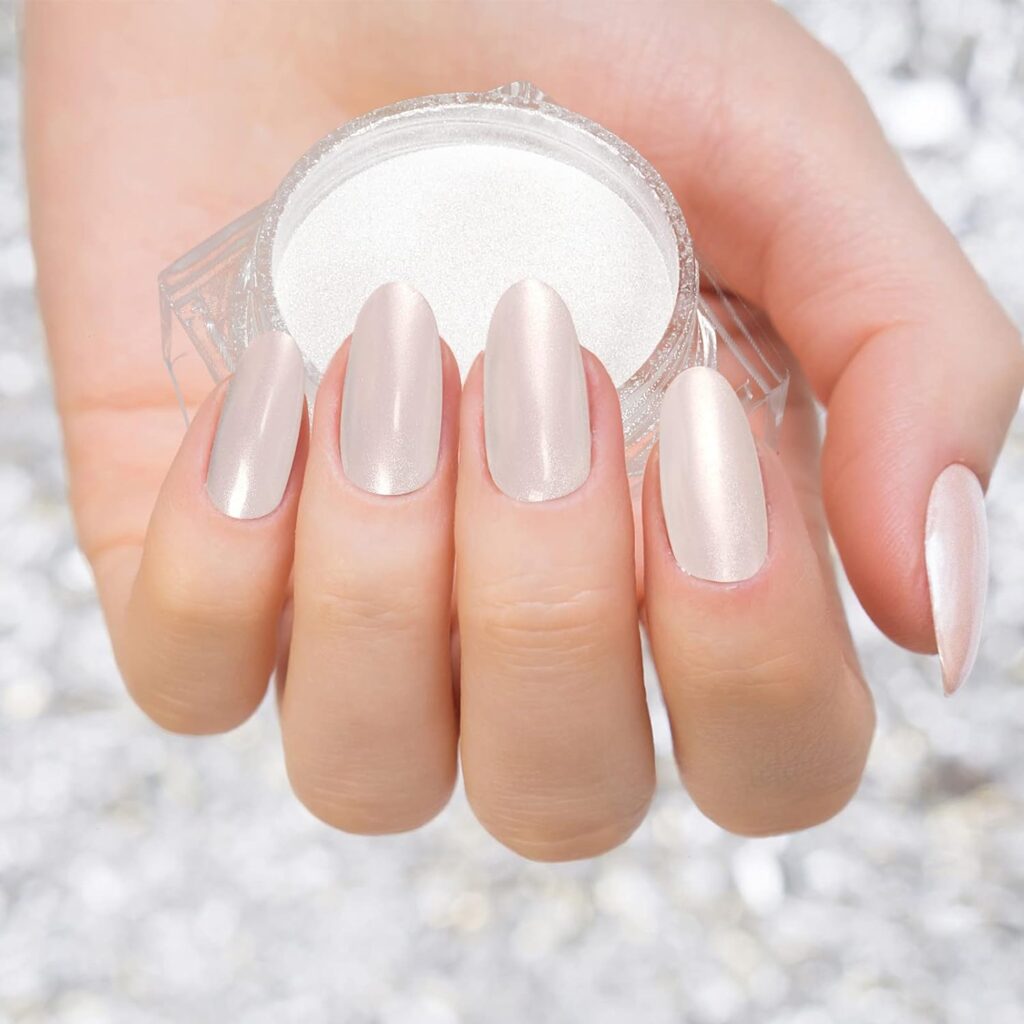
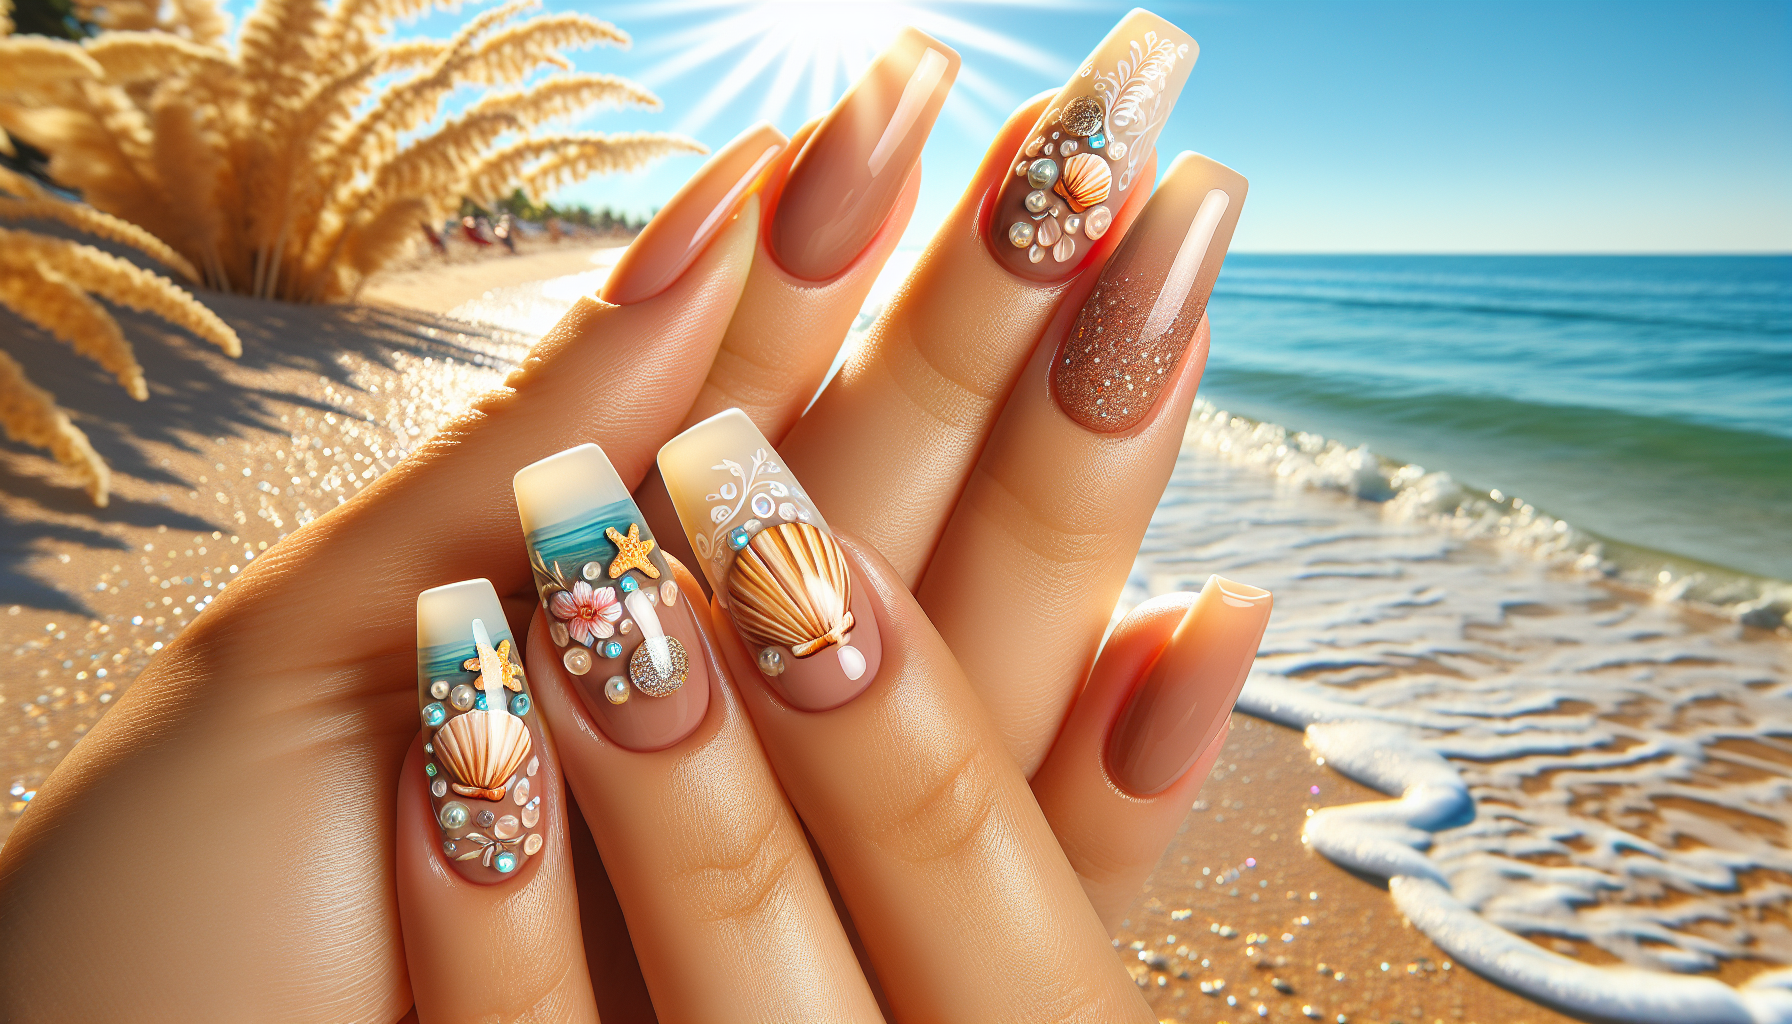
1. Seashell Chic Summer Nail Art
Step-by-Step Instructions:
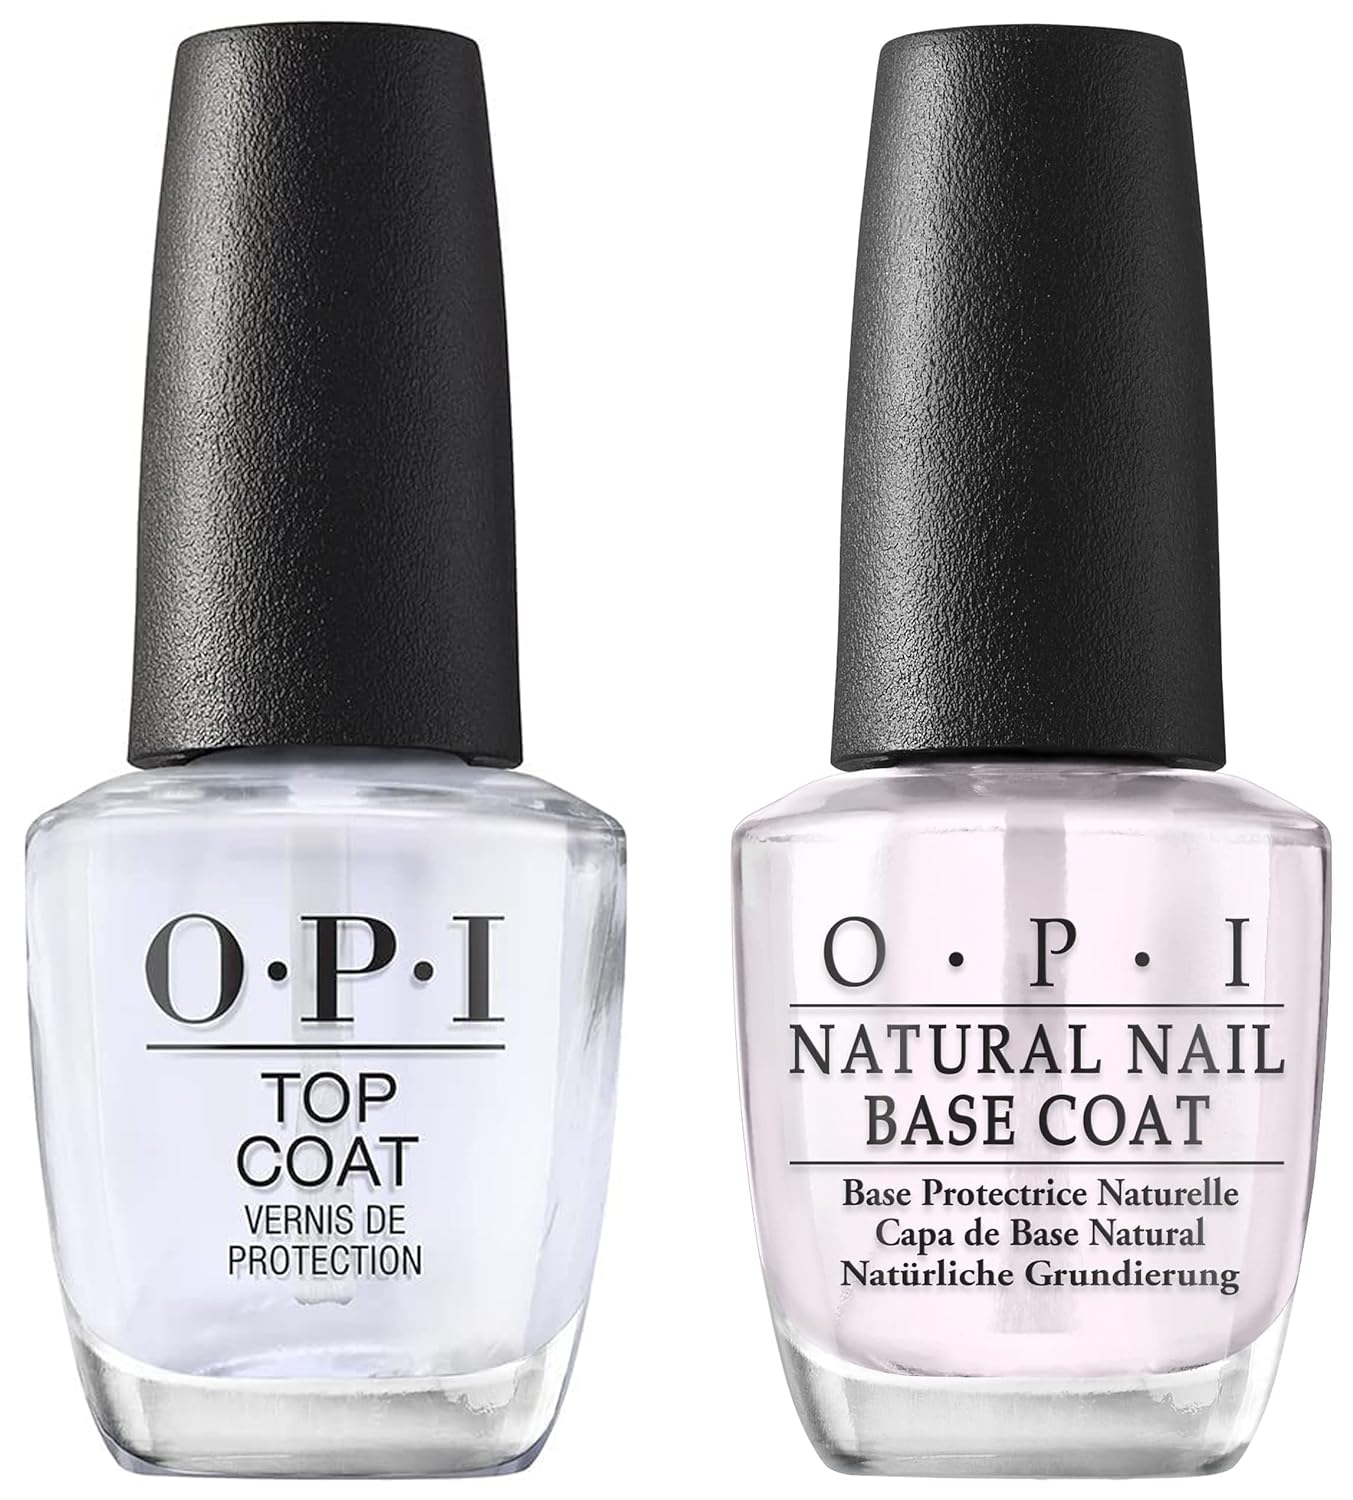
- Prep Your Nails: Start by cleaning and trimming your nails. Apply a base coat to protect your nails and ensure the polish lasts longer. We recommend using OPI Natural Nail Base Coat.
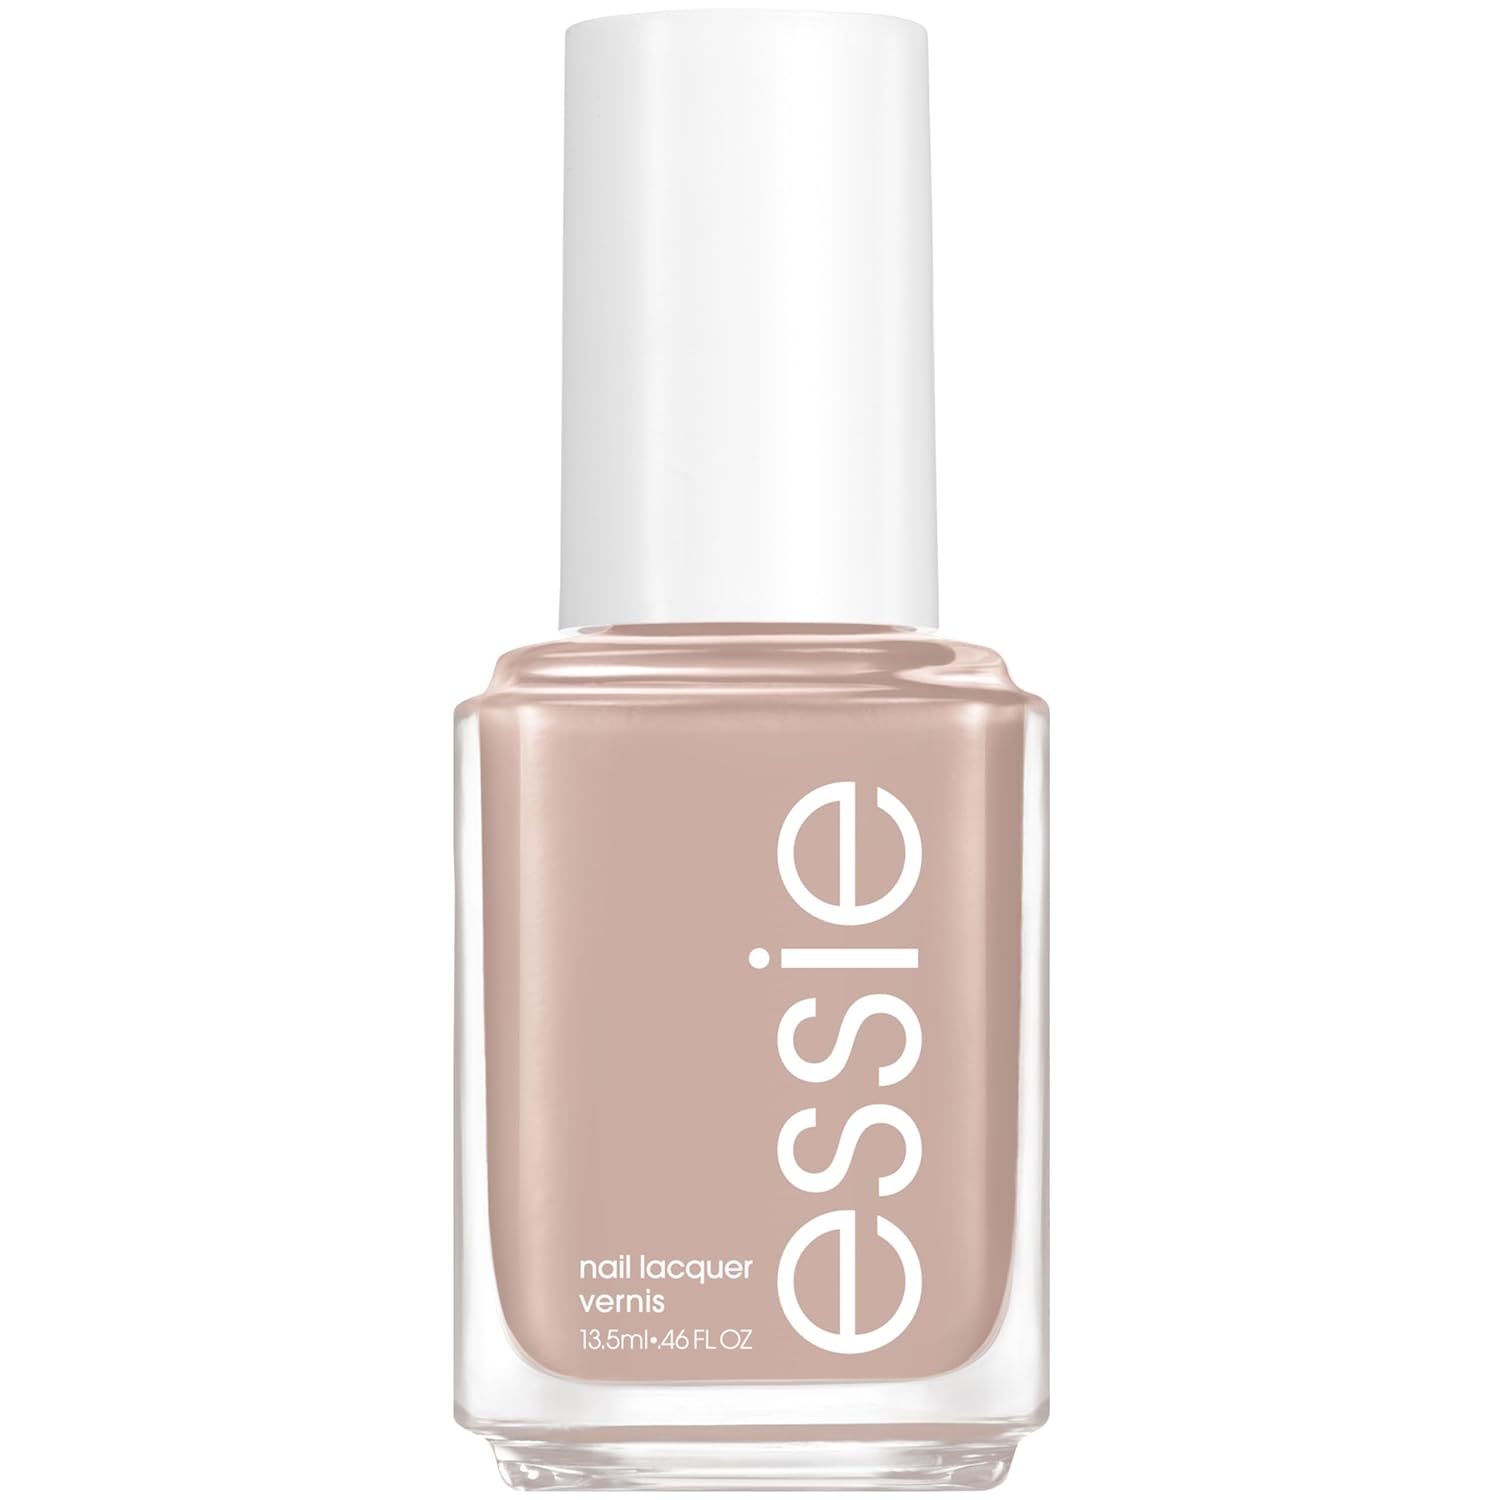
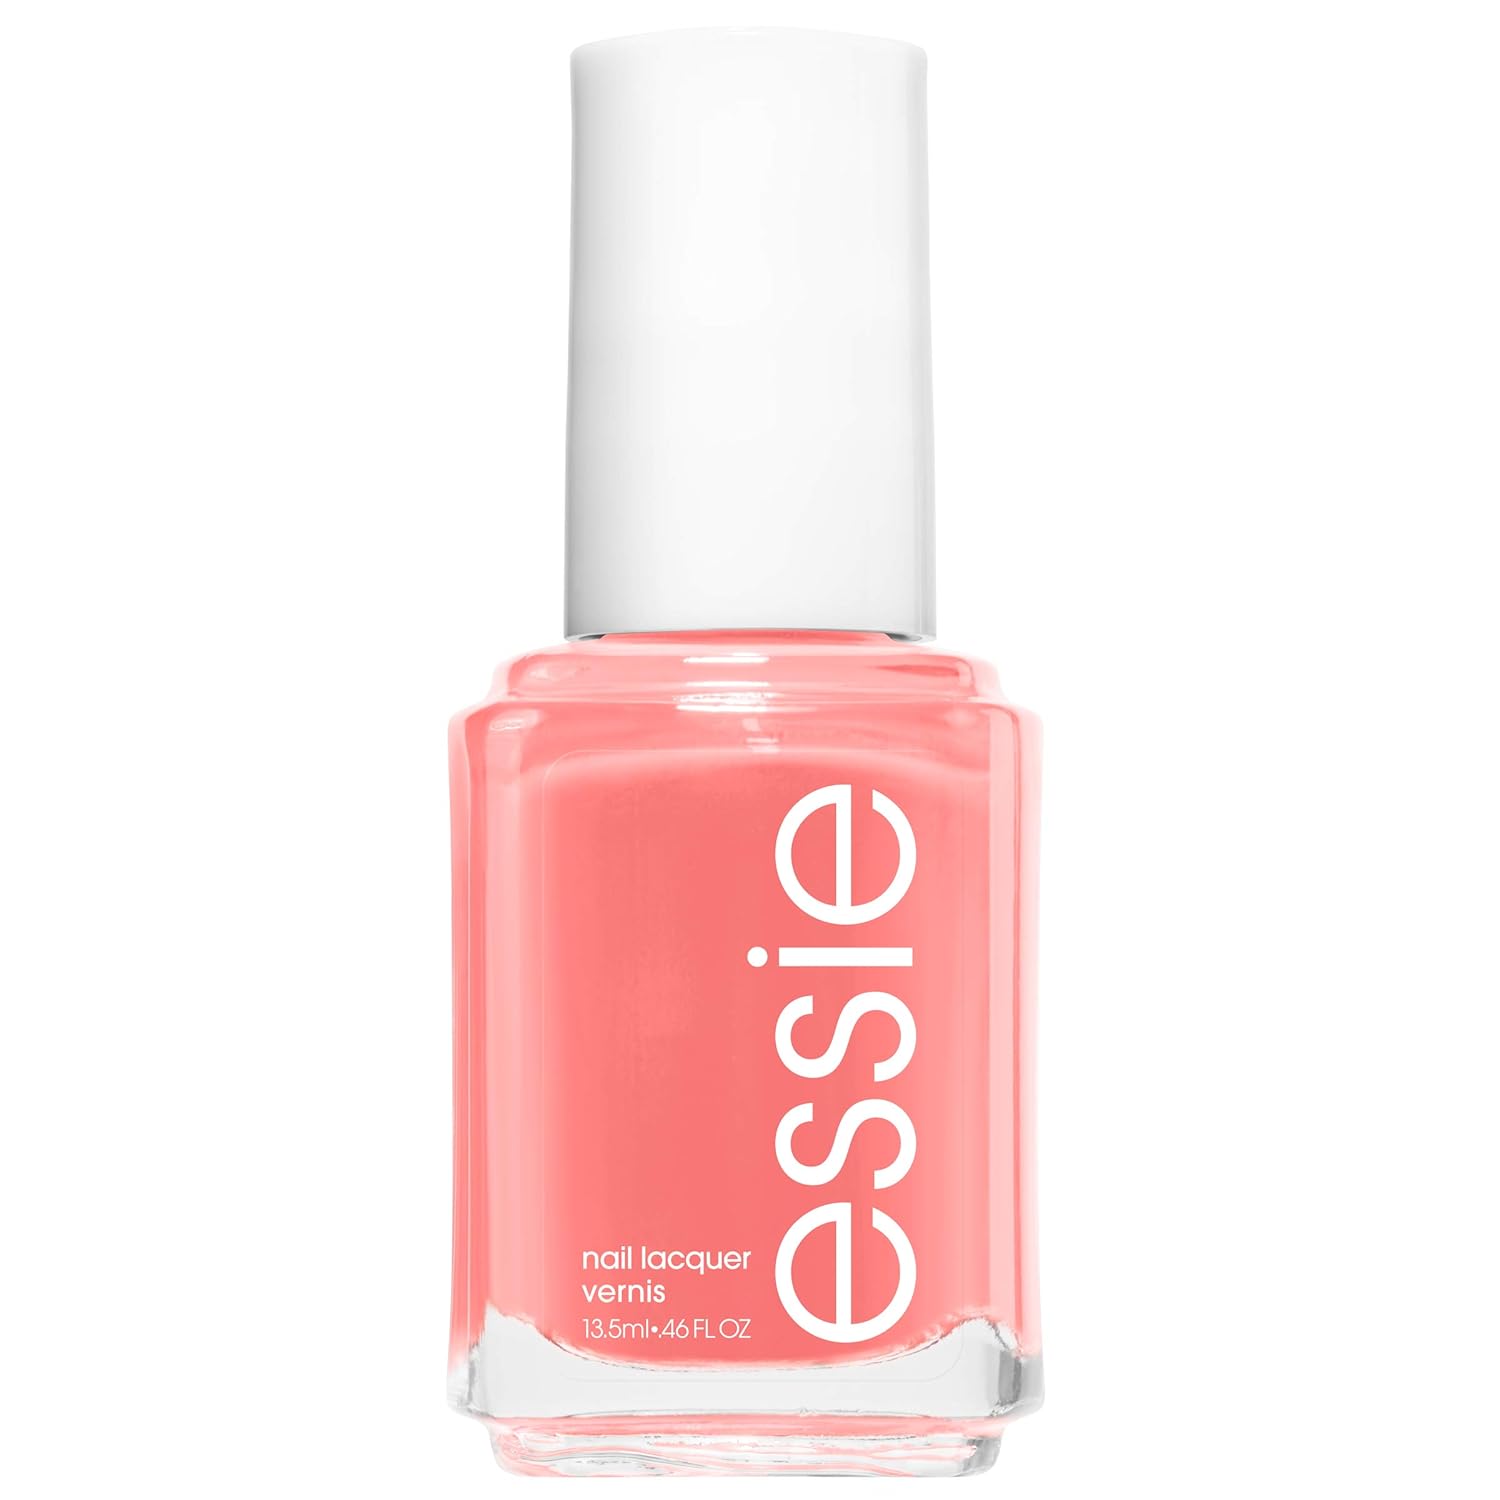
- Apply Base Color: Paint your nails with a sandy beige color. Try Essie Nail Polish in “Sand Tropez”.
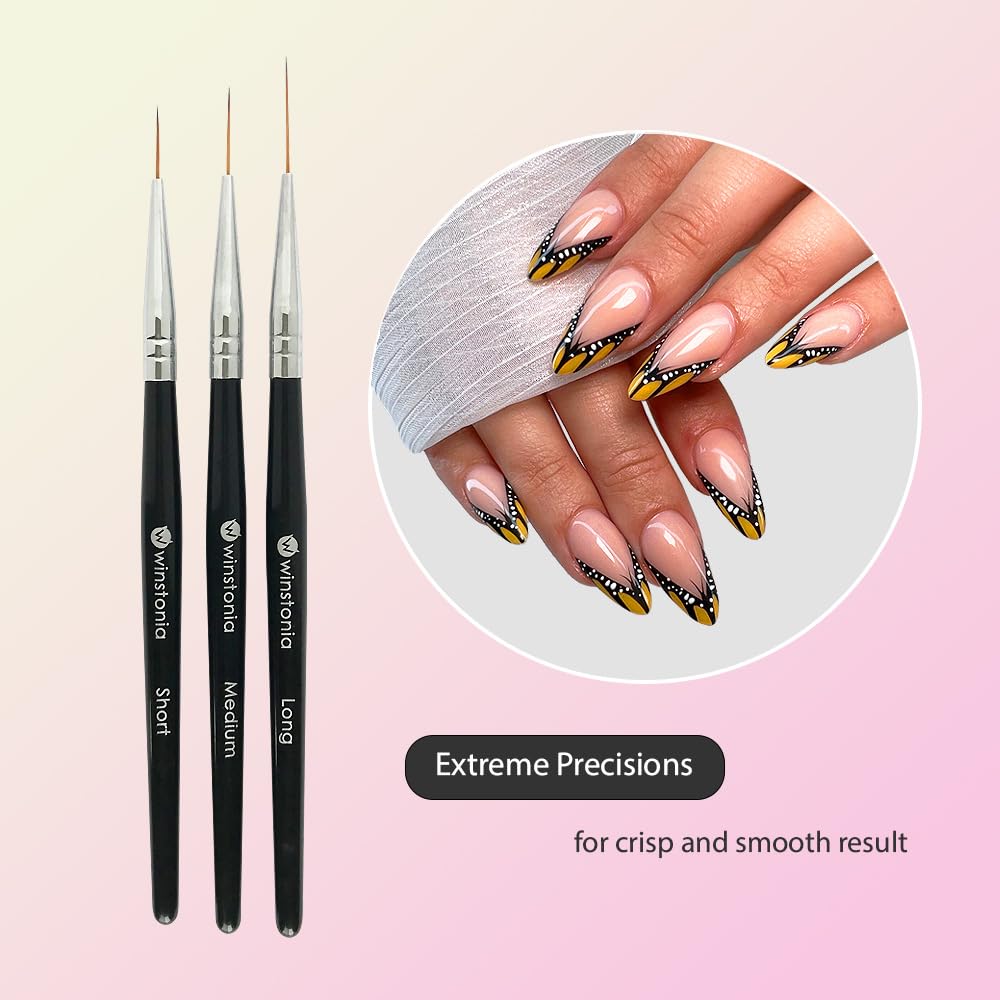
- Create Seashell Patterns: Using a thin nail art brush, draw seashell shapes with a white polish. KISS Pro Thin Nail Art Brush works great for this.
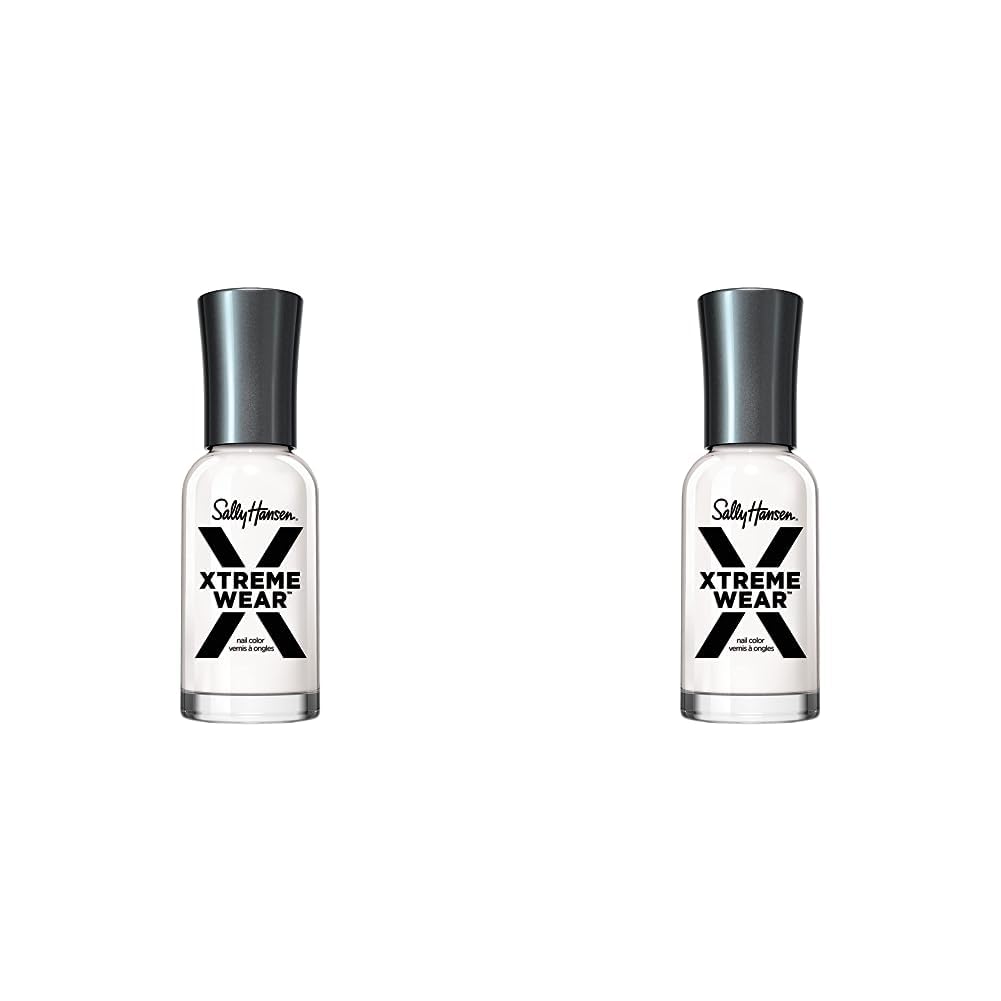
- Add Details: Fill in the seashell shapes with a shimmering polish like Sally Hansen Xtreme Wear in “White On”.
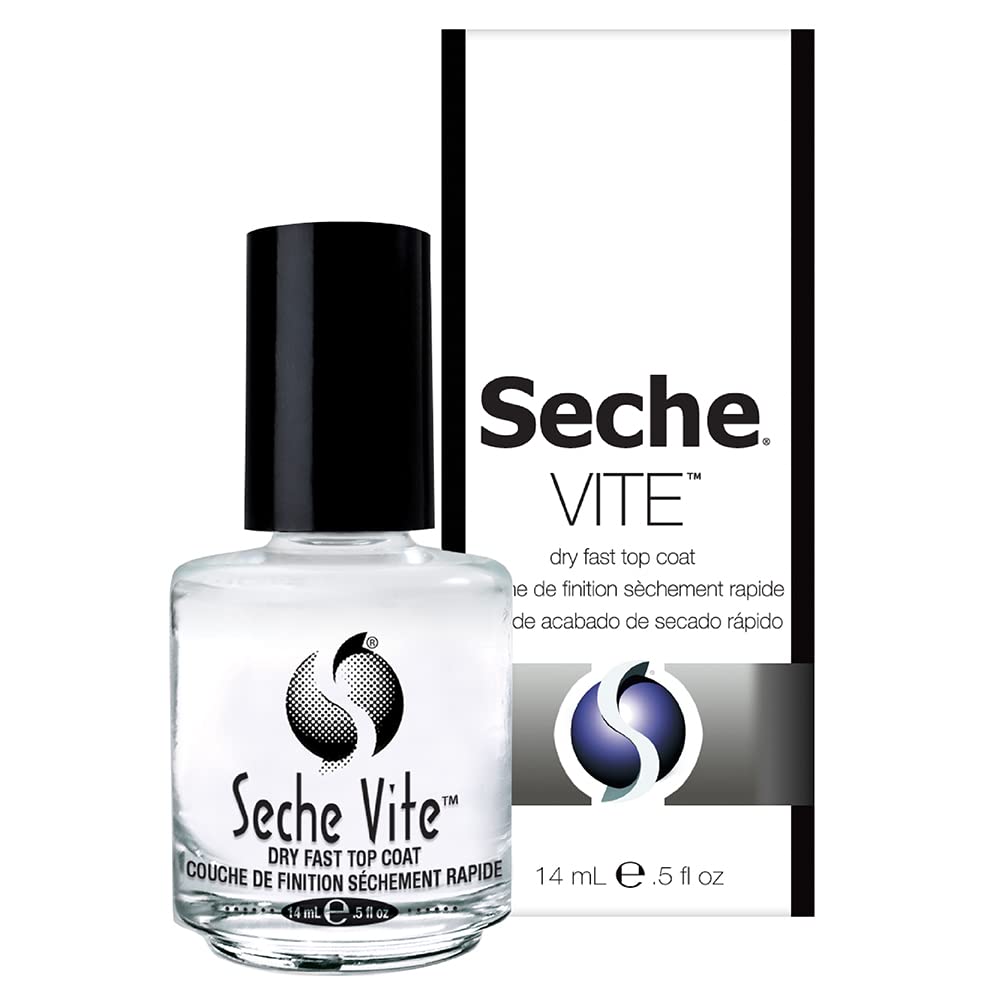
- Seal the Design: Finish with a top coat to add shine and protect your artwork. Seche Vite Dry Fast Top Nail Coat is a reliable choice.
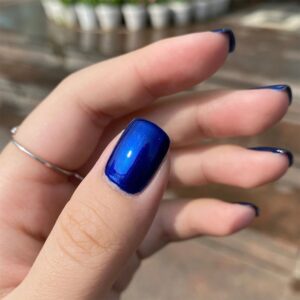
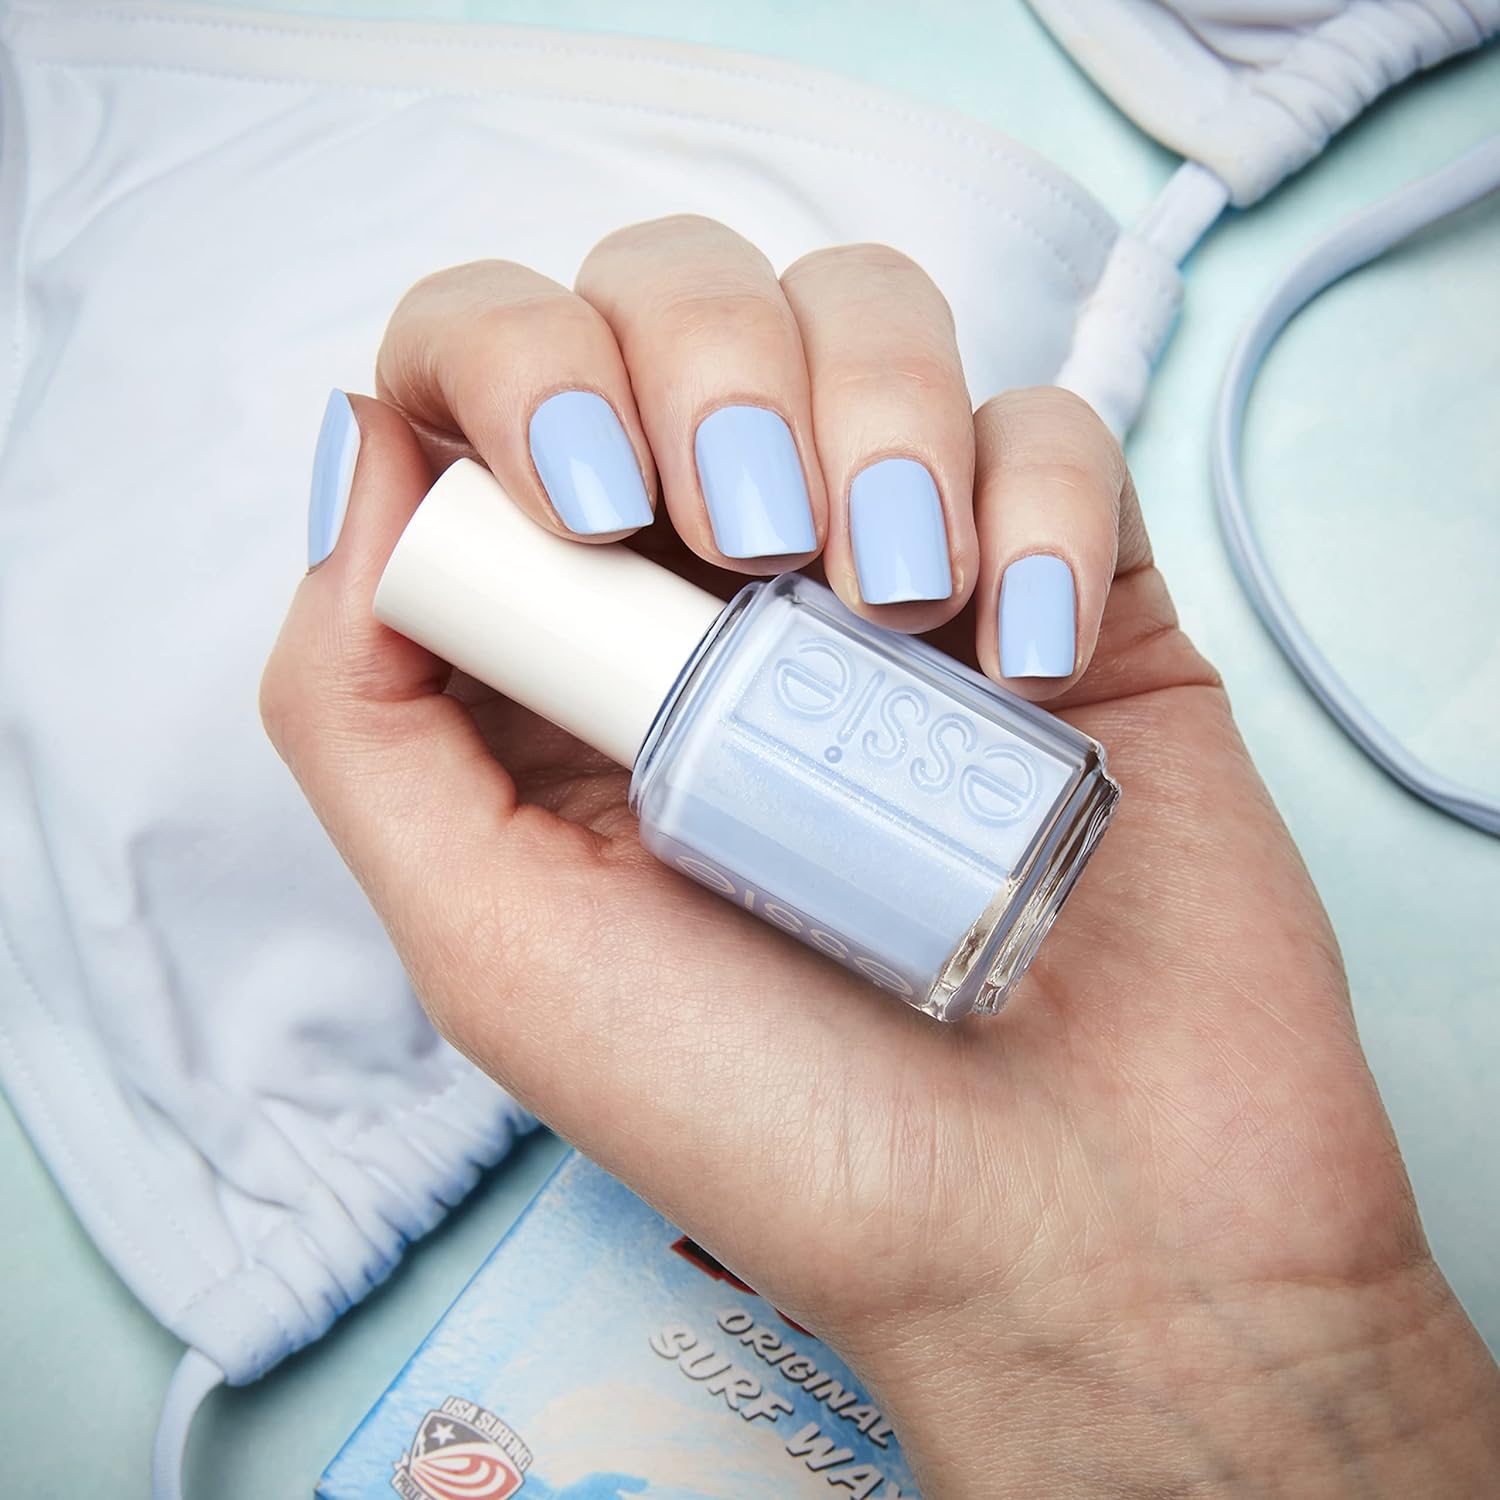
2. Ocean Waves Summer Nail Art
Step-by-Step Instructions:
- Prep Your Nails: Start with a base coat. OPI Natural Nail Base Coat is recommended.
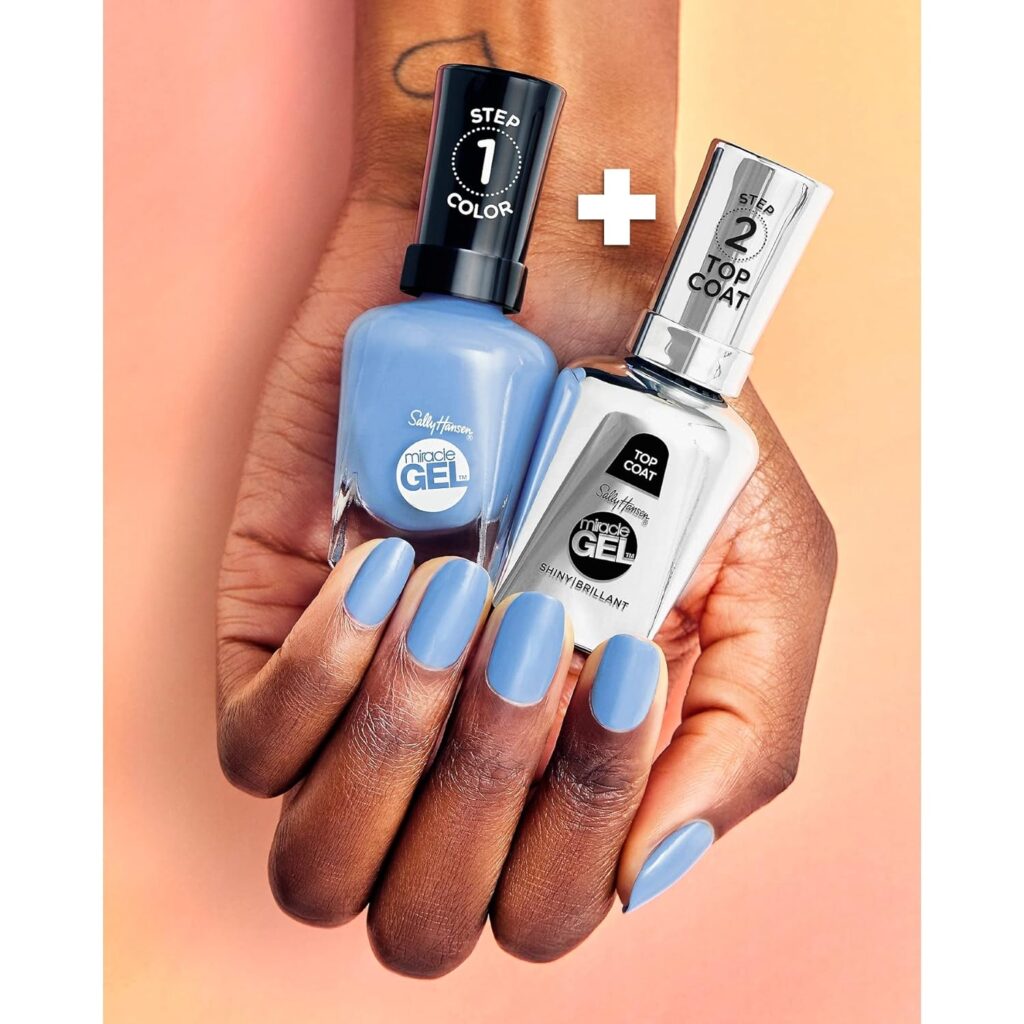
- Apply Base Color: Choose a light blue nail polish. Essie Nail Polish in “Bikini So Teeny” is perfect for this.
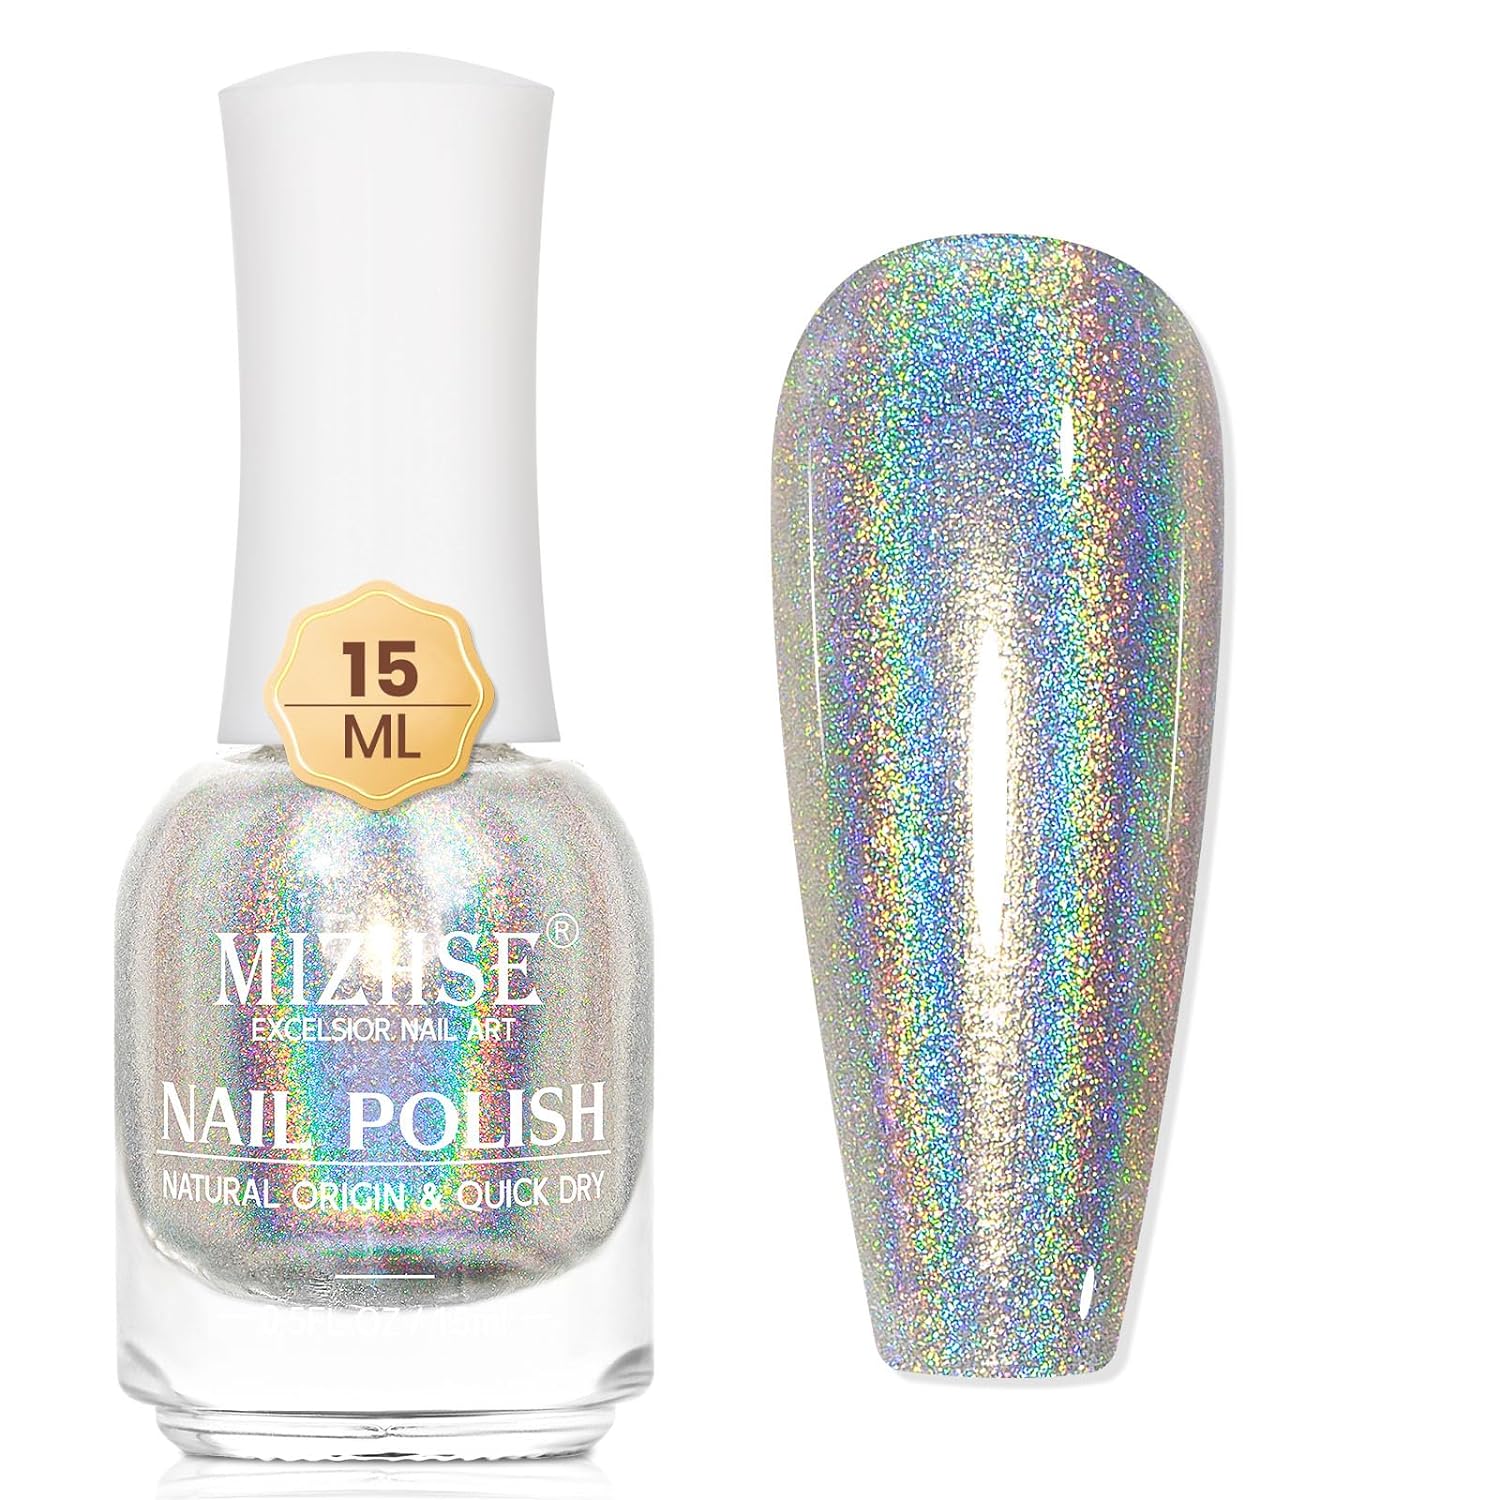
- Create Wave Designs: Using a darker blue polish and a nail art brush, draw wavy lines across your nails. ILNP Ultra Holographic Nail Polish in “Arctic Lights” will add a stunning effect.
- Blend the Colors: For a more realistic look, use a sponge to blend the colors slightly where they meet.
- Top Coat: Seal your design with a top coat. Seche Vite Dry Fast Top Nail Coat ensures durability and shine.
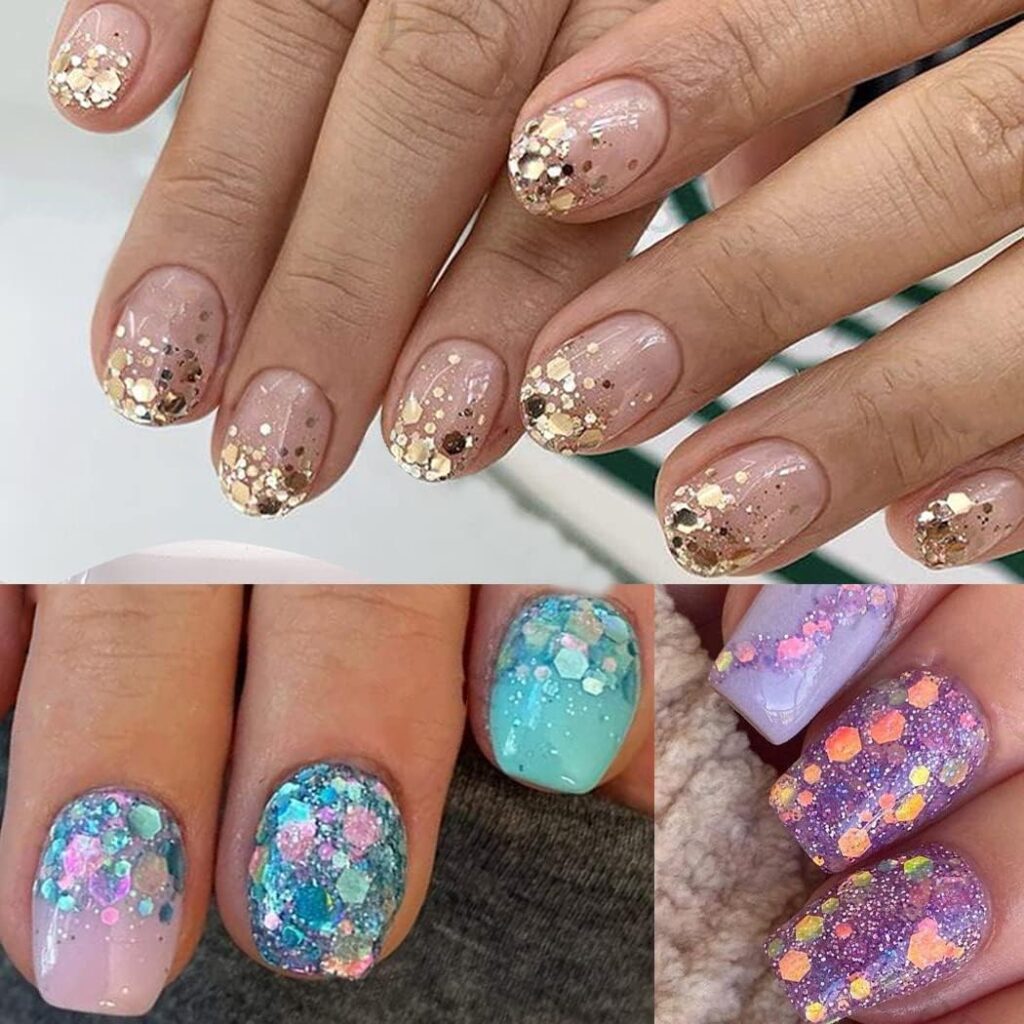
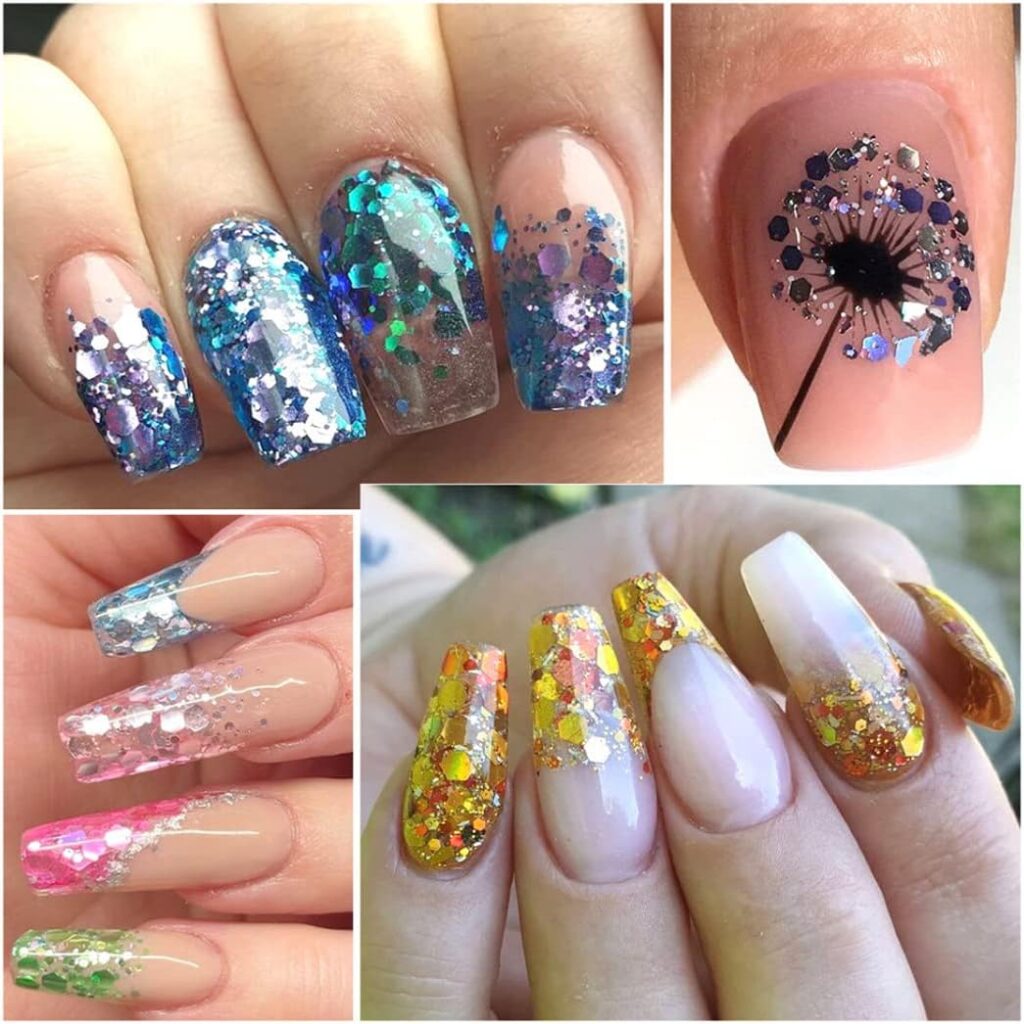
3. Starfish Sparkle
Step-by-Step Instructions:
- Prep Your Nails: Clean, trim, and apply a base coat. Use OPI Natural Nail Base Coat.
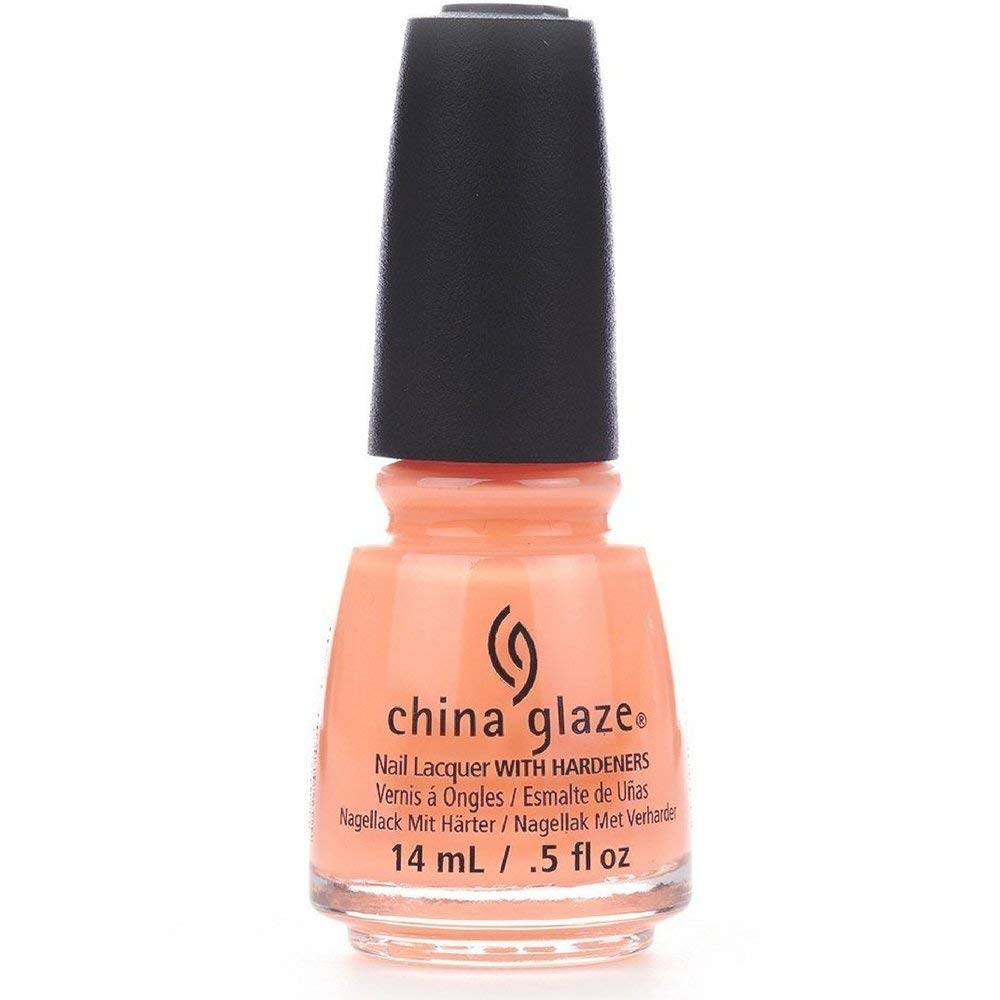
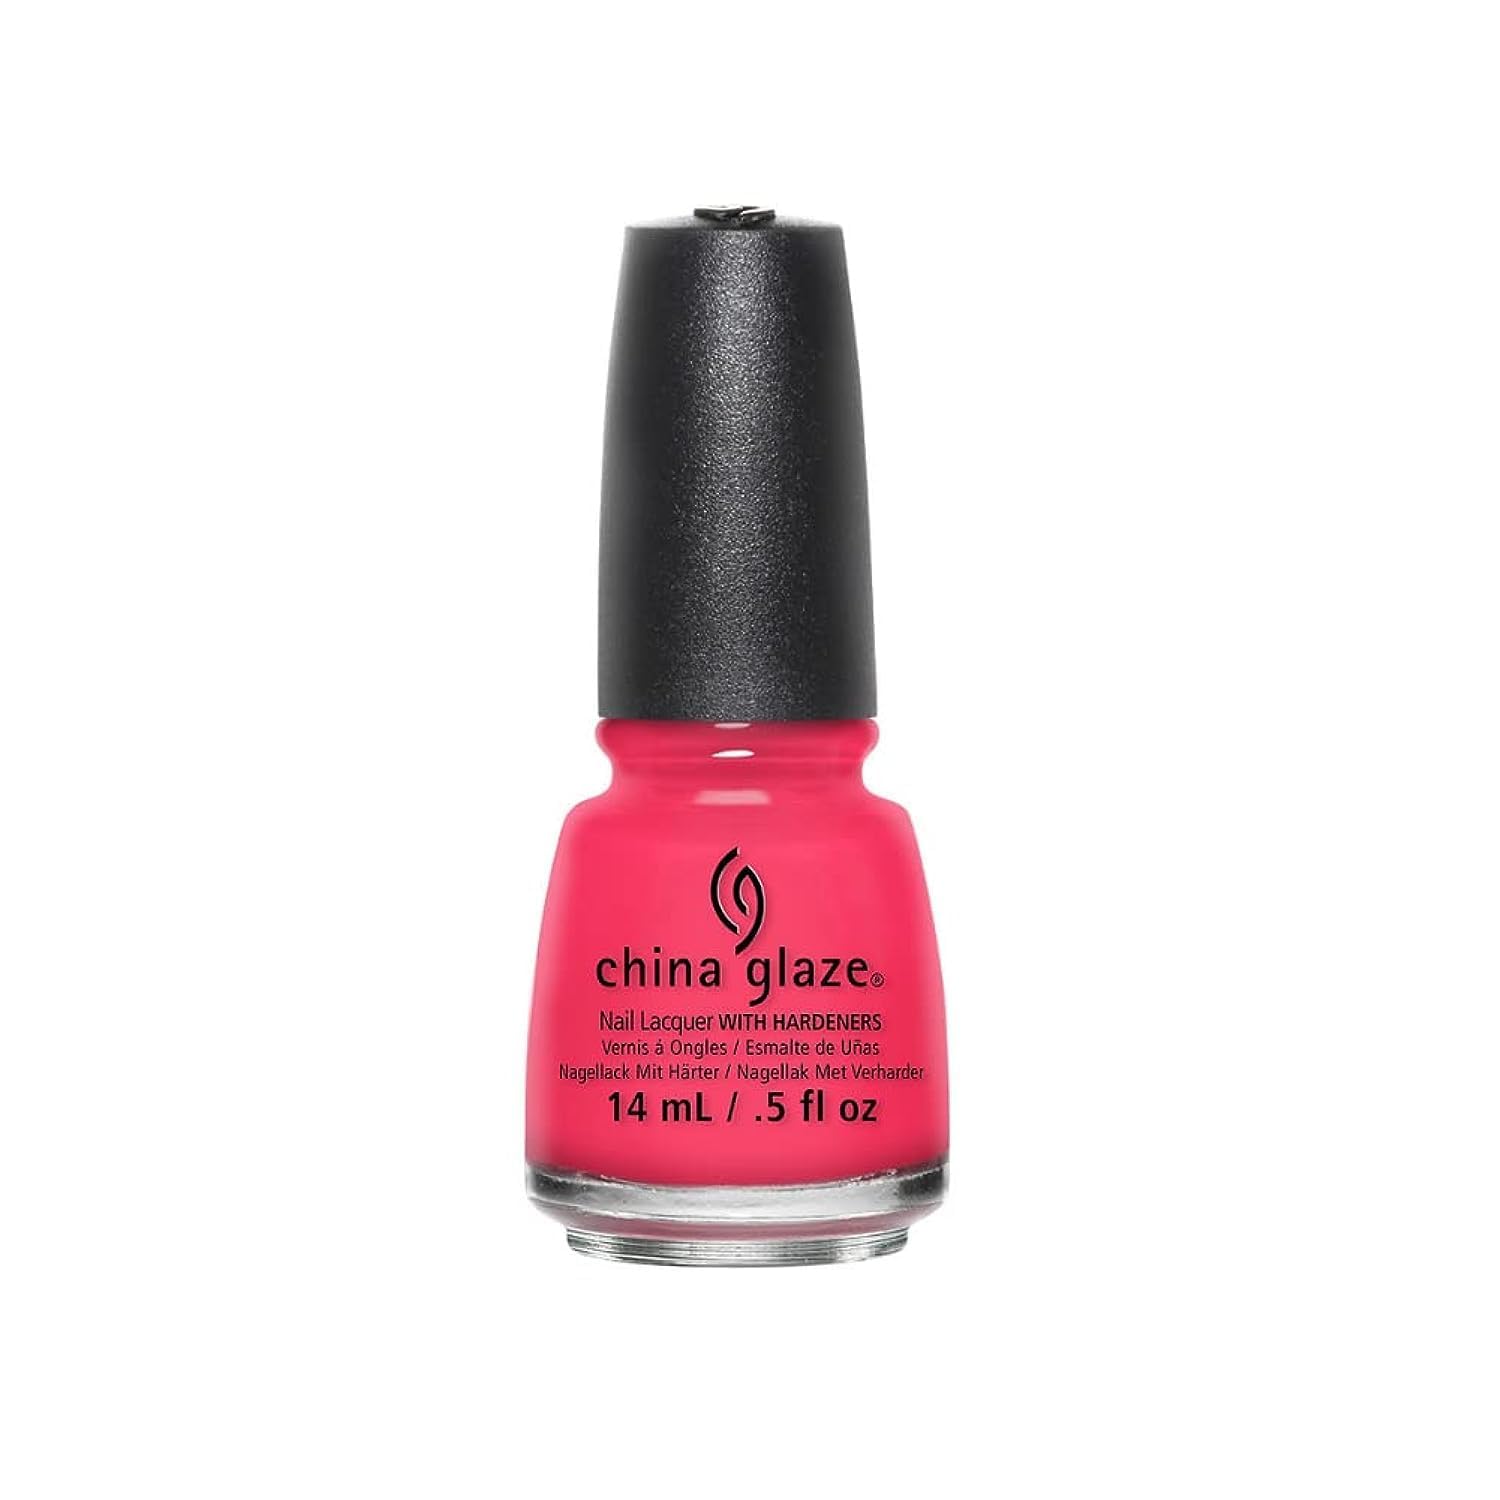
- Apply Base Color: Use a coral or peachy nail polish like China Glaze Nail Lacquer in “Flip Flop Fantasy”.
- Draw Starfish: With a white or gold polish, draw starfish shapes on each nail. KISS Pro Thin Nail Art Brush is ideal for this.
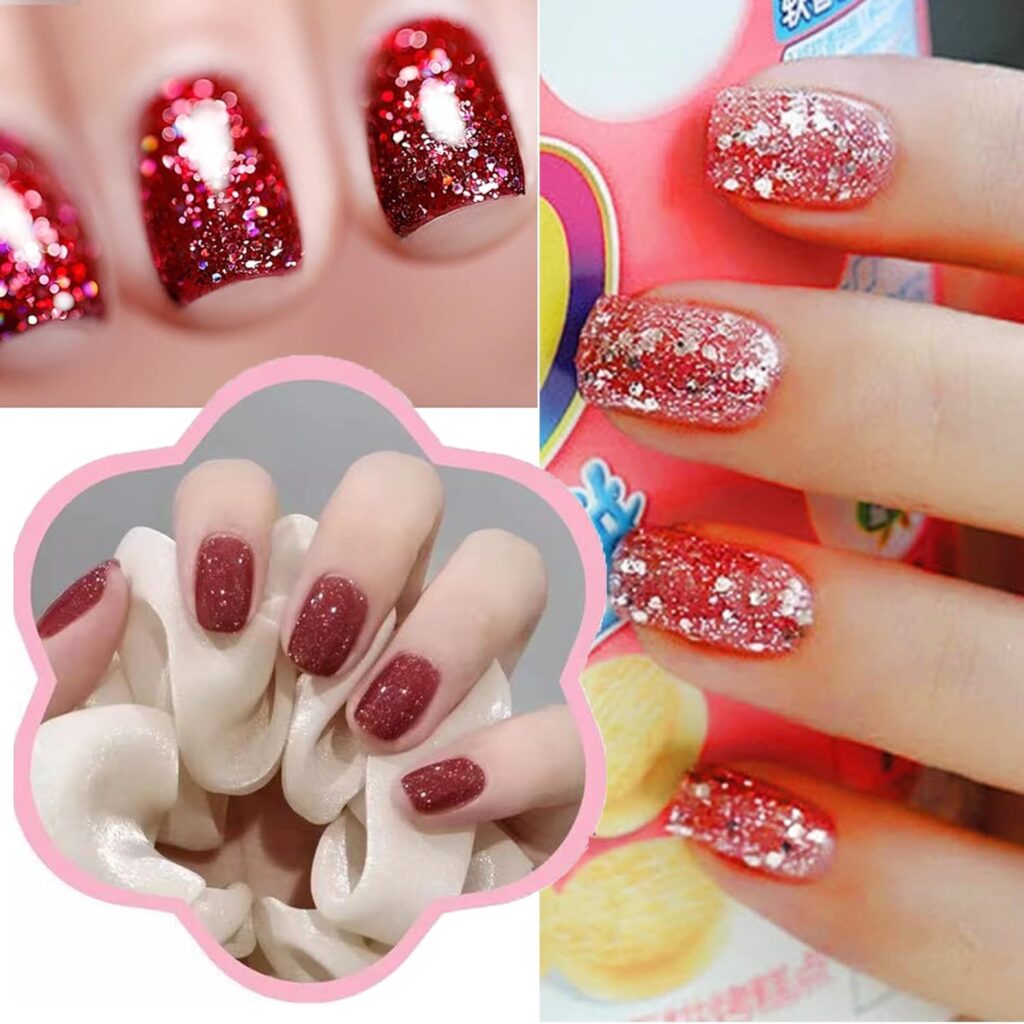
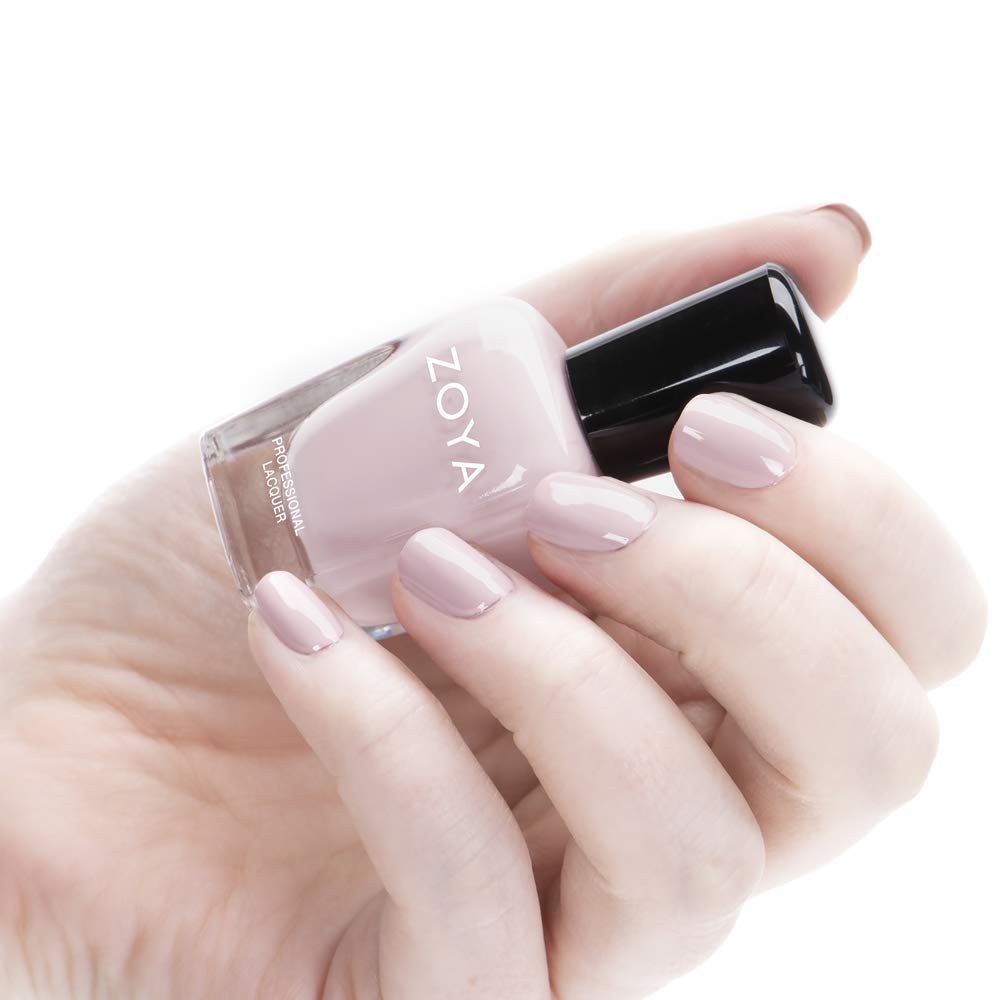
- Add Glitter: Add some sparkle with a glitter polish. Zoya Nail Polish in “Astra” adds a beautiful touch.
- Top Coat: Finish with a top coat for added shine and protection. Seche Vite Dry Fast Top Nail Coat is a great choice.
4. Tropical Palm Trees
Step-by-Step Instructions:
- Prep Your Nails: Start with clean nails and apply a base coat. Use OPI Natural Nail Base Coat.
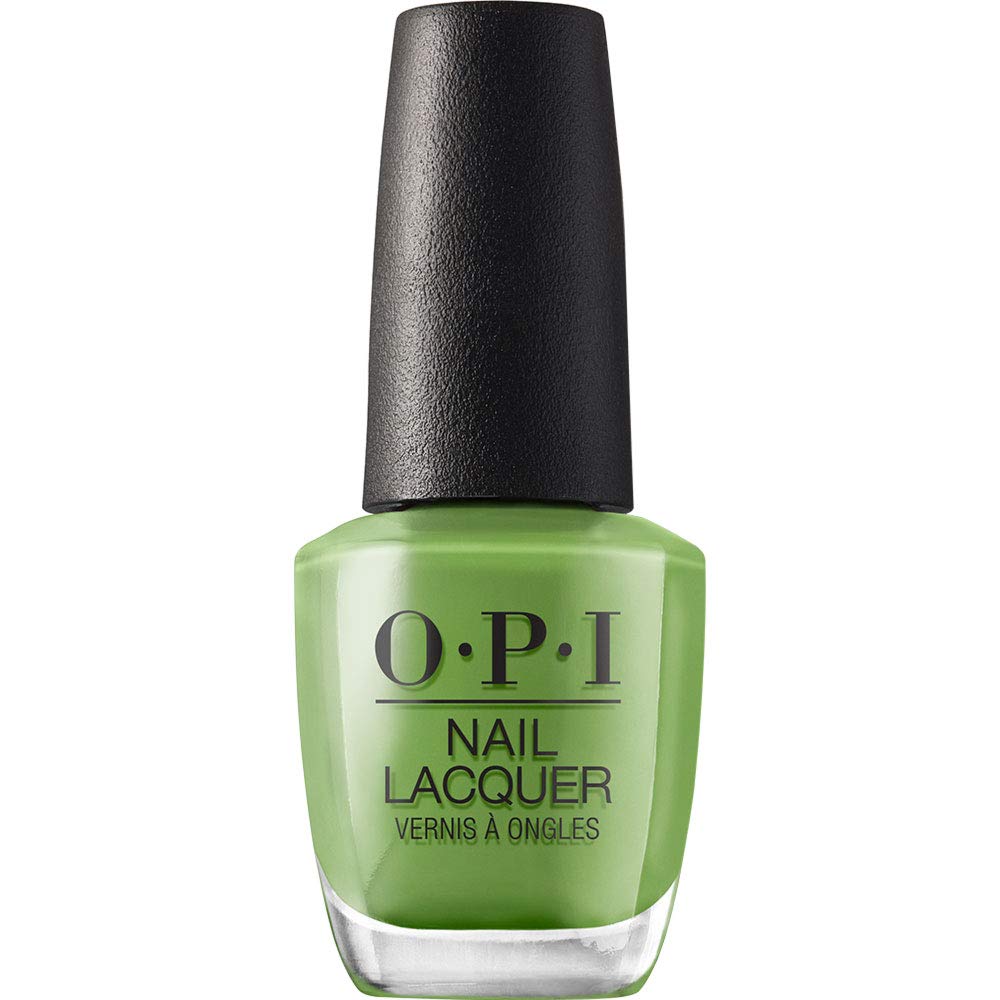
- Apply Base Color: Choose a vibrant green polish. OPI Nail Lacquer in “I’m Sooo Swamped” is perfect.
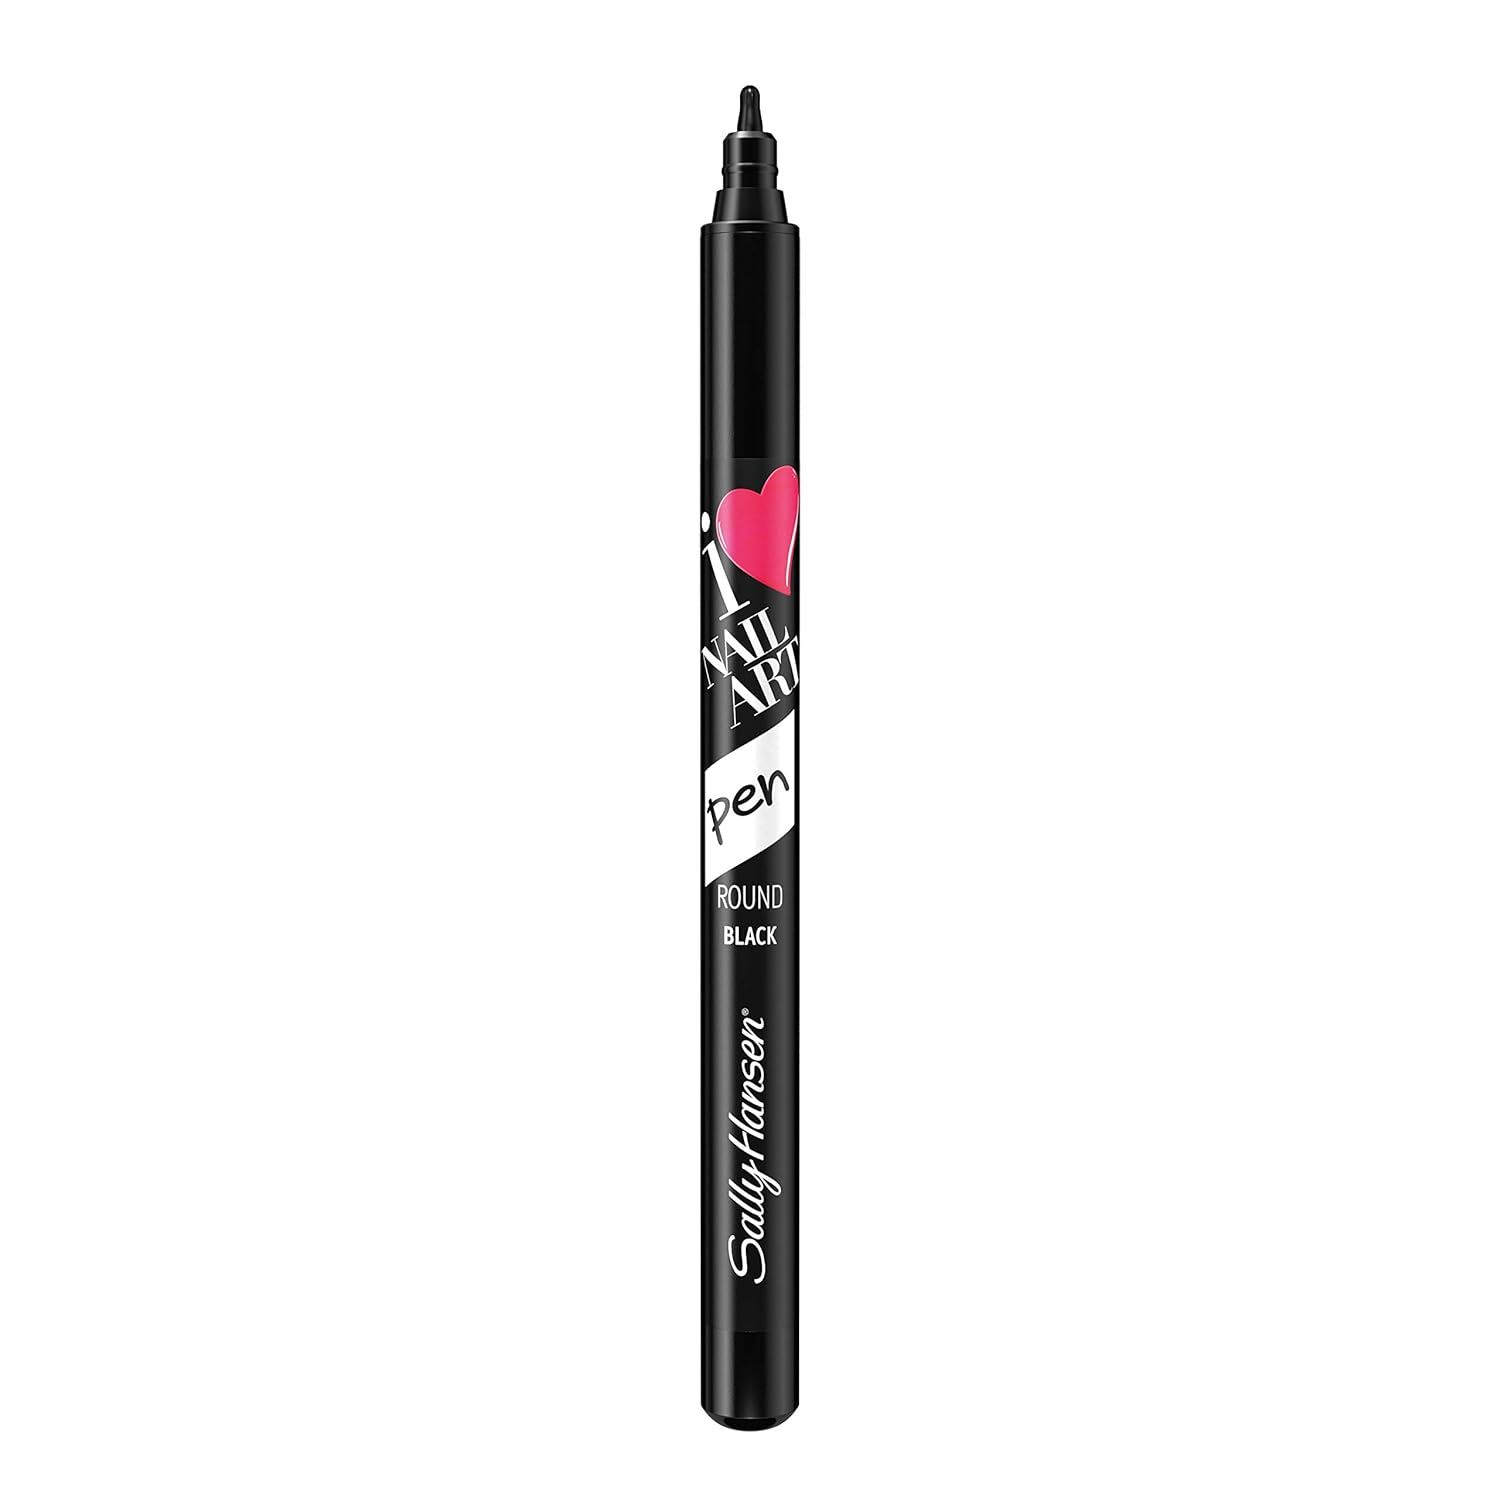
- Draw Palm Trees: Using a black nail art pen, draw small palm trees on your nails. Sally Hansen I Heart Nail Art Pen makes this easy.
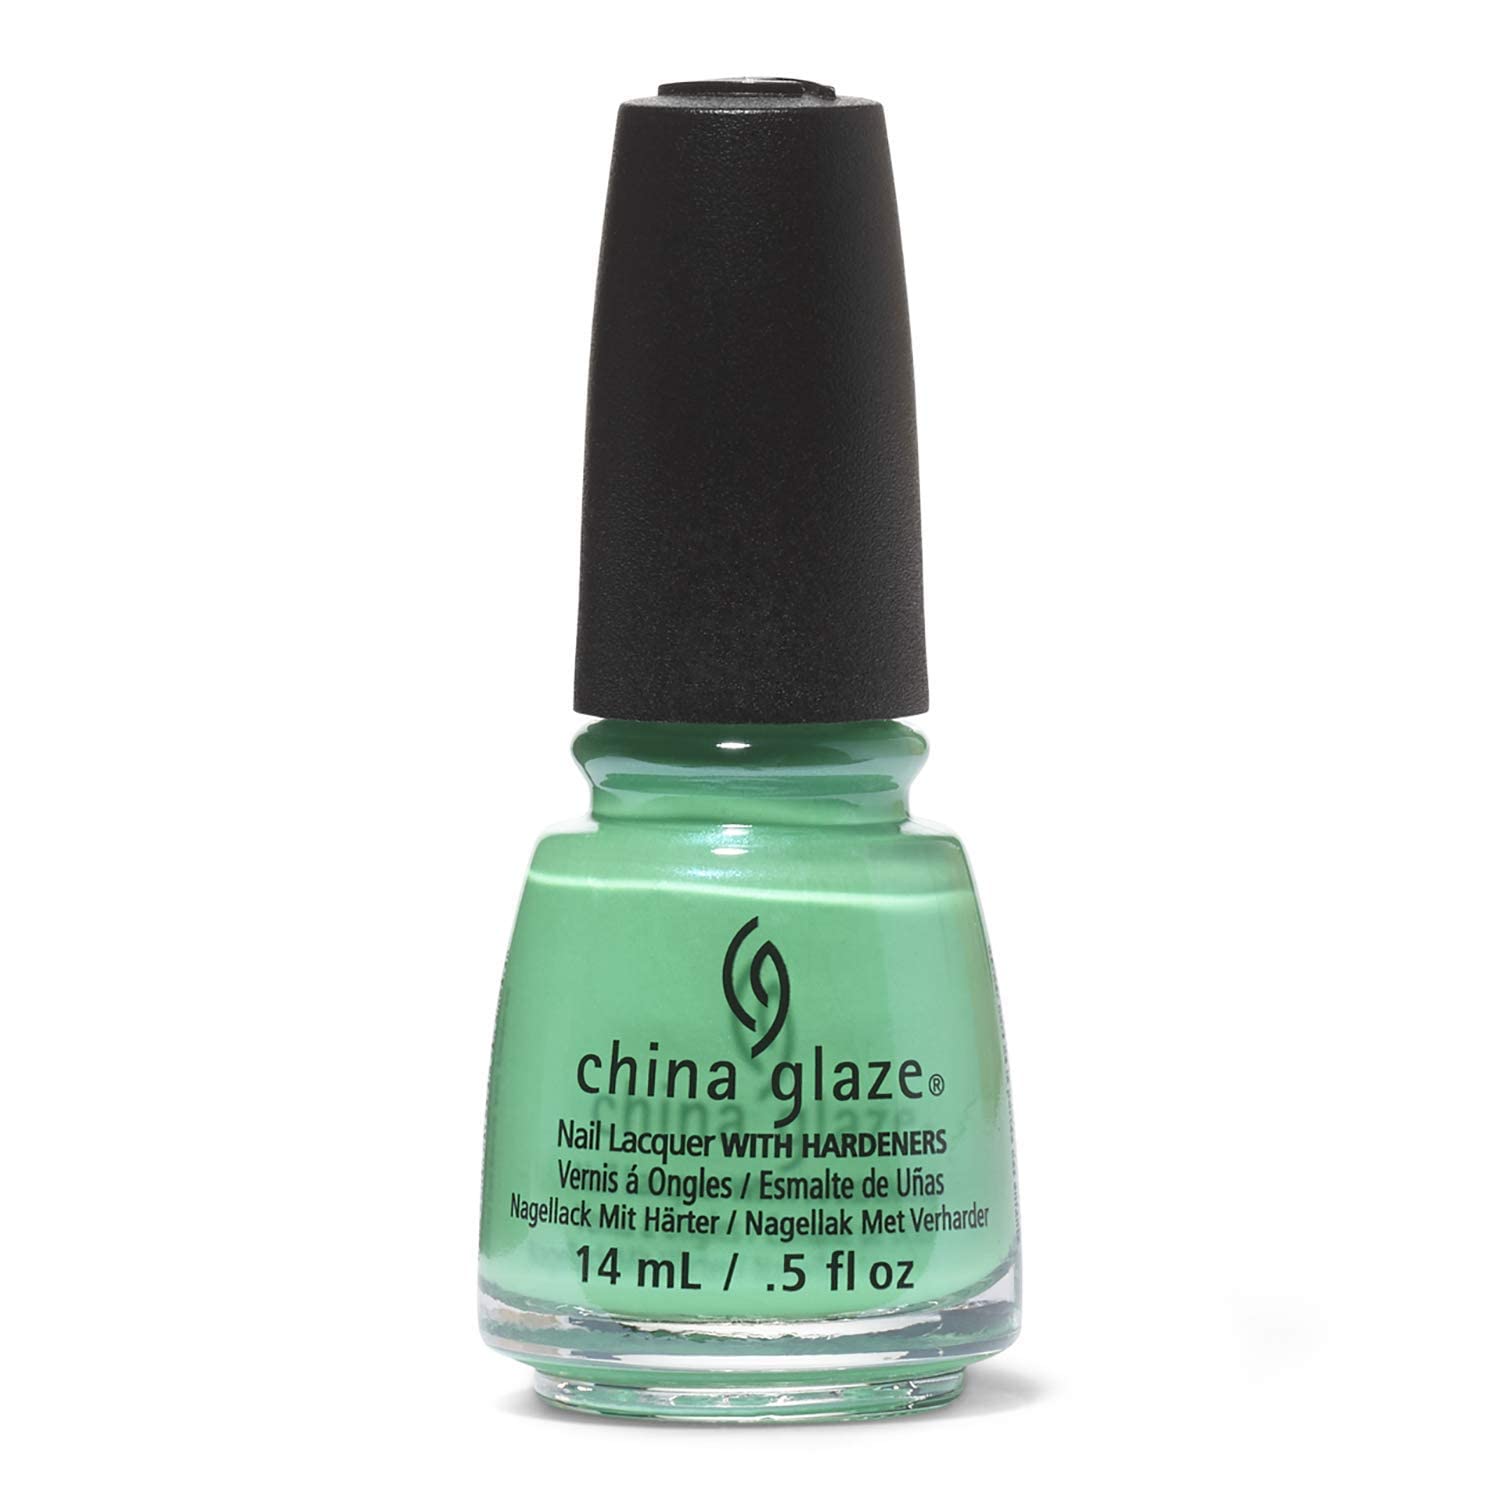
- Add Details: Fill in the trees with a lighter green polish for a more realistic look. China Glaze Nail Lacquer in “In the Limelight” is great for this.
- Top Coat: Apply a top coat to protect your design and add shine. Seche Vite Dry Fast Top Nail Coat is recommended.
5. Sunset Gradient
Step-by-Step Instructions:
- Prep Your Nails: Clean and trim your nails, then apply a base coat. OPI Natural Nail Base Coat is ideal.
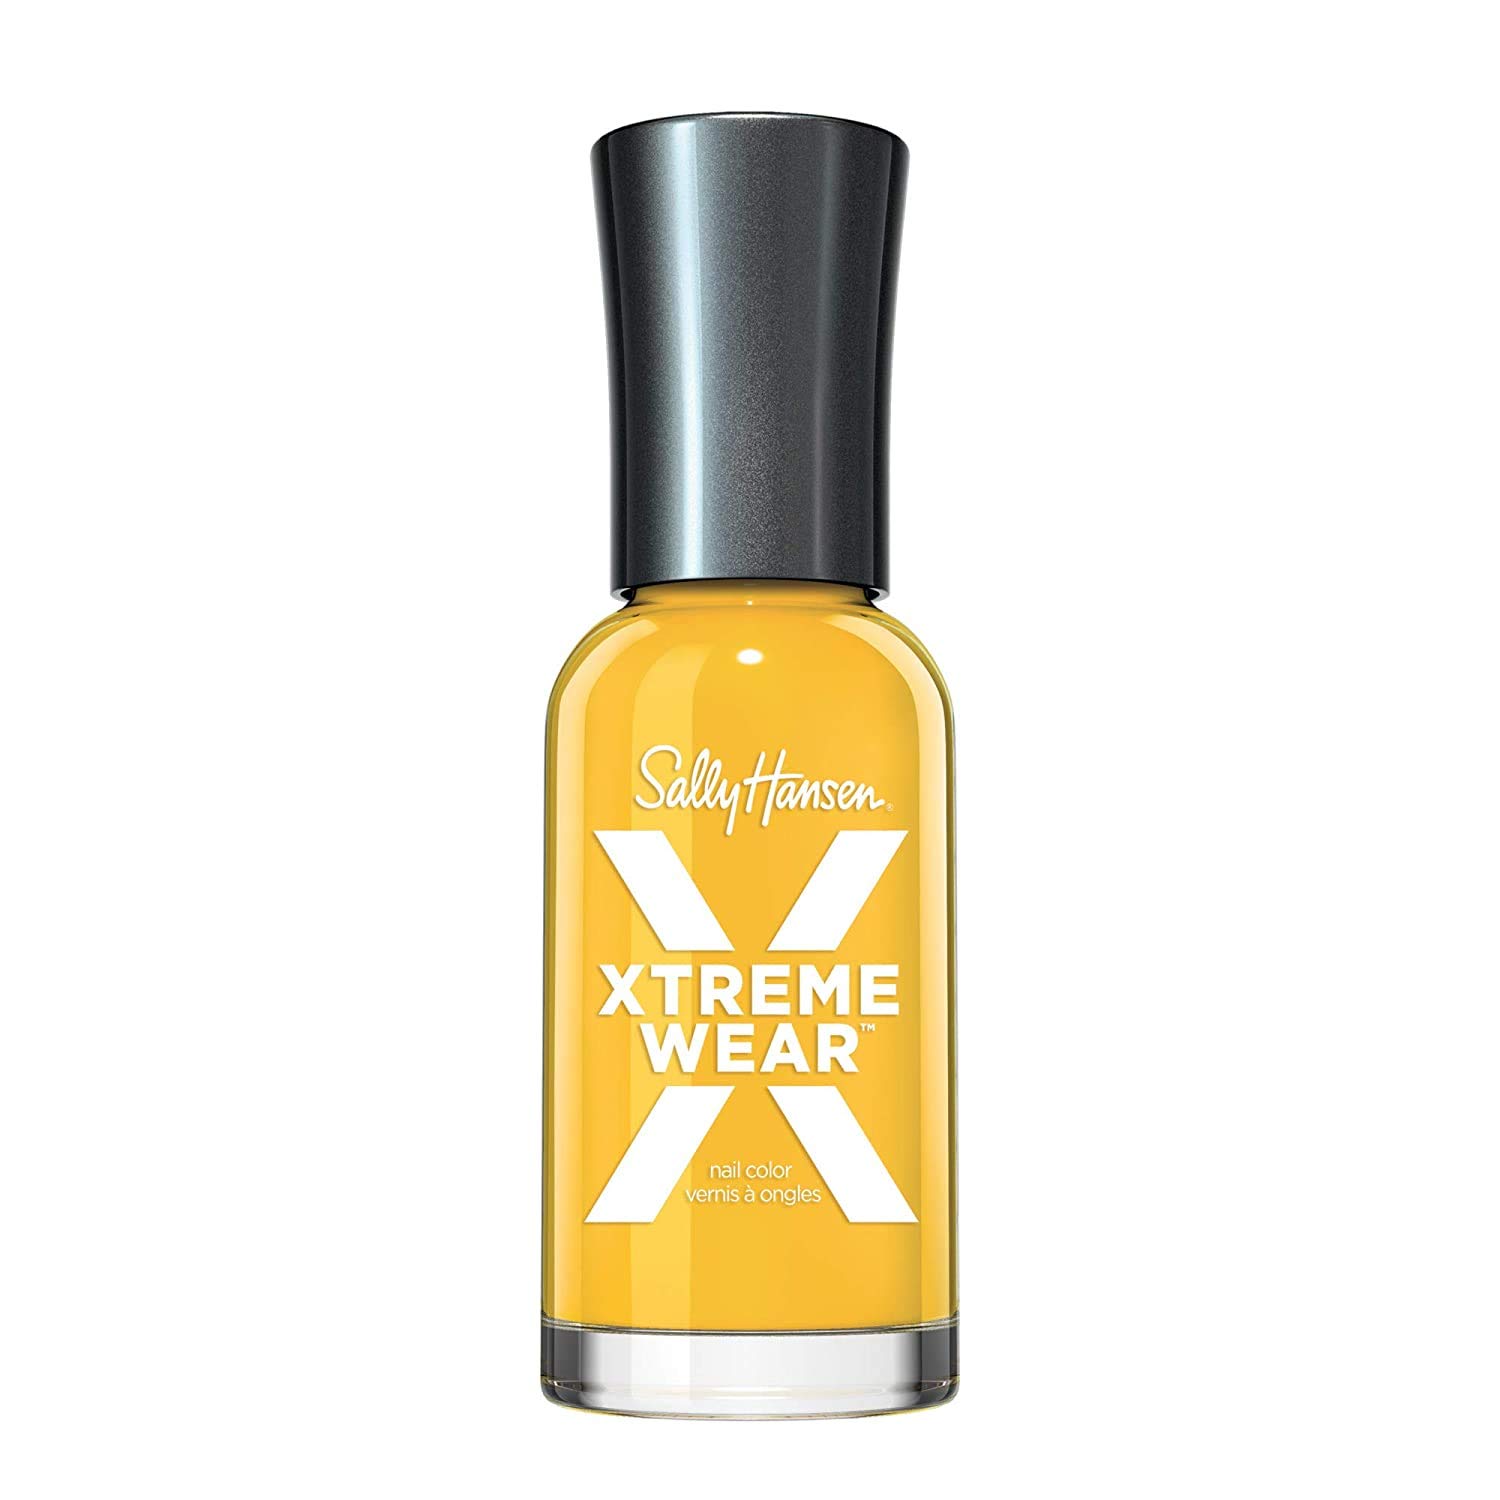
- Apply Base Color: Start with a yellow polish. Sally Hansen Hard As Nails Xtreme Wear in “Mellow Yellow” is perfect.
- Create Gradient Effect: Use a makeup sponge to dab on orange and pink polishes, creating a gradient. Essie Nail Polish in “Tart Deco” and China Glaze Nail Lacquer in “Pool Party” work well.
- Blend Colors: Continue dabbing with the sponge until you achieve a smooth gradient effect.
- Top Coat: Seal your design with a top coat for a glossy finish. Seche Vite Dry Fast Top Nail Coat ensures your nails stay flawless.
Conclusion
These easy nail art designs will keep your nails looking stylish and summery all vacation long. Each design is achievable at home with the right tools and a bit of practice. Remember to always use a base and top coat to protect your nails and make your artwork last longer. With these fun and vibrant designs, you’ll be ready to show off your beachy vibes wherever your summer adventures take you!
Happy summer and happy nail painting! 🌞🌊