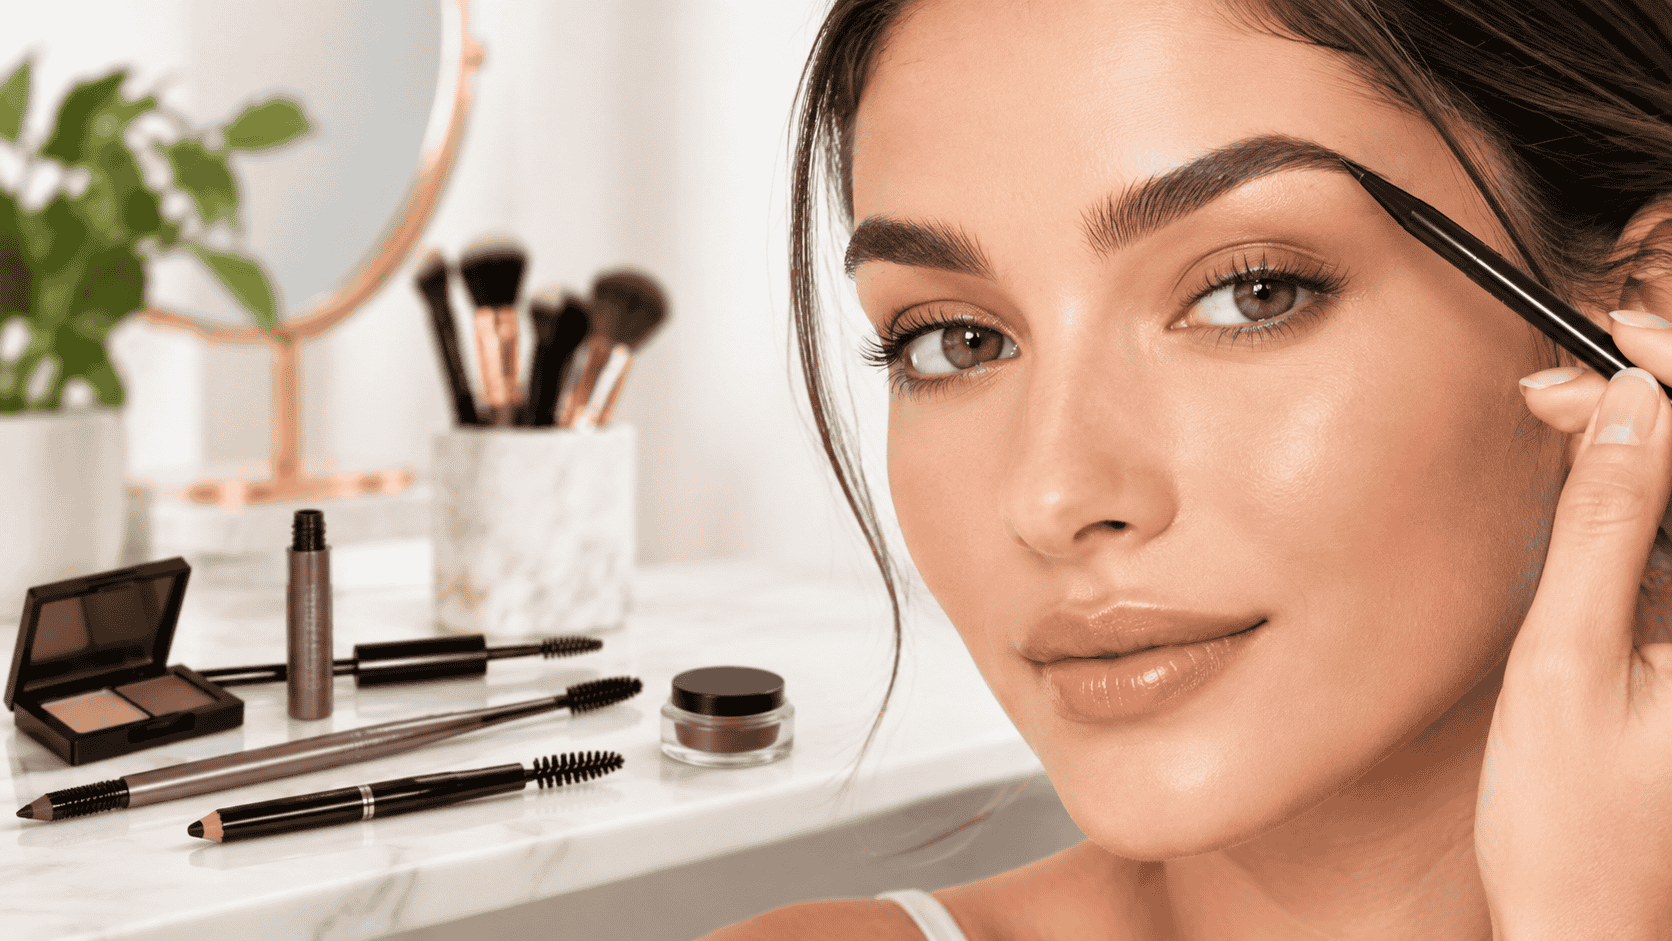
You have the pencil. You’ve watched the tutorials. And your brows still come out looking either drawn on with a marker or oddly mismatched: one higher, one thicker, one somehow more surprised than the other. The problem is rarely your skill. It’s usually the approach. Good eyebrow makeup isn’t about drawing a new shape. It’s about editing the brows you already have: filling gaps, softening edges, and setting the hairs so your face looks framed instead of painted.
This guide covers the whole process. You’ll learn what each product actually does, how to pick a shade that looks natural, how to find your own brow shape, and a 12-step tutorial you can follow with one pencil and a spoolie. You’ll also get fixes for common mistakes, techniques for sparse brows, and a short list of Amazon products worth considering.
Key takeaways
- Aim for brows that look like yours on a good day, not a copy of someone else’s.
- Pick a shade close to your brow hair, and go slightly softer rather than darker if you’re unsure.
- Use light, hair-like strokes and build gradually. Adding is easy; erasing isn’t.
- Keep the front of the brow soft and the tail slightly more defined.
- One pencil, one spoolie, and a gel are enough for most routines.
What Is Eyebrow Makeup?
Eyebrow makeup is the use of pencils, powders, pomades, pens, and gels to fill gaps, define edges, and set the hairs of your natural brows. Its goal is to frame your face and balance your features while still looking like you, not to replace your brows with a drawn-on shape.
Most people lump everything under “doing my brows,” but the job breaks into six separate tasks. Knowing which one you actually need saves you from overdoing it.
- Defining sharpens the edges so the brow has a clear outline, mostly along the lower edge and tail.
- Filling adds color where hair is sparse, patchy, or missing.
- Shaping adjusts the overall outline. That can mean tweezing strays, trimming long hairs, or using makeup to visually tidy the edges.
- Lifting brushes hairs upward and outward for a fuller, fluffier look. A clear gel or brow wax does most of the work here.
- Tinting deepens the color of the hairs themselves. A tinted gel does this temporarily. Dye-based brow tints last longer and come with their own directions, including patch-test instructions, so follow the product label closely.
- Setting locks everything in place so the hairs and the pigment stay put.
Most routines use two or three of these, not all six. If your brows are dense and well-shaped, a bit of lifting and setting may be all you need. If they’re sparse, filling matters most.
What You Need for a Complete Eyebrow Makeup Routine
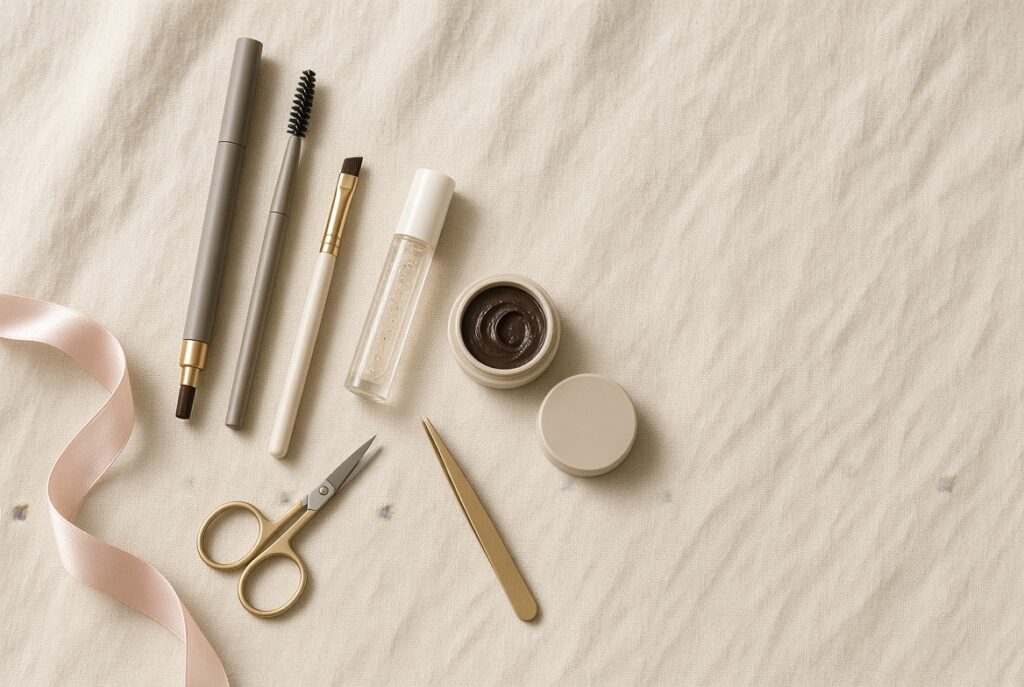
Here’s every tool you might meet, and who tends to get the most out of each one.
| Product or tool | What it does | Who may benefit most |
|---|---|---|
| Eyebrow pencil | Draws fine, controlled strokes that mimic hairs | Beginners; anyone with small gaps |
| Brow powder | Adds soft, diffused color | Sparse brows; a natural, shadowy finish |
| Brow pomade | Delivers dense, creamy pigment | Defined looks; brows that need real coverage |
| Brow gel | Holds hairs in place; can be clear or tinted | Nearly everyone, especially those who like fluffy brows |
| Brow tint | Colors the hairs themselves | Pale or light brow hair that disappears |
| Brow pen | Gives ultra-thin, hair-like lines with liquid or ink-style color | Filling tiny gaps; detailed work |
| Spoolie | Brushes and blends hairs | Everyone; it’s the most underrated tool |
| Angled brush | Applies powder or pomade precisely | Anyone using pomade or powder |
| Concealer | Cleans up edges and sharpens the shape | Defined looks; polishing after filling |
| Brow scissors | Trims overlong hairs | Brows that grow long or unruly |
| Tweezers | Removes stray hairs | Cleaning up below and between the brows |
You do not need all of these. A realistic starter kit is a pencil in a suitable shade, a spoolie (many pencils have one built in), and a clear or tinted gel. Add an angled brush and concealer once you’re comfortable. If your brush collection needs attention, makeup brush guide or how to clean makeup brushes is a natural follow-up read.
How to Choose the Right Eyebrow Makeup Products
The right product depends less on trends and more on what your brows actually look like. Start with the gap you’re trying to solve.
| Your situation | Start with | Why it works |
|---|---|---|
| Brows are mostly full, you want polish | Clear or tinted gel | Lifts and sets hairs without adding heavy color |
| A few small gaps | Fine-tip pencil or brow pen | You control every stroke, so it looks like hair |
| Sparse all over | Light powder base, then pencil strokes | Powder gives a soft shadow; strokes add realistic detail |
| Total beginner | Retractable pencil with a spoolie | Forgiving, no sharpening, easy to blend |
| Oily skin | Waterproof or smudge-resistant pencil; set with powder | Very creamy formulas can slip on oily skin |
| Dry skin | Creamy pencil or pomade | Powder can cling to dry patches and look uneven |
| Want a graphic, defined look | Pomade with an angled brush | Dense pigment gives crisp lines, but it takes practice |
| Need the look to last | Water-resistant formula plus a setting gel | Layering helps pigment stay put |
Two other factors are worth thinking about.
Finish matters: a matte, soft finish reads more like real hair than anything shimmery or greasy.
Experience matters too: pencils are forgiving because you control the line, while pomades deposit a lot of color quickly and leave less room for error. If you’re new to eyebrow makeup, start with a pencil and add other formats later.
Hair color and undertone also drive product choice, which is where the next section comes in.
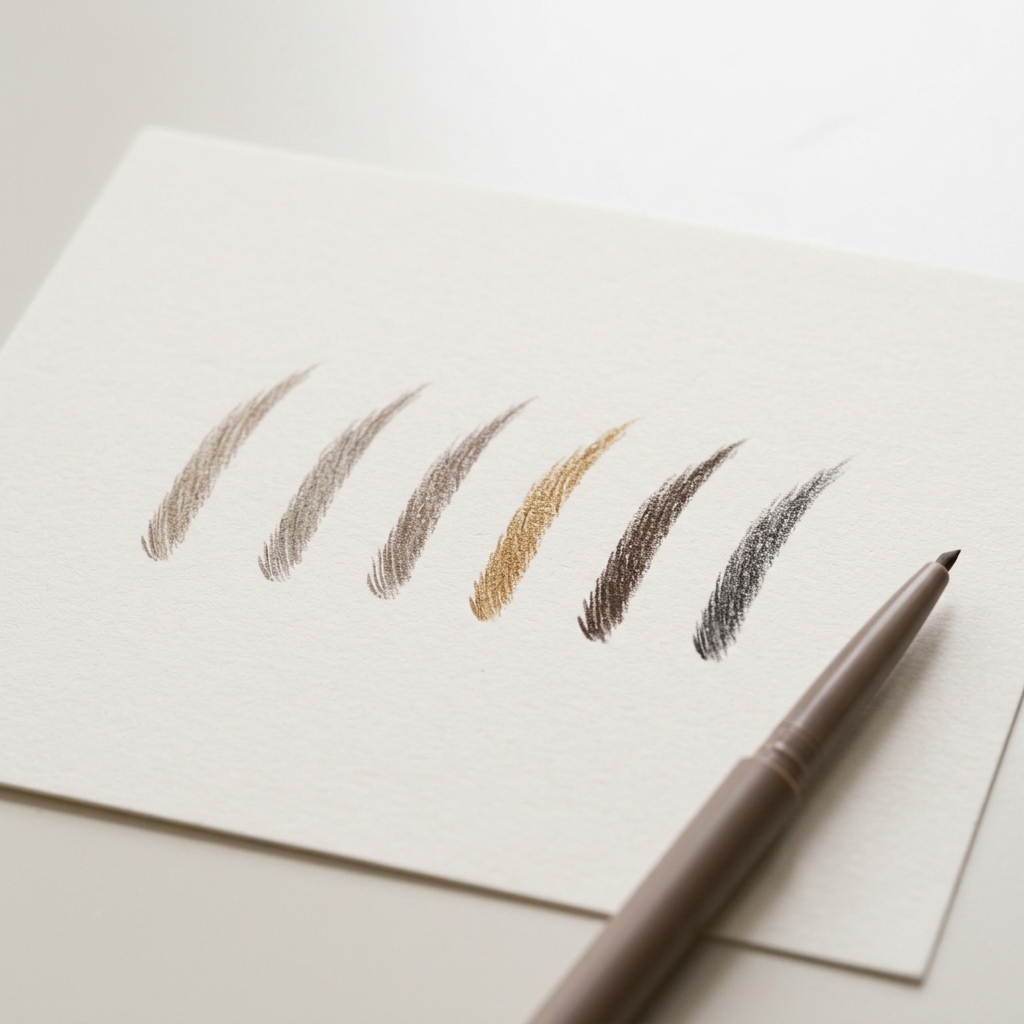
How to Choose the Right Eyebrow Shade
The best brow shade is usually close to your natural brow hair, and often a touch softer than you’d expect, not a perfect match to the hair on your head.
Why not match exactly? Real brow hairs are fine and slightly translucent, so light passes through them. Pencil and pomade pigment is more concentrated and opaque. The same color that looks natural on a hair can look flat and heavy as a solid line on skin. Going a half-step lighter or softer tends to read as more natural because it lets the real hair stay the star.
Also, match your brows, not your scalp. Many people have brow hair a shade darker or lighter than their hair, especially if they color their hair. If your hair is dyed or graying, check the brow hairs themselves.
| Hair color | Shade direction | What to watch |
|---|---|---|
| Blonde | Light taupe or soft ash-brown, a touch deeper than your hair | Pale brows can disappear, but too dark looks dramatic |
| Light brown | Taupe to soft medium brown | Very warm shades can look orange on cooler skin |
| Medium brown | Neutral or warm medium brown | Skip anything much darker than your hair |
| Dark brown | Dark brown, slightly softer than your hair | Black can look harsh against skin |
| Black | Deep brown, espresso, or soft black | Pure jet black often looks flat |
| Red or auburn | Warm auburn or golden brown | Cool gray-based shades can look muddy |
Undertone
adds another layer. If your skin has cool undertones (pink, rosy, or bluish), ash or taupe shades usually sit comfortably. Warm undertones (golden, peachy, olive with a yellow cast) tend to suit warm browns and caramel-leaning shades. Neutral undertones can wear most neutral browns easily.
A quick test: swipe a small stroke on your brow, then check it in natural daylight and step back about an arm’s length. If the color is the first thing you notice, it’s too strong. If you see brow hair with a bit more depth, you’ve got it.
How to Find Your Natural Brow Shape
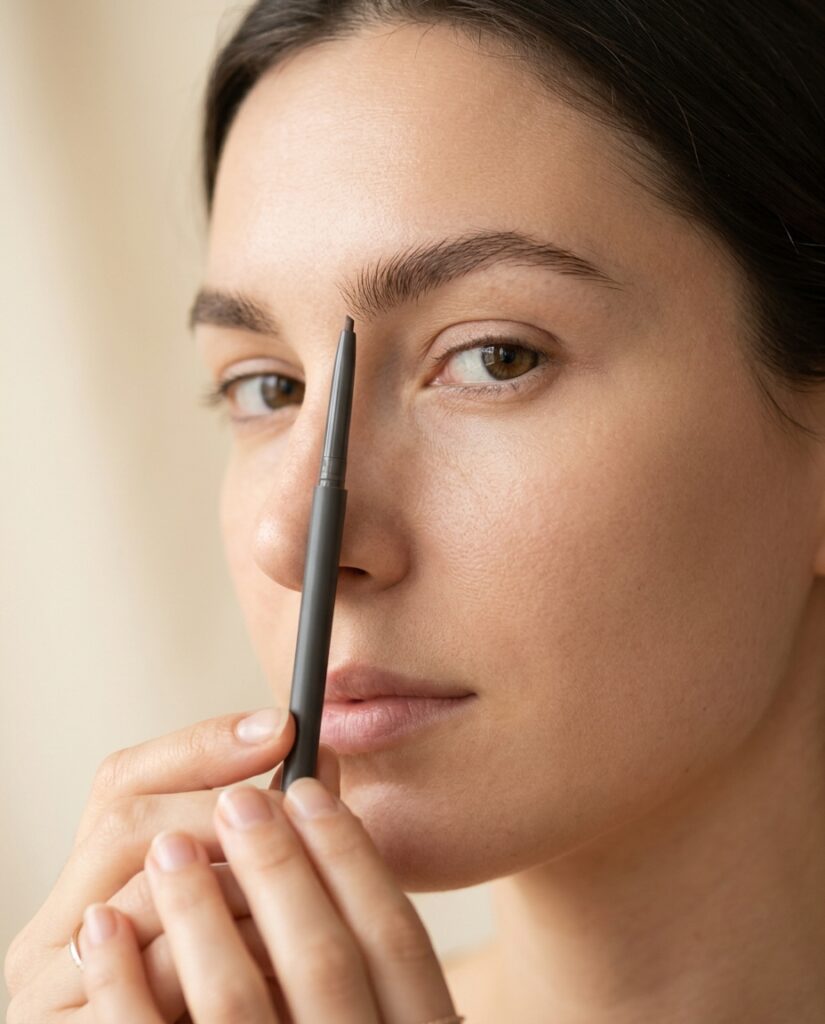
Use a pencil or spoolie handle to find three anchor points: where your brow starts, where it peaks, and where it ends.
- Start point. Hold the pencil vertically against the side of your nostril. Where it crosses your brow is roughly where the brow can begin.
- Arch. Pivot the pencil from the nostril so it passes along the outer edge of your iris while you look straight ahead. Where it crosses the brow marks a natural highest point.
- Tail. Pivot again so the pencil reaches the outer corner of your eye. That crossing point is roughly where the brow can end.
Treat these as guides, not laws. Faces vary, and some people naturally have shorter tails or flatter arches. If the map says one thing and your hair growth says another, your hair wins.
Read your growth pattern.
Brush your brows straight up and look at them. Most brows grow upward at the front, diagonally through the middle, and downward at the tail. Filling along that direction is what makes makeup look like hair instead of a line. Forcing an arch where none exists is one of the fastest ways to look artificial.
Check thickness.
A natural brow is fullest at the front and tapers gradually toward the tail. If you keep the thickness roughly even from front to back, the brow tends to look drawn.
Aim for sisters, not twins.
Faces are slightly asymmetrical, and eyes often sit at slightly different heights, so your brows will never match perfectly. Compare them in a mirror at arm’s length or take a quick photo. Fix only the biggest differences, such as one arch sitting noticeably higher, and let the rest go.
Face shape is a starting point, not a rulebook. A softly angled arch can balance a rounder face, a flatter brow can visually shorten a longer face, and a softer, rounded arch can ease a square jaw. If a shape feels right in the mirror, trust it.
If you tweeze: remove strays below the brow and between the brows, and be careful with the top line. Over-plucking is hard to undo, and regrowth varies. If your brows have not grown back after over-plucking, or you notice sudden thinning, patchy hair loss, or ongoing skin irritation, it’s worth checking in with a doctor or dermatologist.
Step-by-Step Eyebrow Tutorial for Beginners
To do eyebrow makeup, brush the hairs up, map your shape, fill gaps with light strokes, blend with a spoolie, define the arch and tail, set with gel, and check the result from a normal distance.
You’ll need a pencil (or pen), a spoolie, a gel, and optionally a small angled brush and concealer. Here’s the full sequence.
Clean and prep the brows.
Start with skin that isn’t slippery. Wipe the brow area gently with a tissue or cotton pad to remove excess oil or moisturizer. Makeup grips dry, clean skin far better than skin coated in cream, and pigment slides off greasy areas.
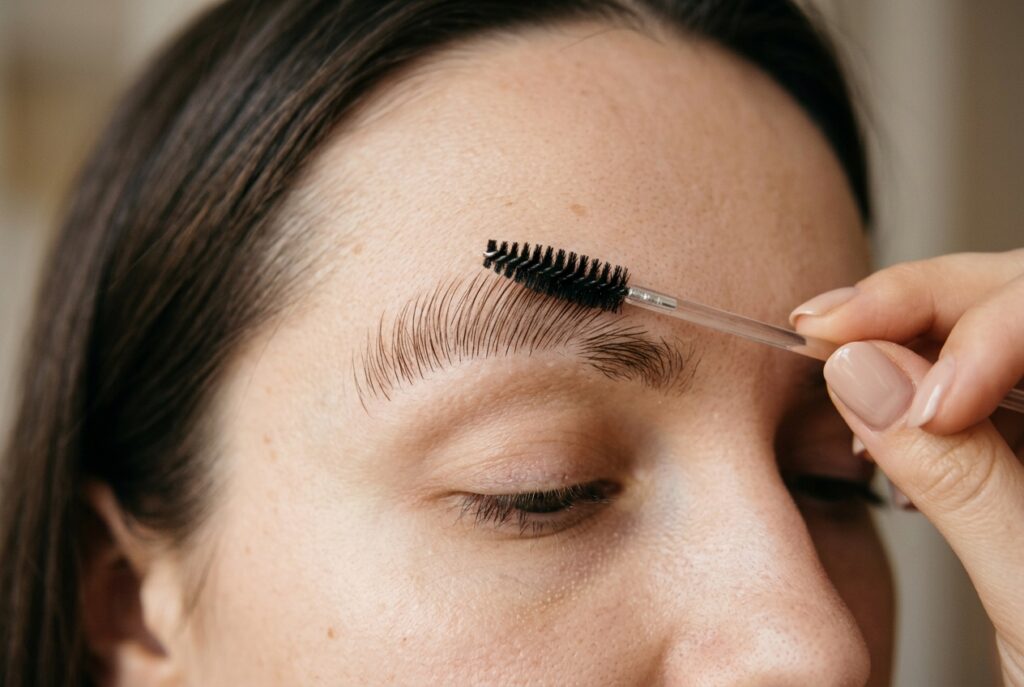
Brush the hairs upward.
Use a spoolie to brush hairs up and slightly out. This reveals where your real gaps are, shows the true height of your brow, and helps you avoid filling in areas that already have hair.
Identify the natural shape.
Use the pencil-map method from the previous section. Place a tiny dot at the start, arch, and tail. These dots are your guardrails so you don’t extend the shape too far.
Outline lightly where needed.
Do not draw a full outline. Instead, use tiny dashes along the lower edge and tail where the shape looks thin or uneven. A continuous line is the biggest giveaway of brow makeup.
Fill sparse areas.
The middle of the brow is where many people have the most gaps. Fill there first using short, upward-and-outward strokes that follow your hair direction. Then deal with the tail. Save the front for last, and keep it lightest.
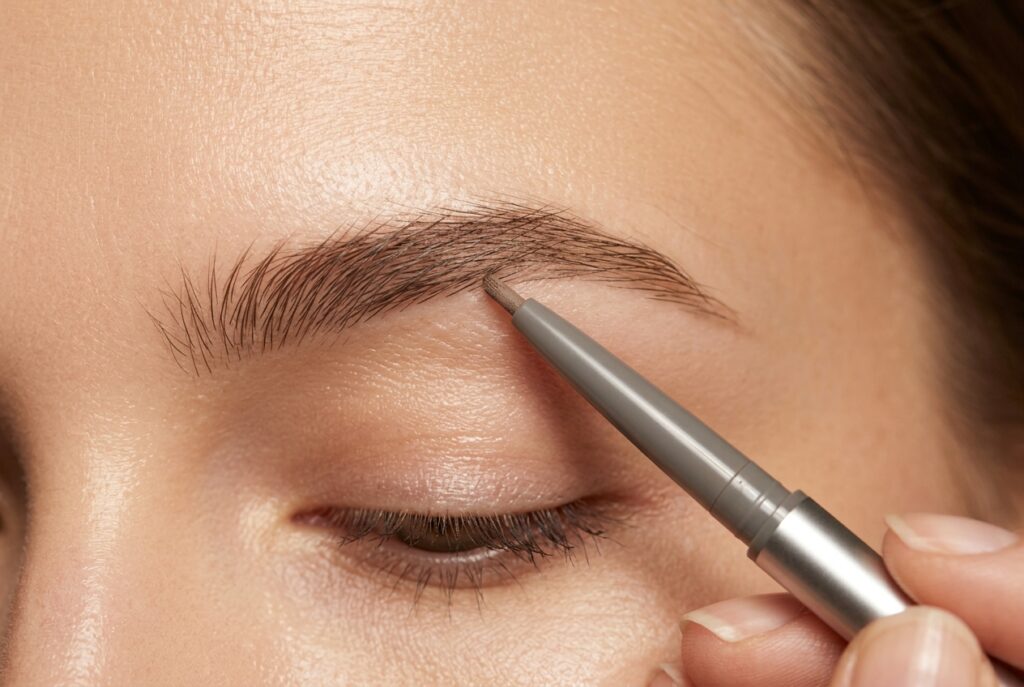
Create hair-like strokes.
Hold the pencil at a slight angle and use very light pressure. At the front, flick strokes upward. Through the arch, use small diagonal strokes. At the tail, follow the downward slope. Light pressure leaves a thin, flexible line; heavy pressure leaves a waxy, flat one.
Blend with a spoolie.
Brush through in the direction of growth. This softens any hard pencil lines, spreads pigment onto the natural hairs, and removes excess. Blending is the step that turns “drawn” into “natural.”
Define the arch carefully.
Add a touch of definition just under the peak and along the top edge just after it. Avoid darkening the very top of the arch, which can look angry or surprised. Keep the definition light. You can always build it.
Add product to the tail.
The tail is the most defined part of a natural brow, so it can take slightly more pigment. Fill it with short strokes and make it taper to a soft point at your end-point dot. Stopping at that dot matters, because a tail that extends too far can drag the whole face downward.
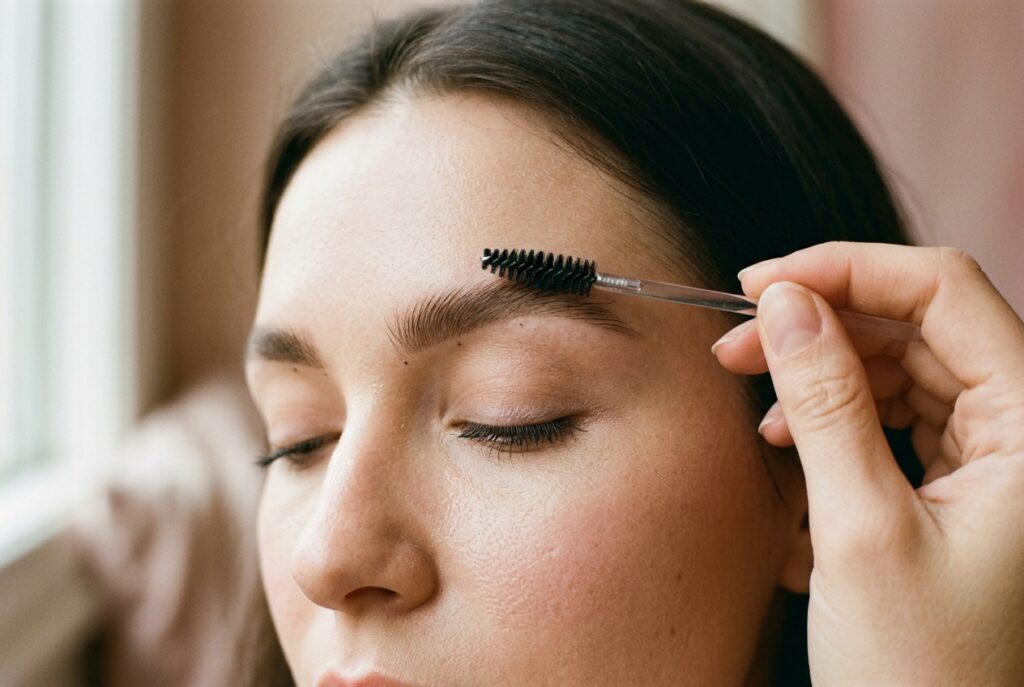
Set the brows.
Brush a clear or tinted gel through your brows, starting at the front and brushing up, then out toward the tail. Wipe the excess off the wand first. Too much gel causes flaking and stiff, crunchy hairs.
Clean up the edges if necessary.
Use a small angled brush with a touch of concealer, or a cotton swab lightly dampened with makeup remover, only where the edge looks messy. Keep the lower edge softer than you think you need to, since crisp, bright outlines make brows look stenciled.
Check both brows from a normal viewing distance.
Step back from the mirror and look in daylight if you can. Brows should read as brows, not lines. If one brow looks off, fix that one detail rather than starting over.
A small workflow trick: do each brow to about 80 percent, then switch to the other. Chasing perfect symmetry on one brow before starting the other usually leaves you with two brows that don’t match.
How to Create Natural-Looking Perfect Brows
“Perfect eyebrows” doesn’t mean identical, high-contrast brows. Perfect brows suit your face, look like hair, and stay balanced from a normal conversational distance. The goal is polished, not flawless.
These eyebrow makeup tips make the biggest difference:
- Use light pressure. Press lightly and you get a fine, breakable line that looks like hair. Press hard and you get a solid stripe that never blends away.
- Build gradually. Two light passes look more natural than one heavy pass because you can see where color is actually needed.
- Skip the harsh outline. Real brows have no hard border. A soft, feathered edge is more believable.
- Blend everything. A spoolie takes the edge off any product and keeps color from sitting in one spot.
- Keep some texture. Individual hairs and tiny gaps make brows look real. Fill every gap and you lose that.
- Keep the front softer. The front of the brow is its most delicate part. If it’s too dark or solid, the whole face can look severe.
- Avoid a very dark tail. The tail should be a little more defined than the front, but not a separate stripe.
If you remember one rule, make it this: your brows should look like your hair on its best day.
Eyebrow Makeup for Sparse Brows
Sparse brows don’t call for a different approach, just more careful product choices and more patience.
Small gaps. Use a fine pencil or a brow pen and place tiny, hair-like strokes only inside the gap, then blend gently. A wide-tipped product will cover more than the gap and look heavy.
Uneven density. Many people have one side or one section that’s thinner. Start with a very light powder to even out the color, then add pencil strokes on top for realistic texture.
Over-plucked brows. Use a soft-colored powder or pencil to fill the missing areas, keeping the color light. Then brush and set with gel. Avoid tweezing while you grow them out, and expect the process to take time. Hair growth varies.
Thin tails. Extend the tail only as far as your guide dot, using short strokes that taper to a soft point. If you extend past that dot, the brow will look pulled downward.
Sparse arches. Add thin, diagonal strokes through the arch, following the direction the hairs would naturally grow. Avoid drawing a solid peak, which tends to look sharp and artificial.
| If you have… | Consider… |
|---|---|
| Small gaps | Pencil or pen |
| Widespread sparseness | Powder base + pencil strokes |
| Very light hair | Tinted gel + light pencil |
| A desire for bolder definition | Pomade, applied sparingly with an angled brush |
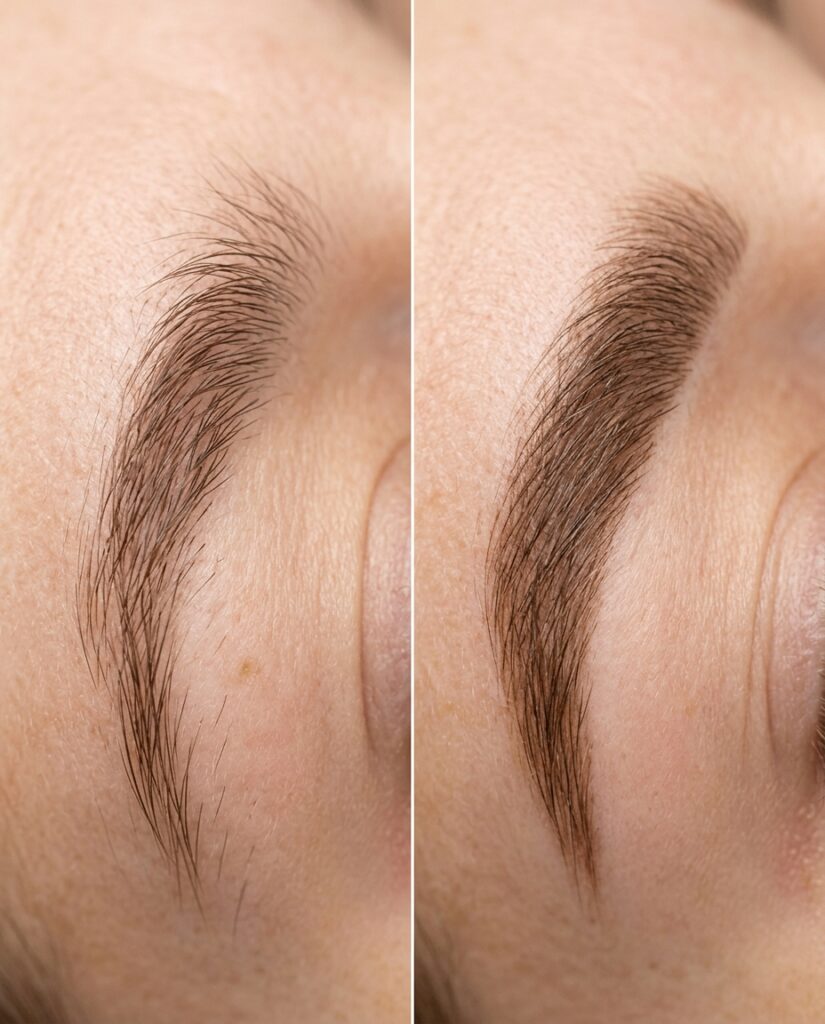
If your brows are thin because of hair loss you can’t explain, or the skin around them is irritated, that’s a question for a doctor or dermatologist rather than a makeup fix.
Eyebrow Makeup for Beginners: Common Mistakes
Almost every beginner hits the same handful of problems. Here’s what causes them and how to fix each.
| Mistake | Why it looks off | The fix |
|---|---|---|
| Using a shade that’s too dark | Dense pigment plus dark color looks heavy and drawn | Switch to a shade closer to your hair, or slightly lighter; blend with a spoolie to lighten what’s there |
| Drawing one solid line | Real brows are made of individual hairs | Use short, feathery strokes instead |
| Making both brows identical | Faces are asymmetrical; forced twins look artificial | Aim for sisters; fix only major differences |
| Starting too heavily at the inner brow | The front is the most delicate part; heavy color looks blocky | Begin at the middle, and keep the front lightest |
| Overextending the tail | A long tail pulls the face downward | Stop at your guide point |
| Using too much concealer | A bright, sharp edge reads as a stencil | Use a small amount, closer to your skin tone, and blend the edge |
| Skipping blending | Leaves harsh pencil lines and uneven color | Always go over with a spoolie |
| Applying too much gel | Causes flakiness, stiff hairs, and a crunchy look | Wipe excess off the wand and use short passes |
| Using too much pressure | Deposits a heavy, waxy line | Lighten your touch; build in layers |
| Shaping beyond the natural brow | Creates an unnatural silhouette | Work with your growth pattern and reshape only slightly |
If you make one of these mistakes, you rarely need to start over. A spoolie can lift a surprising amount of excess pigment, and a clean cotton swab or a dab of concealer can fix a stray line.
Eyebrow Pencil vs Powder vs Pomade vs Gel
Each product solves a different problem. Here’s how they compare.
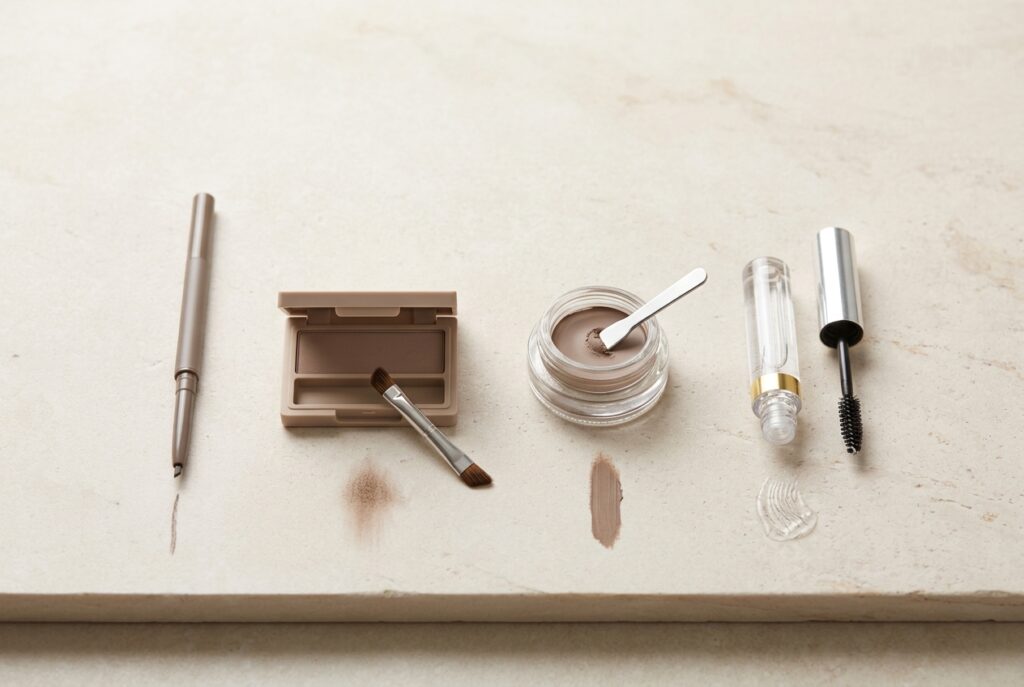
| Product | Best for | Finish | Skill level | Longevity |
|---|---|---|---|---|
| Pencil | Small gaps, hair-like strokes, beginners | Soft to defined, depending on pressure | Beginner | Varies by formula; check the manufacturer’s claims |
| Powder | Sparse or uneven brows; a soft, shadowy look | Soft matte | Beginner to intermediate | Varies; setting with gel may help it last |
| Pomade | Defined, graphic brows; fuller coverage | Matte, dense, and often more intense | Intermediate to advanced | Varies; many are formulated to resist smudging |
| Gel | Setting, lifting, and controlling hairs | Clear or tinted; ranges from natural to laminated | Beginner | Depends on formula; mainly holds shape |
| Pen | Very fine hair-like detail | Precise and natural when lightly used | Beginner to intermediate | Varies; check the product description |
Pencil or powder? For most beginners, a pencil is easier because you control the line, and a powder can be added later for softness. If your brows are sparse across the whole brow, powder gives a more even base. Many people end up using both.
Brow gel vs brow pomade? Gel is mostly about hold. It sets and shapes hairs, and tinted versions add some color. Pomade is mostly about pigment. It fills and defines, and it usually needs a brush.
How to Make Eyebrow Makeup Last All Day
Nobody can promise all-day wear in every situation, but you can improve your odds.
Prep the skin. Oil and heavy moisturizer are the most common reasons brow makeup fades. Wipe the area with a tissue, or use a dab of powder, before you start. If your routine is part of the problem, skincare routine for oily or combination skin can help you pick lighter products.
Layer, don’t press. Two light layers grip better and look more natural than one thick one.
Set with gel. A clear or tinted gel helps hold both pigment and hairs in place. Apply it after the pencil or powder.
Choose formulas for your life. If you sweat, swim, or live somewhere humid, water-resistant formulas may hold up better. They need a proper makeup remover, and you should stop using any product that irritates your skin.
Don’t overload. Thick layers crack, flake, and slide. For touch-ups, a quick spoolie pass and a tiny bit of product in the tail usually does the job.
Where a manufacturer lists wear time, treat it as their claim under their testing conditions, not a guarantee for your skin.
How to Get Fuller-Looking Brows Without Making Them Look Fake
Fullness comes from texture, not width. A wide brow drawn with a thick line looks like makeup. A brow with a slightly denser, textured center looks fuller and still natural.
- Fill in hair-like strokes where hairs are fewest, following growth direction.
- Try a brow pen for detail. Its ultra-fine tip makes thin lines that look like hairs, especially at the tail.
- Use powder strategically. A light dusting through the middle adds body without a hard edge.
- Use clear or tinted gel. Clear gel lifts hairs off the skin so they look denser; tinted gel adds a little color at the tips.
- Brush up and out. This alone makes brows look fuller.
- Fill only where you need it. The untouched hair you already have is your most convincing fullness. If you extend the lower edge, do it only slightly.
Eyebrow Makeup Looks to Try
Natural everyday brows. Brush brows up, fill only the gaps with a light pencil, blend, and set with clear gel. Works for almost any occasion.
Soft polished brows. Add a light powder base, define the tail, and clean the lower edge with a touch of concealer. Suits work, events, and photos.
Fluffy brows. Skip most of the filling. Brush hairs upward with clear gel and add tiny strokes to gaps. Best if your brows are already fairly dense.
Defined brows. Outline lightly with a fine pencil or pomade, fill, and give the tail extra definition. Pairs well with bold lip colors.
Laminated-look brows. Brush hairs up and slightly out with a strong-hold clear gel. This look is about hair direction and shine, not filling. Professional brow lamination is a separate salon service.
Soft-glam brows. A fuller powder base, crisp tail, and cleaner lower edge, paired with shimmery eyeshadow. See eye makeup tutorial or soft-glam makeup guide for building the eyes around your brows.
Minimal makeup brows. A swipe of tinted gel adds color and shape when everything else stays bare. It fits neatly into.
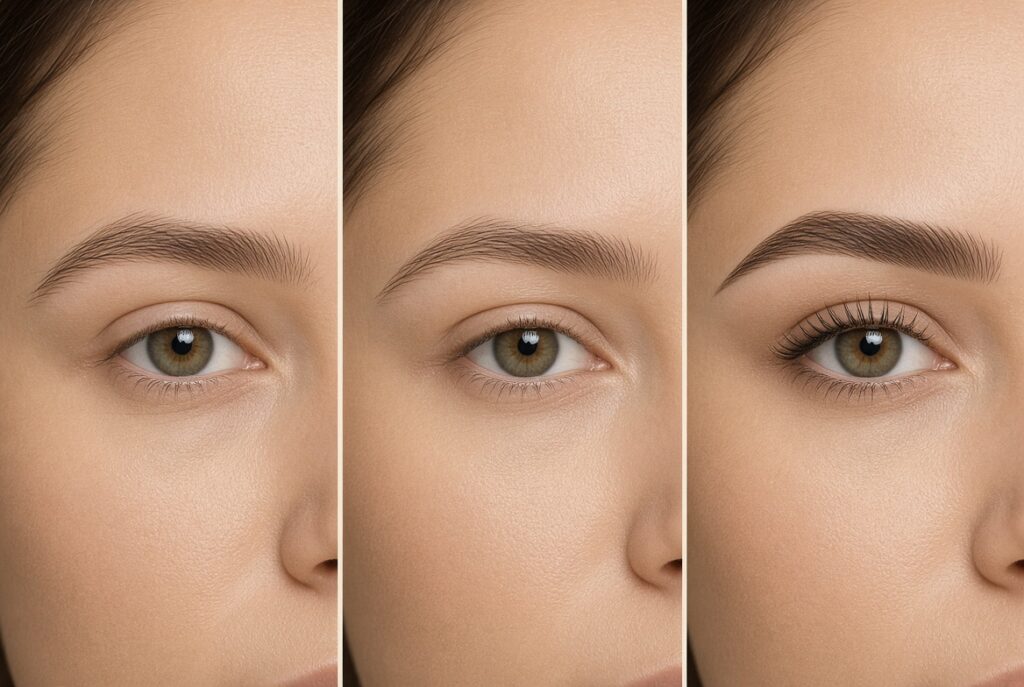
Amazon Eyebrow Makeup Products to Consider
You don’t need to buy anything to get good results with eyebrow makeup, but the right tools make it easier. The products below are real options from established brands, chosen to cover different brow types and skill levels.
For each product, the listing says covers facts from the brand or Amazon listing, and our view is editorial context. Prices, shades, and availability change often, so check the current listing before buying.
Pencils and pens
NYX Professional Makeup Micro Brow Pencil.
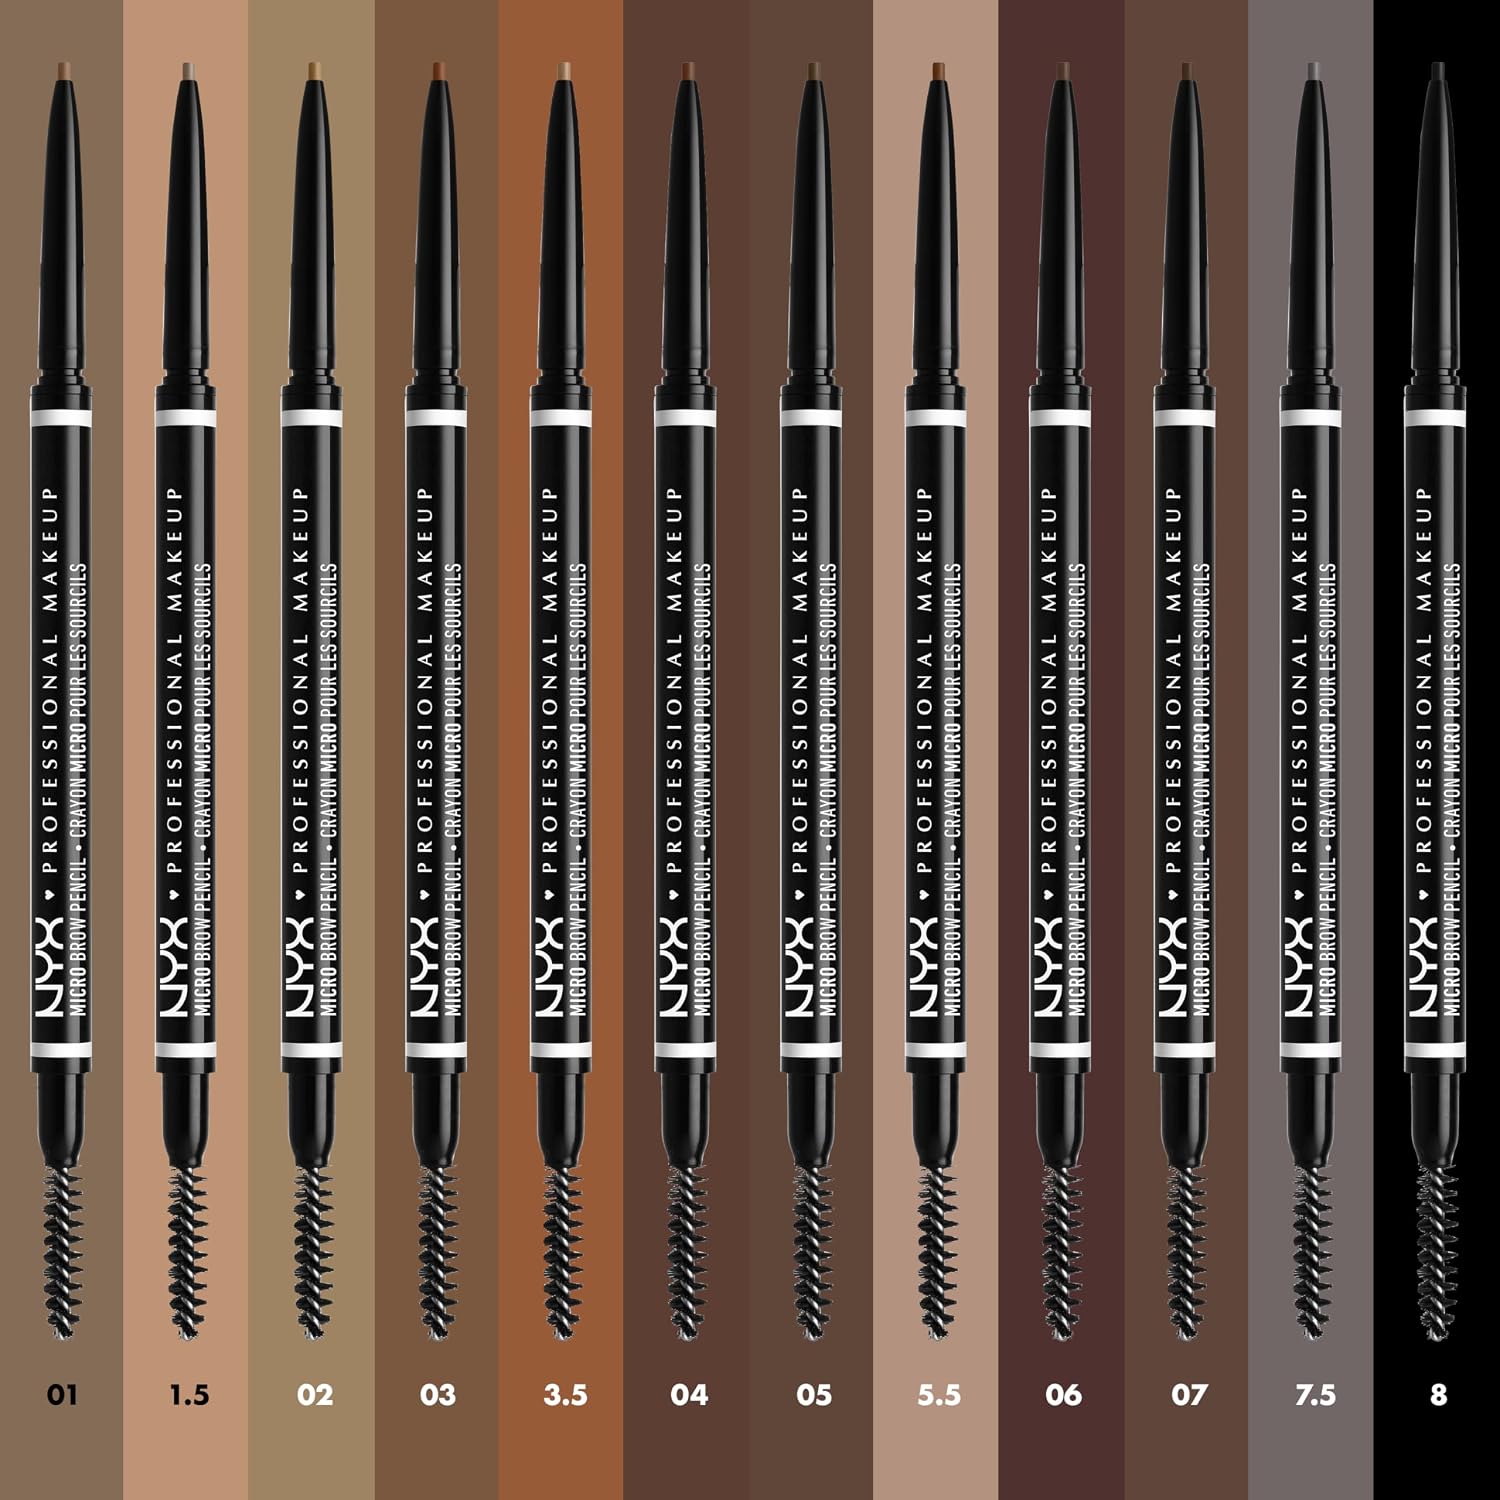
The listing says: an ultra-thin, retractable pencil made for fine, hair-like strokes.
Our view: a sensible first pencil for natural, everyday brows.
The fine tip suits small gaps better than bold reshaping. Buy on Amazon
e.l.f. Instant Lift Brow Pencil.
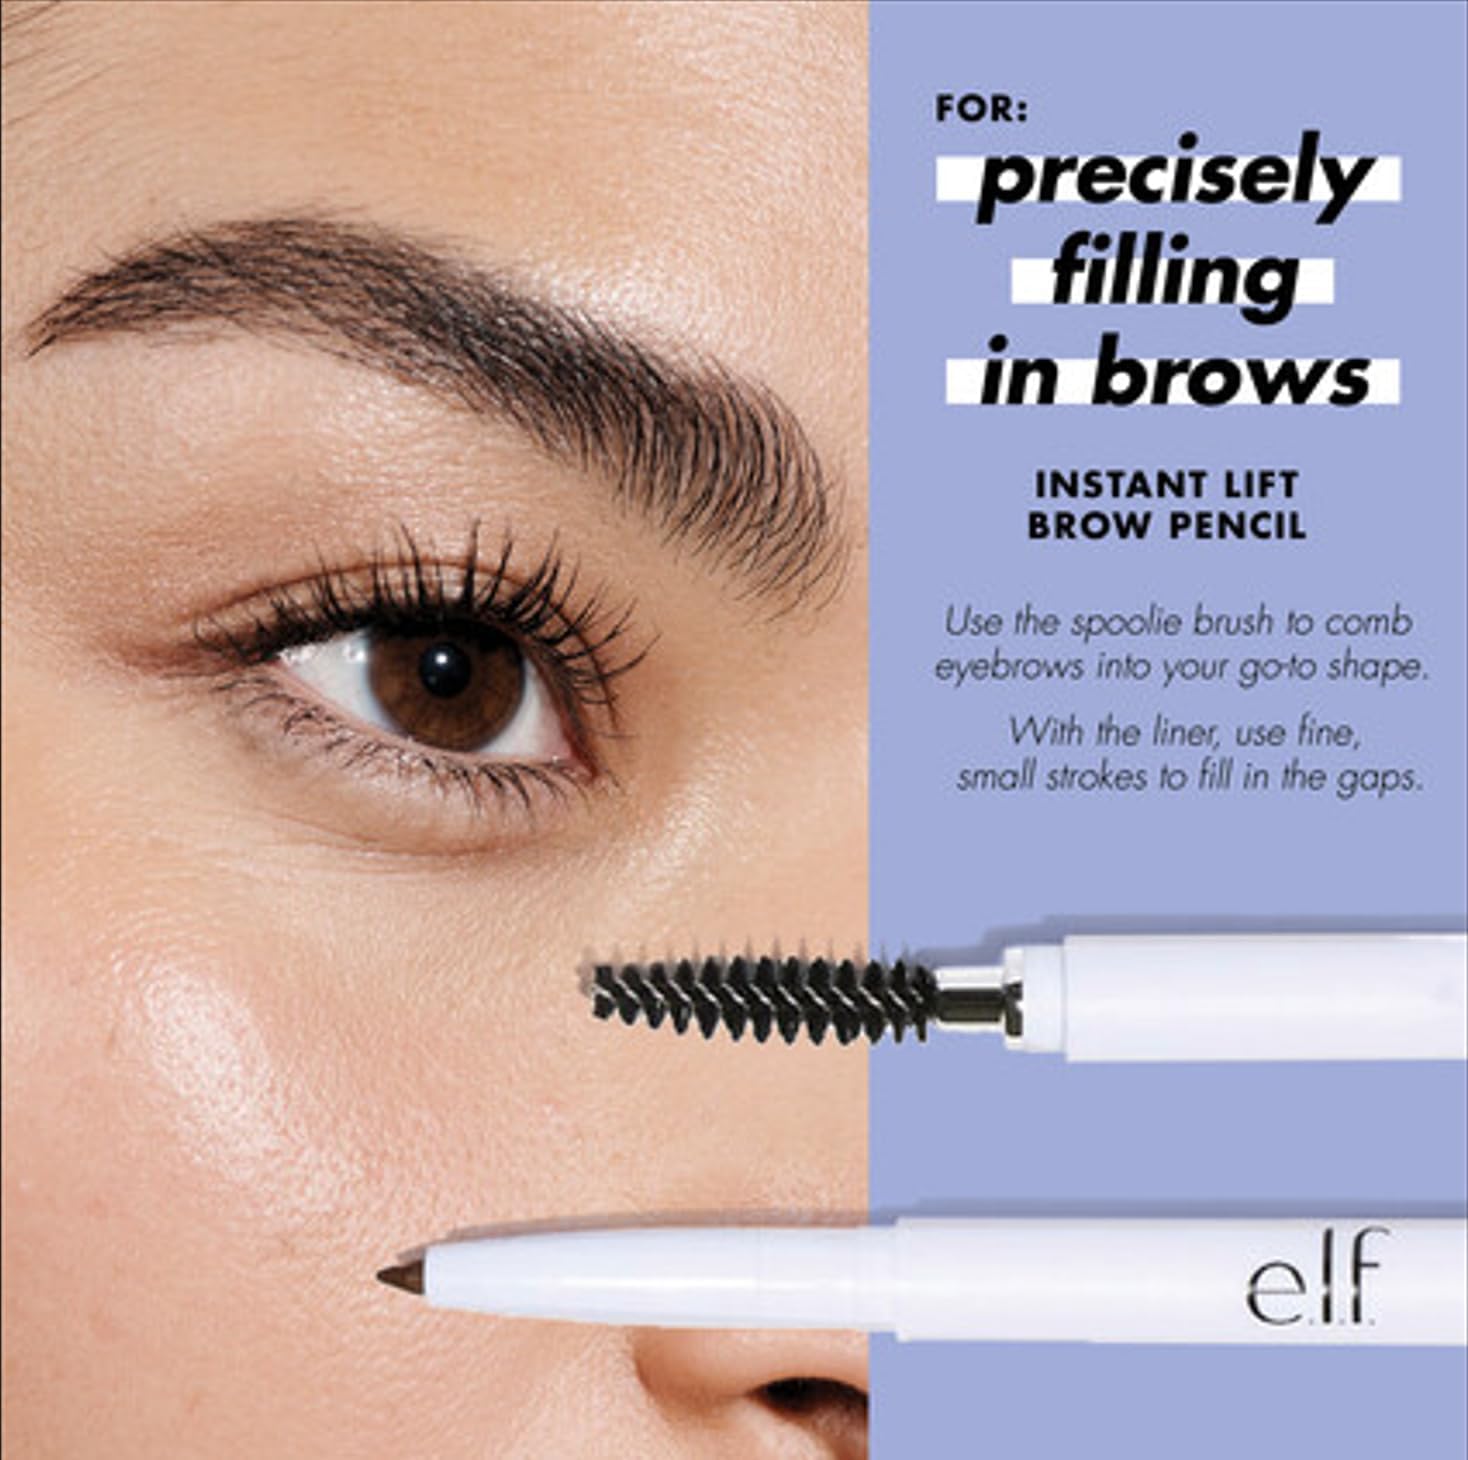
The listing says: a dual-sided pencil with a fine tip and a spoolie, in several shades.
Our view: a budget-friendly way to learn filling and blending. If your skin is very oily, set it with gel. Buy on Amazon
Benefit Cosmetics Precisely, My Brow Pencil.
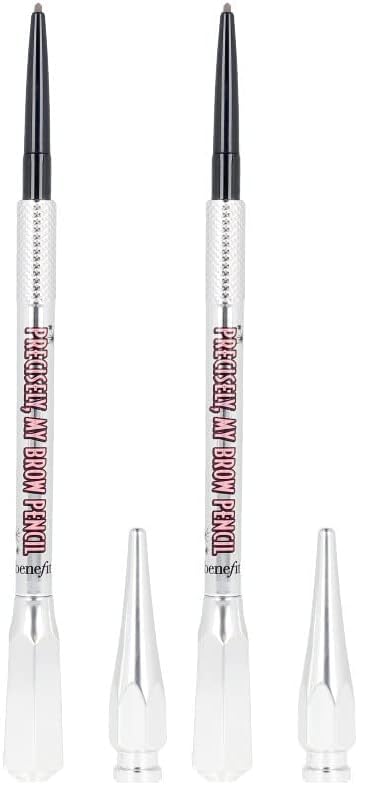
The listing says: an ultra-fine, waterproof pencil with a twist-up tip and built-in spoolie; Benefit states up to 12 hours of wear.
Our view: good for precise detail and a smudge-resistant formula, though it costs more, so choose your shade carefully. Buy on Amazon
Anastasia Beverly Hills Brow Wiz.
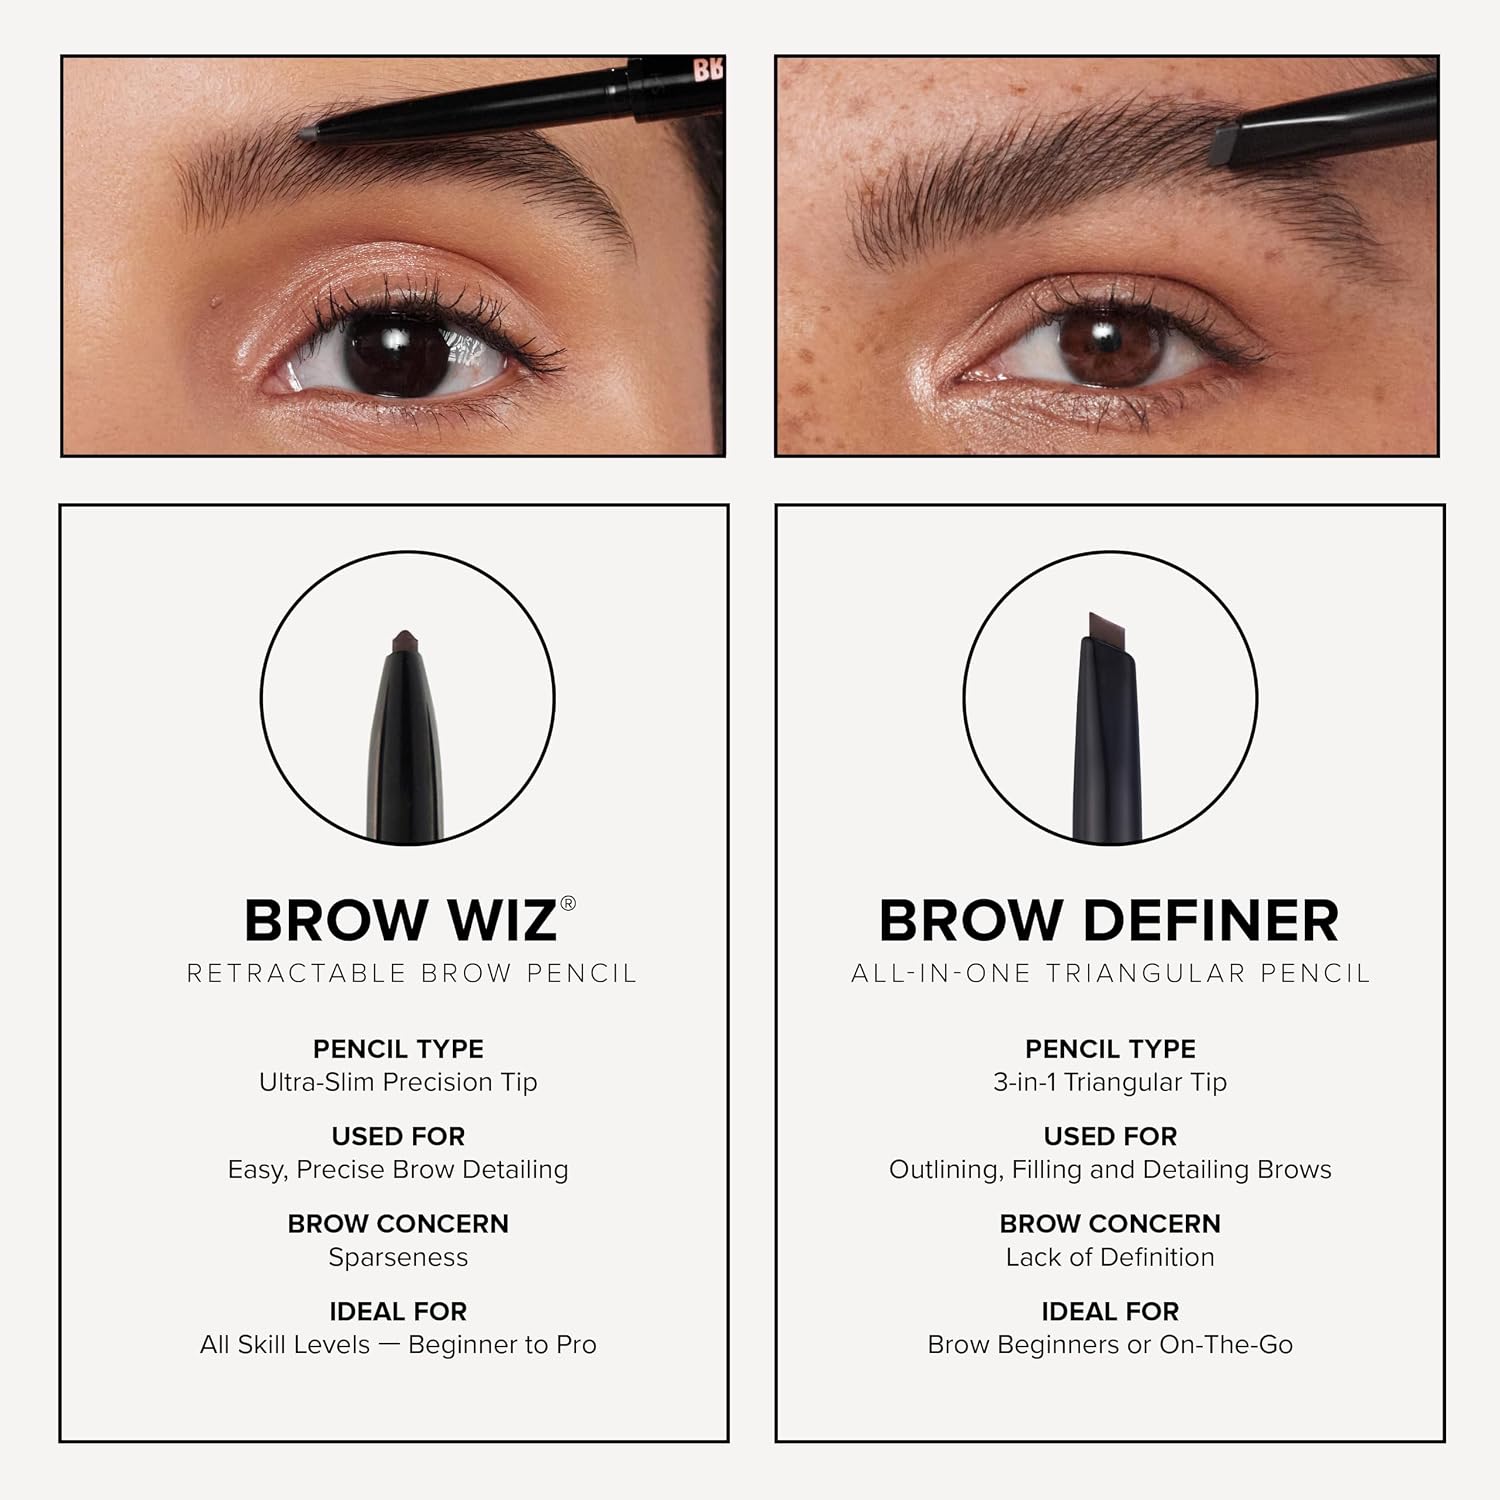
The listing says: an ultra-slim retractable pencil with a built-in spoolie and a wide shade range.
Our view: well suited to defined or soft-glam looks and tail detail. The fine tip rewards a light hand. Buy on Amazon
L’Oréal Paris Brow Stylist Definer.
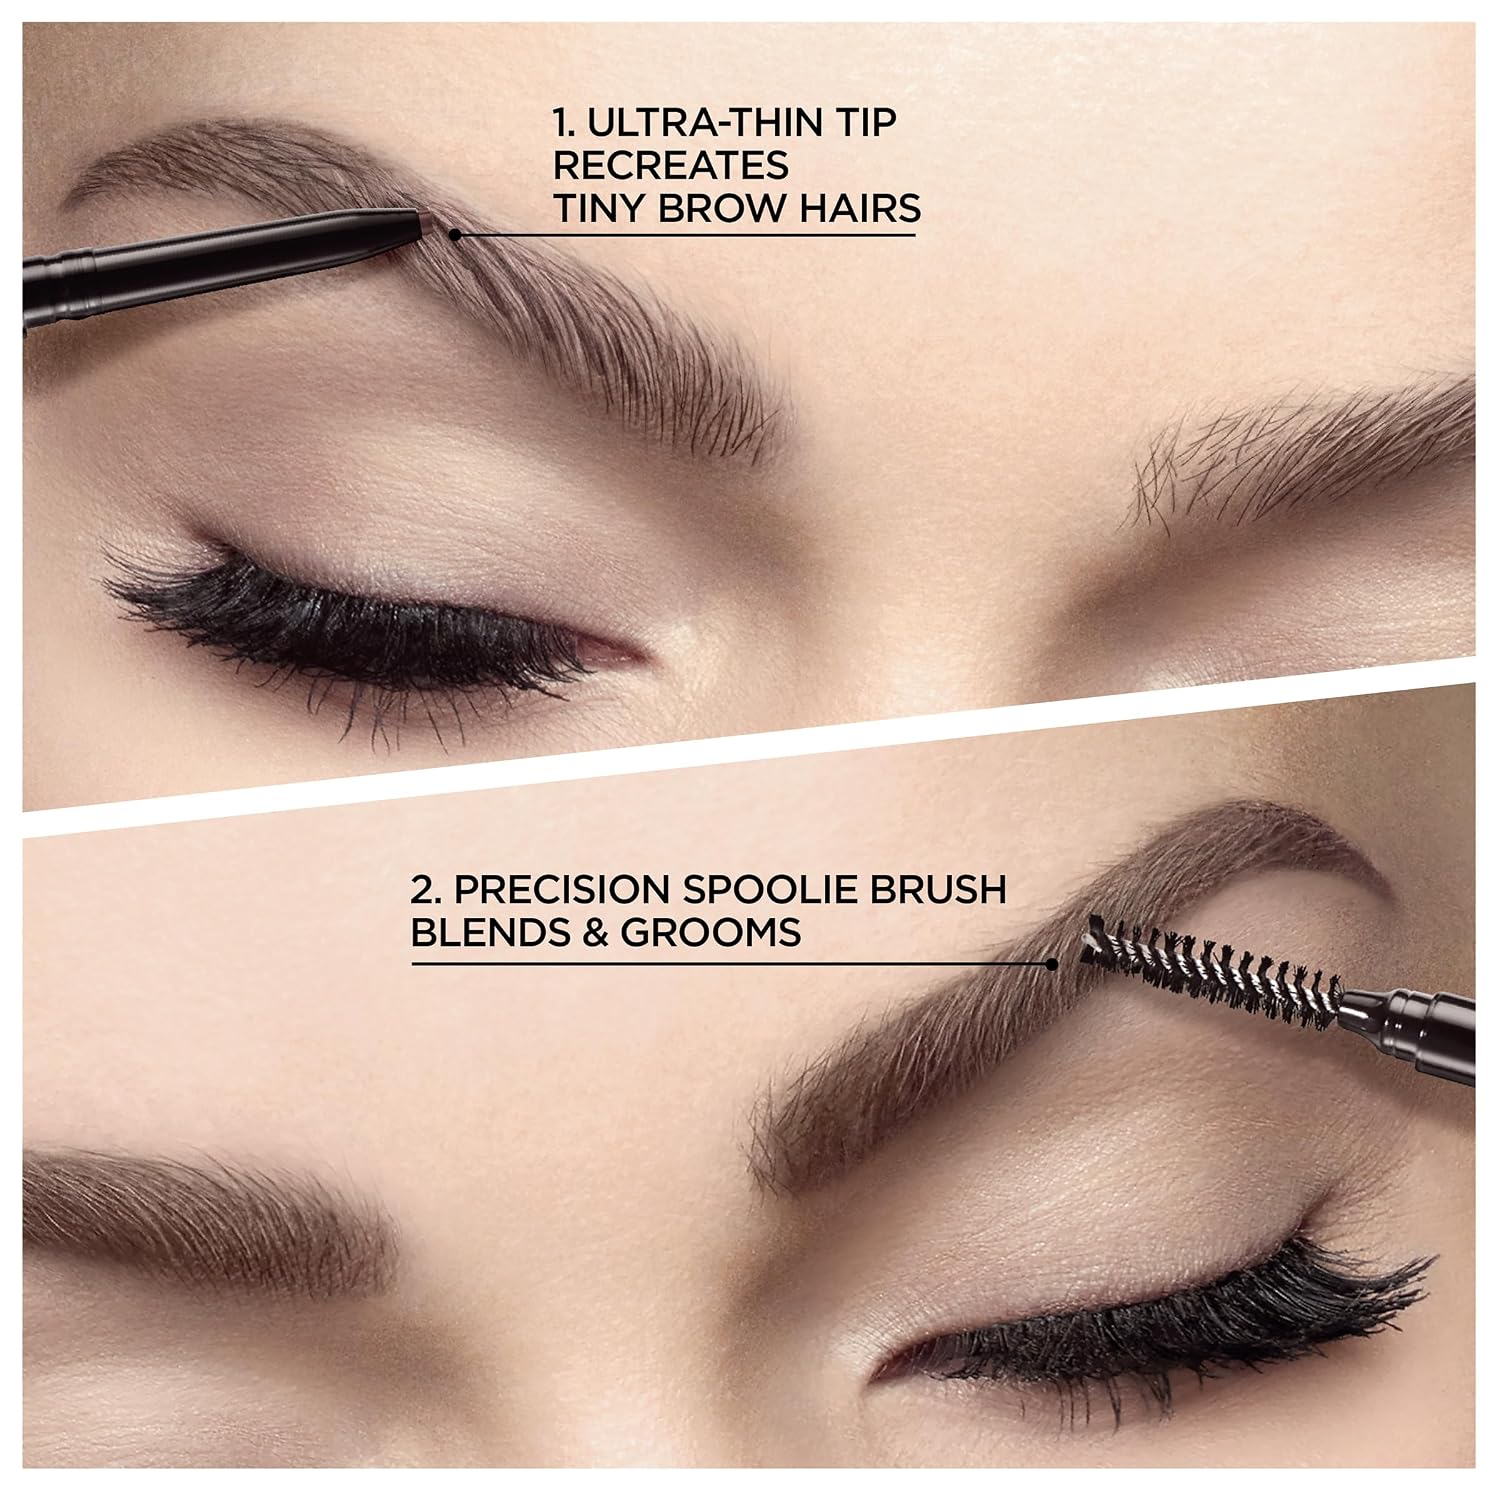
The listing says: an ultra-fine, mechanical, waterproof pencil with a spoolie.
Our view: a drugstore choice for natural fills and small gaps when you want a slim, no-sharpen pencil. Buy on Amazon
Two-in-one and powder-style
Maybelline Build-A-Brow 2-in-1 Brow Pen and Sealing Brow Gel.
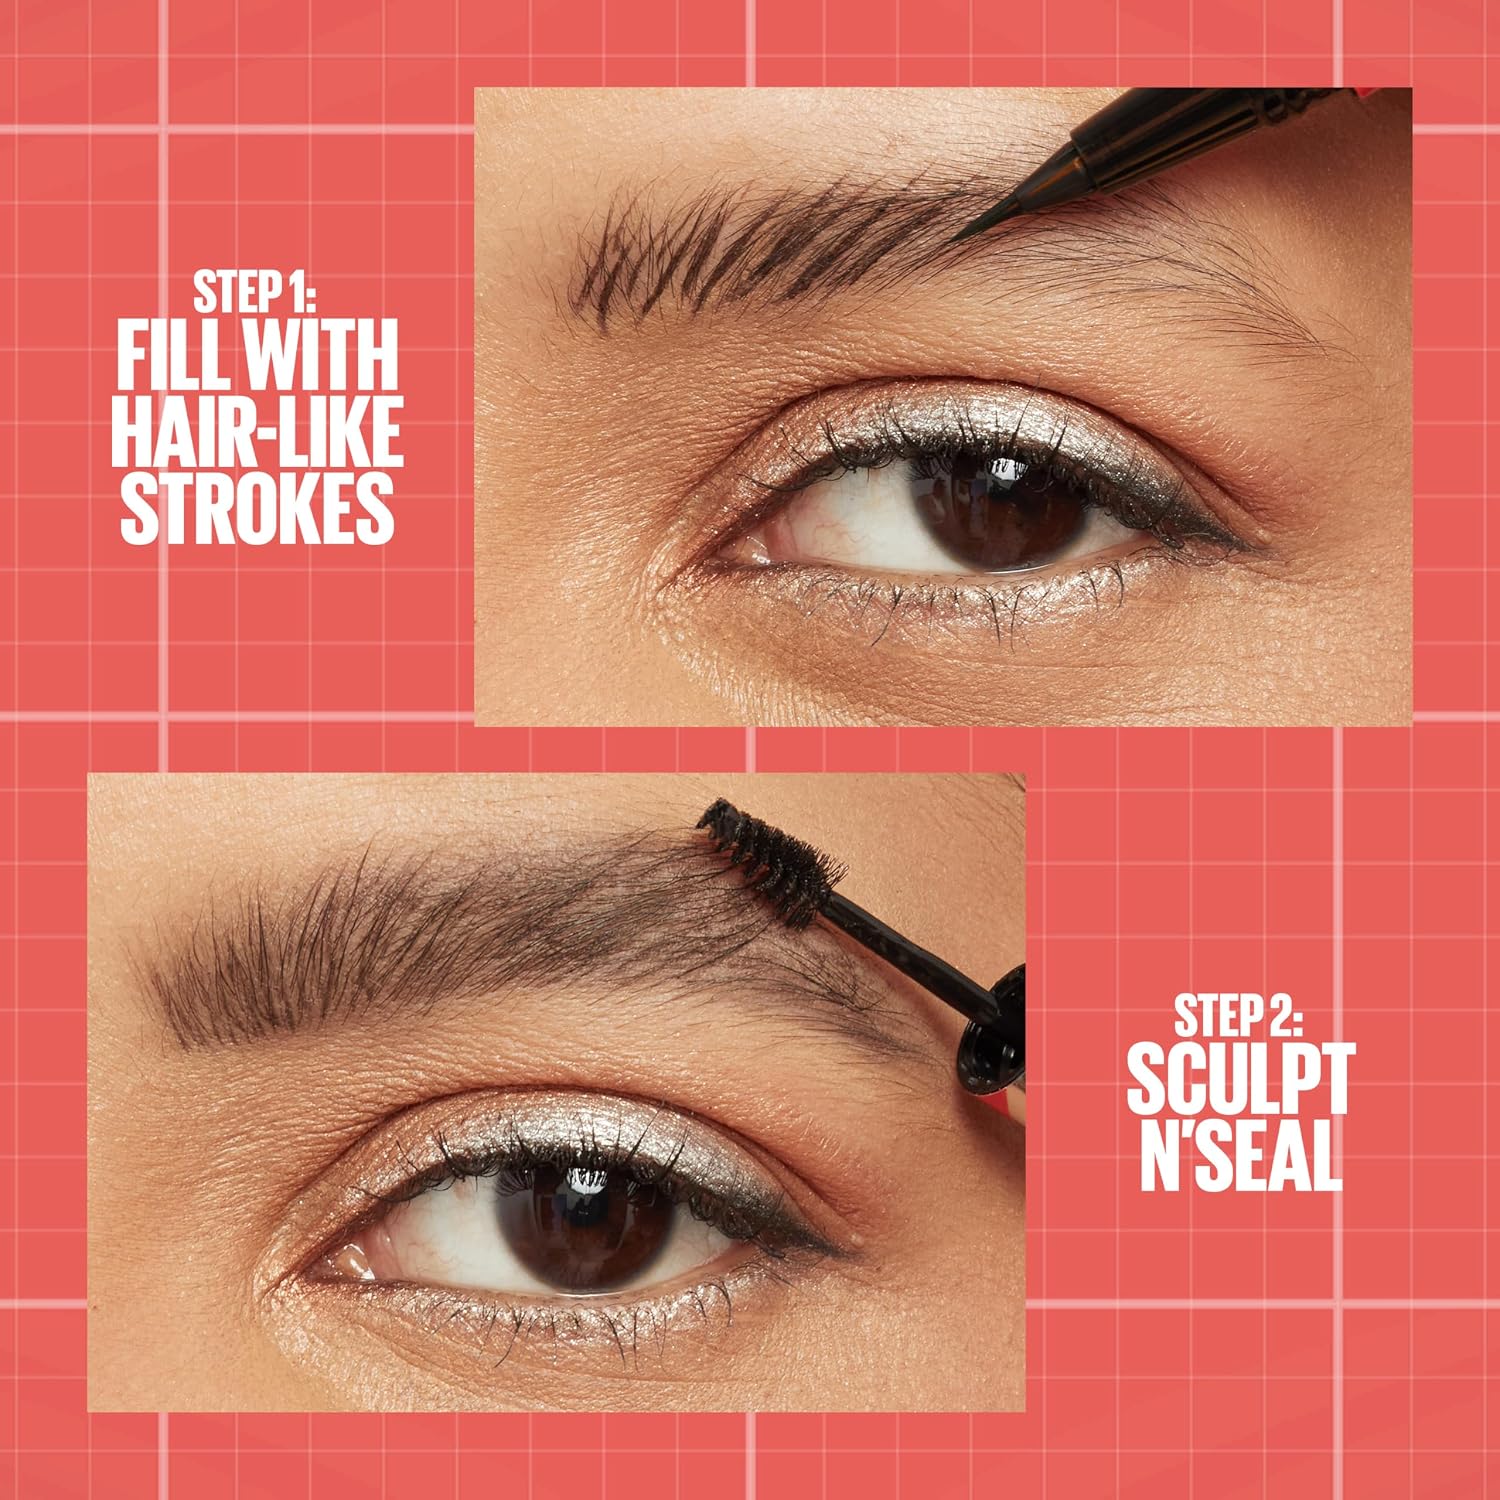
The listing says: a brow pen and clear sealing gel in one tool; Maybelline claims up to 24 hours of wear.
Our view: convenient for filling and setting in one go, easiest for small to moderate gaps. Treat the wear claim as the brand’s. Buy on Amazon
NYX Professional Makeup Fluff & Snatch Brow Powder Pen.
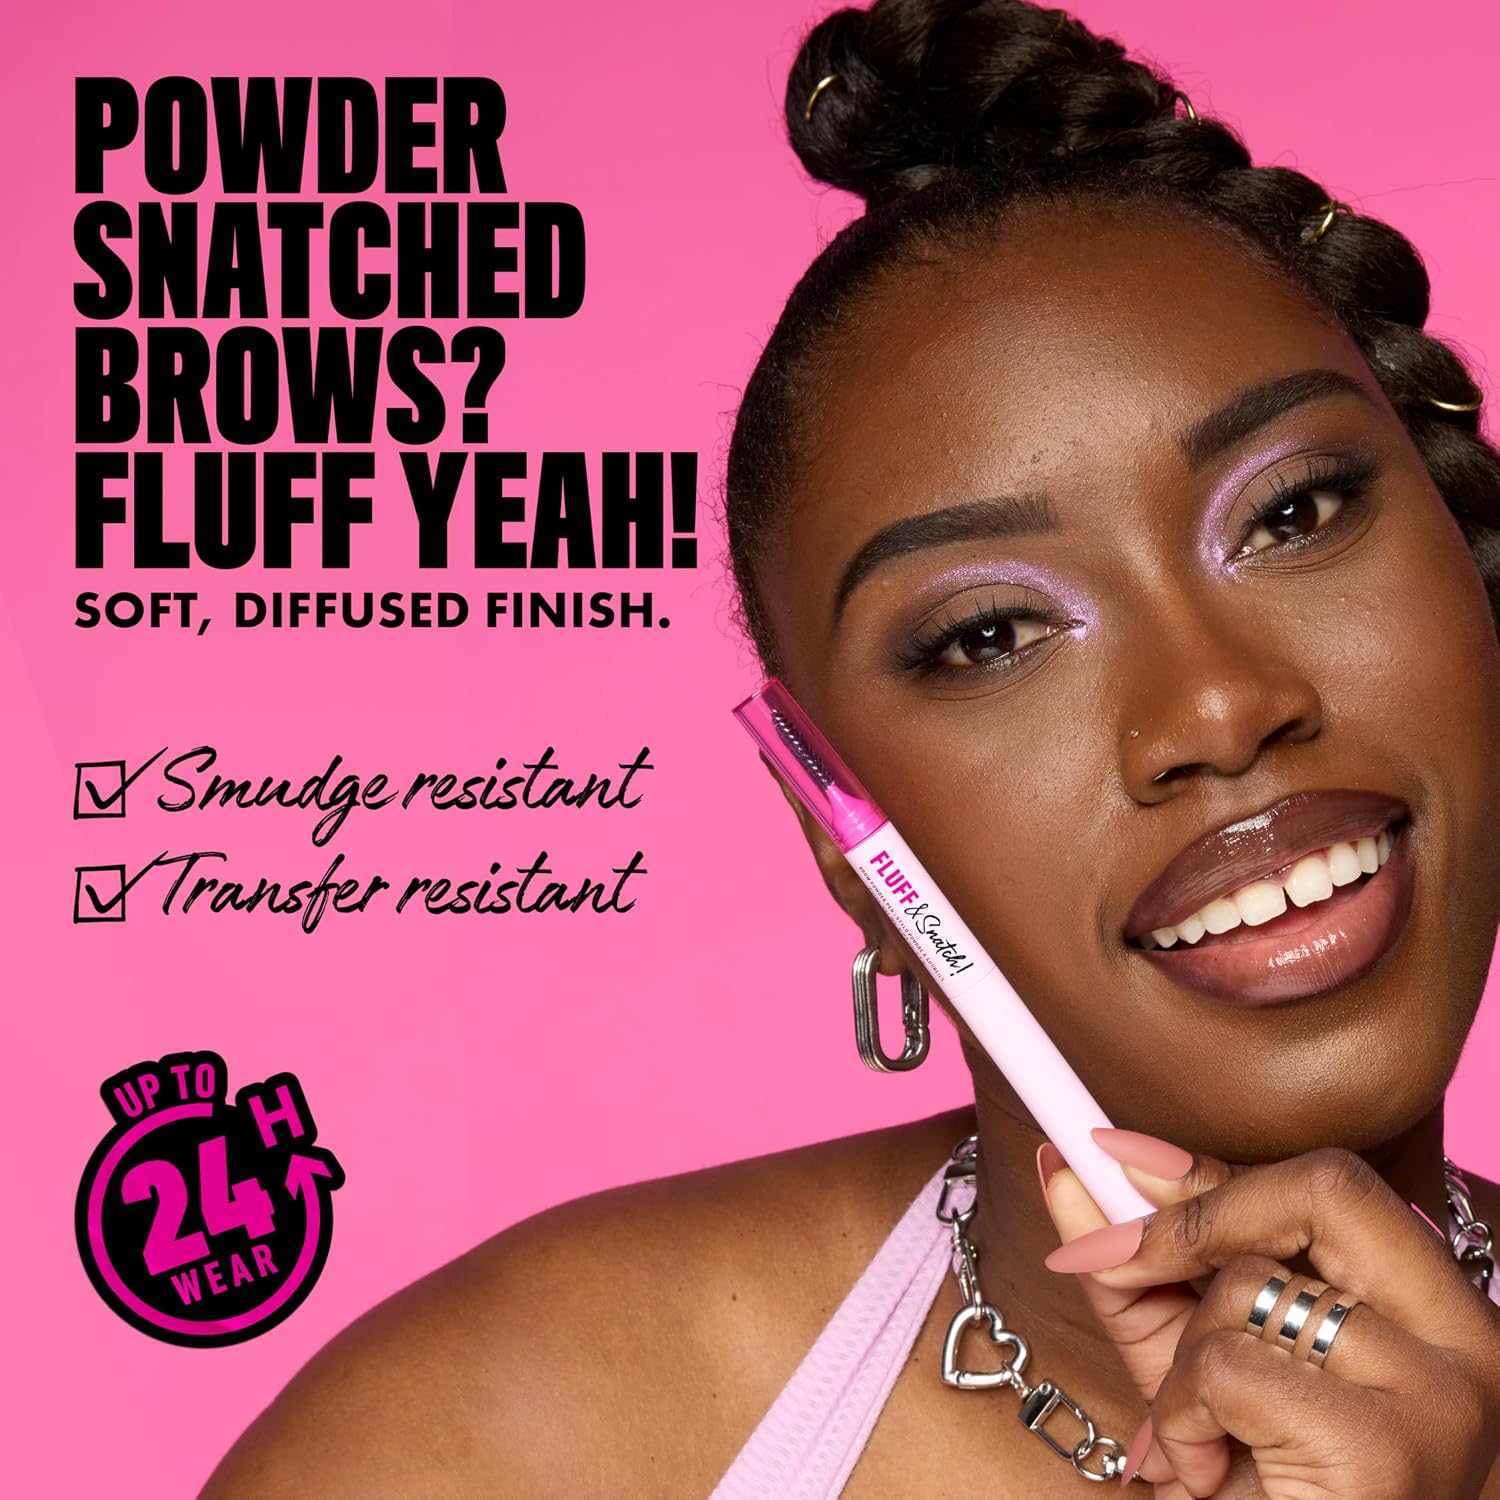
The listing says: a cream-to-powder brow pen for soft, defined brows.
Our view: useful if you want a powdery finish in a pen format. Buy on Amazon
Pomade and gel
Anastasia Beverly Hills Dipbrow Pomade.
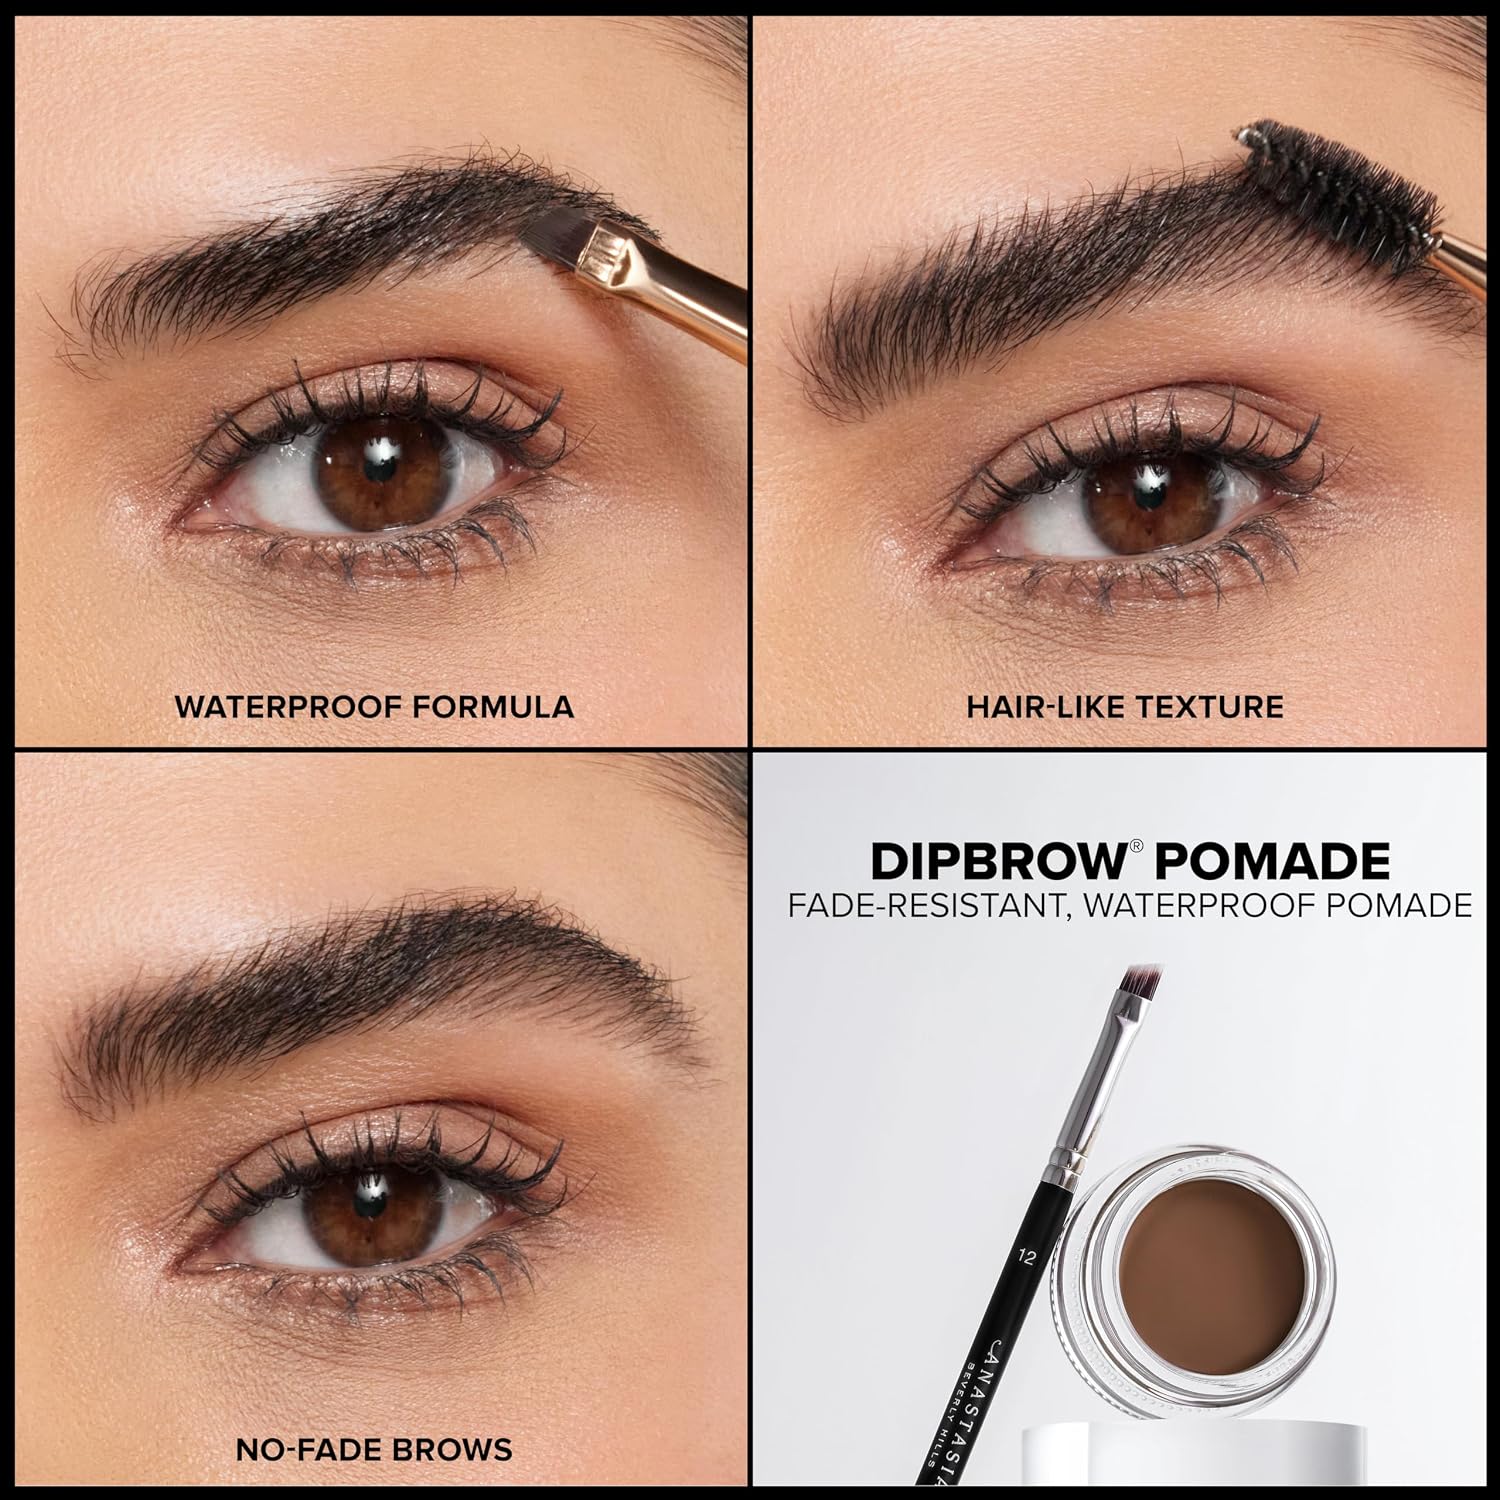
The listing says: a waterproof, smudge-proof pomade in a pot, in a range of shades.
Our view: best for defined looks and people comfortable with an angled brush. It deposits a lot of pigment, so it isn’t the easiest place for beginners to start. Buy on Amazon
Anastasia Beverly Hills Clear Brow Gel.
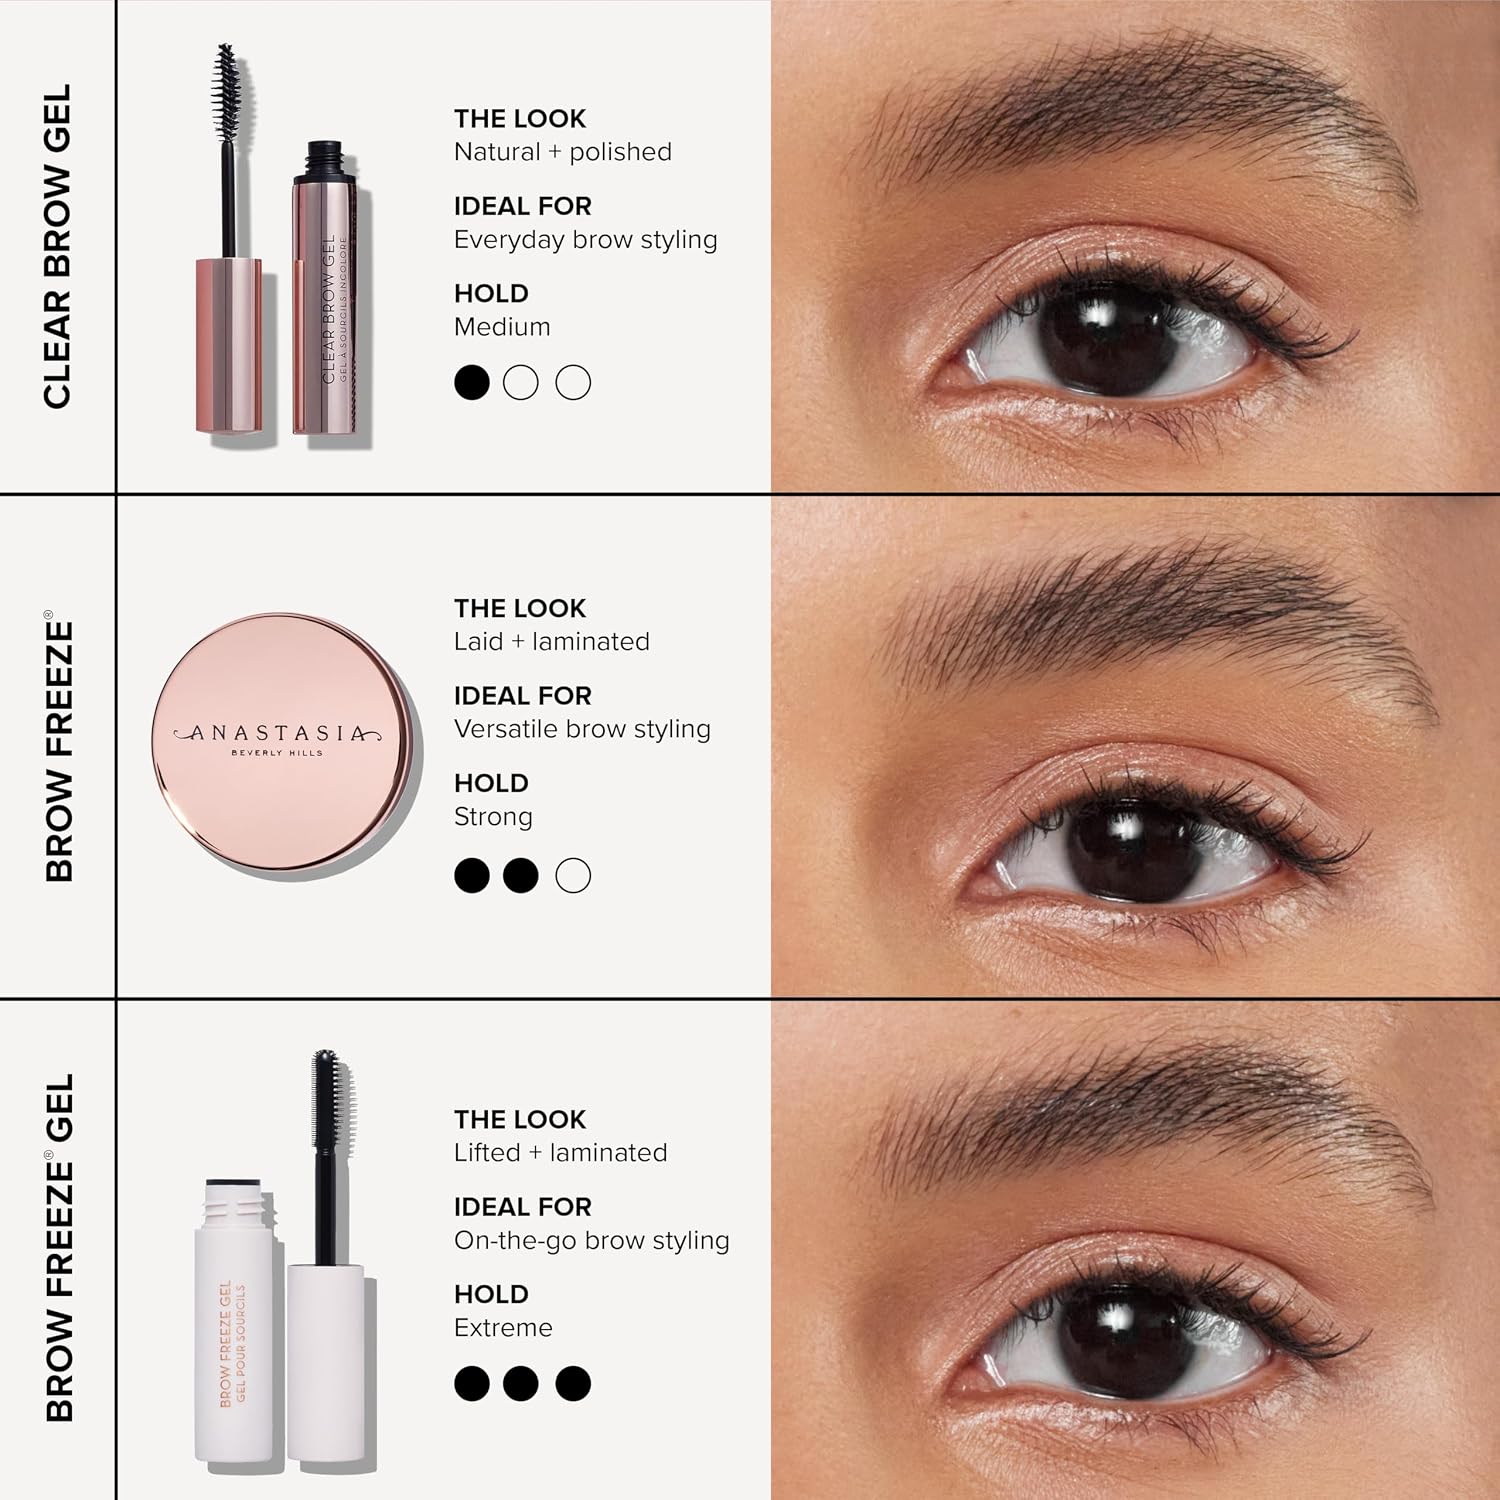
The listing says: a lightweight clear gel that sets hairs and dries clear with a flexible hold.
Our view: a good finishing step for fluffy, laminated-look, or natural brows, and it works with any shade because it’s clear. Buy on Amazon
Your Eyebrow Makeup Routine, Simplified
Eyebrow makeup works best as editing, not drawing. Find your natural shape, choose a shade close to your brow hair, use light hair-like strokes, blend with a spoolie, and set with gel. Keep the front soft, the tail defined, and a little texture in the middle.
Your next steps:
- Map your brows with the nostril-to-eye method.
- Pick one pencil and one gel, and practice the 12-step tutorial without rushing.
- Add a powder or pomade only if you find you need it.
- Recheck your shade in daylight, since a small adjustment can make a big difference.
FAQ
What is the easiest eyebrow makeup for beginners?
A retractable pencil with a built-in spoolie is usually the easiest place to start. You control the line, there’s nothing to sharpen, and the spoolie blends as you go. Add a clear gel once you’re comfortable.
How do I make my eyebrows look perfect naturally?
Work with your natural shape rather than against it. Brush hairs up, fill only the gaps with light hair-like strokes, blend with a spoolie, and set with gel. Perfect brows aren’t identical brows, so aim for balanced, not matching.
Should my eyebrow pencil be lighter or darker than my hair?
Close to your brow hair, and slightly lighter or softer if you’re unsure. Pencil pigment is more opaque than real hair, so the same color can look heavier on the skin. Blonde brows are the exception: a slightly deeper shade often looks better.
How do I fill in sparse eyebrows?
Brush the hairs up to see where the gaps are, then use short strokes of pencil or pen in the direction the hair grows. For widespread sparseness, a light powder base followed by fine pencil strokes gives both softness and texture.
Is eyebrow pencil or powder better?
Neither is better overall. Pencils give control and hair-like detail, while powders give a soft, diffused finish. Beginners often find pencils easier, and many people combine both.
How do I make my eyebrows look fuller?
Focus on texture, not width. Fill gaps with fine strokes, add a dusting of powder through the middle, and brush the hairs up and out with clear or tinted gel. Avoid drawing a thick line, which looks drawn on.
How do I stop my eyebrow makeup from looking harsh?
Use lighter pressure, choose a shade close to your natural brow hair, keep the front of the brow softer, and blend everything with a spoolie. Avoid sharp outlines and overly dark tails.
How do I make eyebrow makeup last longer?
Start with clean, oil-free skin, apply product in light layers, and set with a gel. Water-resistant formulas may help if you sweat or spend time in humid weather. Wear time varies by product and skin, so treat any manufacturer claim as a guideline.
How do I shape my eyebrows before applying makeup?
Brush the hairs up and use a pencil to find your natural start, arch, and tail. Remove only stray hairs below and between the brows, and avoid taking too much from the top line. If you’re unsure, leave the hairs and let makeup do the shaping.
What is the difference between brow gel and brow pomade?
Brow gel mainly sets and shapes the hairs, and some versions add a bit of tint. Brow pomade is a pigmented cream that fills and defines, and it usually needs an angled brush. Many people use a pomade for color and a gel to finish.
How can I make uneven eyebrows look more symmetrical?
Use the nostril-to-eye mapping method on both brows, fix the biggest differences first, and alternate between brows as you go instead of finishing one completely. A little asymmetry is normal, so aim for brows that feel balanced rather than identical.
For your everyday routine, see everyday makeup routine for beginners.