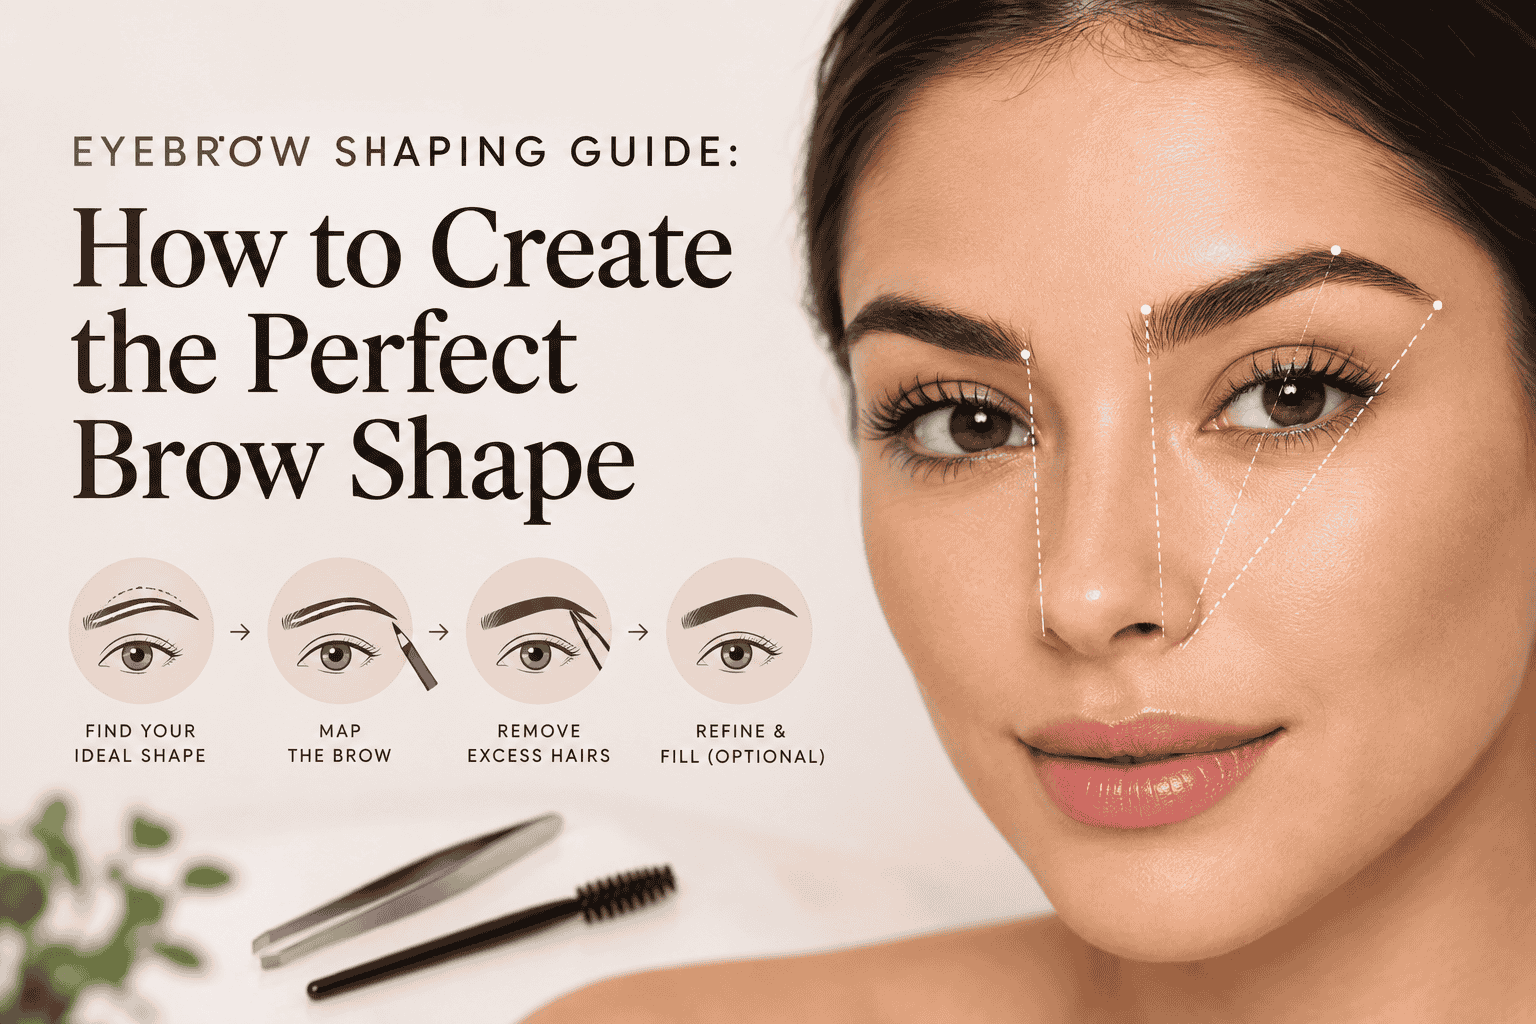
If you’ve ever tweezed one hair too many and then spent six weeks waiting for it to grow back, you already know eyebrow shaping is unforgiving. But most “brow disasters” aren’t actually plucking accidents. They’re mapping problems — hairs removed before anyone figured out where the brow was supposed to start, arch, and end in the first place.
Eyebrow shaping is really two skills stacked together: figuring out the shape that fits your bone structure, then removing only what doesn’t belong to it. Skip the first step, and even careful tweezing can leave you with brows that look thin, uneven, or strangely far apart.
This guide walks through both parts — how to map your brows before you touch a single hair, a full at-home shaping tutorial, how to choose between tweezing, waxing, threading, and razors, and what to do if your brows are already uneven. No dramatic transformations promised. Just a process that actually holds up in daylight.
What Is Eyebrow Shaping?
Eyebrow shaping is the process of grooming brow hair into a defined shape that follows your natural bone structure, typically by mapping the ideal start, arch, and end points before removing stray or unwanted hairs. It can be done with tweezers, wax, thread, or a brow razor, and it’s usually followed by light makeup to define the shape further.
Unlike a haircut, brow shaping is mostly subtractive — you’re not creating a new shape from nothing, you’re revealing the shape that’s already loosely there and cleaning up around it. That’s why mapping matters so much more than the tool you use to remove hair. A precise pair of tweezers can’t fix a shape that was never mapped correctly.
How to Find the Right Eyebrow Shape for Your Face

Face-shape guidance is a useful starting point, not a rulebook. Bone structure, hair growth pattern, and personal style all matter more than a chart. Think of the table below as a direction to experiment from, not a formula to follow exactly.
| Face Shape | General Brow Direction | Styling Consideration |
|---|---|---|
| Oval | Soft, moderate arch | Most brow shapes tend to suit oval faces; keep the natural line rather than over-correcting |
| Round | Slightly angled arch | A defined angle adds visual length without looking harsh |
| Square | Softer, rounded arch | Sharp angles can echo the jawline; a gentler curve often balances it |
| Heart | Low, soft arch | Avoid pulling the arch too high, which can emphasize width at the temples |
| Long | Straighter, flatter brow | A flatter shape can visually shorten the face; avoid dramatic peaks |
| Diamond | Soft curved arch | A rounded arch tends to soften pronounced cheekbones |
If a shape from this table doesn’t match what looks good on you in the mirror, trust the mirror. These are starting points other people have found useful, not a diagnosis of your face.
The 3-Point Brow Mapping Method

Before removing anything, map three points: where the brow should start, where it should peak, and where it should end. A thin, straight tool — a brow pencil, brush handle, or dedicated mapping stick — held against your face gives you all three.
- Start point: Hold the tool vertically against the outer edge of your nostril. Where it hits your brow bone is roughly where your brow should begin.
- Arch point: Angle the tool from the outer edge of your nostril through the outer edge of your iris (looking straight ahead). Where it crosses your brow bone marks your natural arch.
- End point: Angle the tool from the outer edge of your nostril through the outer corner of your eye. Where it meets the brow bone is roughly where the brow should end.

Mark each point lightly with a pencil dot before you tweeze anything. Hairs that fall outside these three connected lines — especially between the start point and the bridge of your nose, or well below the natural arch — are the ones you’re generally safe to remove.
Two things trip people up here. First, the “ideal” nostril-to-eye lines are a guide for your bone structure, not a universal grid — a slightly asymmetrical face (which is normal) will give you slightly different dot placements on each side, and that’s fine. Second, mapping only tells you what could come out. It doesn’t mean everything outside the lines needs to go in one session. Start conservative.
How to Shape Your Eyebrows at Home

This is the full process, start to finish. Go slowly the first few times — you can always remove more hair, but you can’t put it back.
1. Prepare the skin.
Cleanse the brow area and pat it dry. Shaping on clean, dry skin reduces irritation and makes it easier to see exactly which hairs you’re removing.
2. the brow hairs upward.
Use a spoolie brush to comb hair up and slightly outward. This reveals the natural shape and length of hairs you might otherwise trim or tweeze by mistake.
3. Map the brow.
Use the 3-point method above to mark the start, arch, and end points on both brows before removing anything.
4. Identify unwanted hairs.
Look for stray hairs above the natural brow line, hairs between the brows (the unibrow area), and hairs clearly outside your mapped points. Leave anything you’re unsure about for now.
5. Tweeze carefully.
Pull skin taut, grip each hair as close to the root as possible, and pull in the direction of hair growth. Remove a few hairs at a time, checking your progress rather than tweezing in one long pass.
6. Trim only when necessary.
If some hairs are noticeably longer than the rest, brush them upward and trim just the tips with brow scissors. Trim conservatively — this step is easy to overdo.
7. Check symmetry.
Step back from the mirror (arm’s length or further) and compare both brows. Perfect symmetry isn’t the goal; a similar overall shape and thickness is.
8. Fill and define.
Use a brow pencil, powder, or pomade to add hair-like strokes in any sparse areas, following your natural direction of growth.
9. Set the brows.
Brush a clear or tinted brow gel through both brows to hold hairs in place and blend any filled-in areas.
How to Choose Between Tweezing, Waxing, Threading, and Brow Razors
Each method removes hair differently, and the right one depends on your pain tolerance, how much time you have, and how precise you need to be.
| Method | Precision | Longevity | Best For | Main Consideration |
|---|---|---|---|---|
| Tweezing | Very high | 2–3 weeks | Detail work, touch-ups, sensitive skin | Slow for larger areas; easy to overpluck if rushed |
| Waxing | Moderate | 3–4 weeks | Fast, larger-area shaping | Removes multiple hairs at once — harder to control precisely |
| Threading | High | 2–3 weeks | Fine-tuning natural shape, sensitive skin | Best left to an experienced technician |
| Brow razor | Low–moderate | Days | Quick touch-ups between sessions | Only removes surface hair; not for reshaping |
Tweezing gives you the most control and is the easiest method to learn at home, which is why it’s the default in the tutorial above. Waxing and threading both remove hair faster but are harder to undo mid-process, so they’re generally better suited to a professional the first few times. A brow razor is a maintenance tool, not a shaping one — it’s useful for peach fuzz and stray hairs between full shaping sessions, but it won’t fix an uneven arch.
How to Avoid Over-Plucking Your Eyebrows
Over-plucking is almost always a pacing problem, not a technique problem. A few habits make it much less likely:
- Don’t chase perfect symmetry — brows are naturally a little asymmetrical, and trying to match them exactly usually means removing more from the fuller one.
- Avoid tweezing from the top of the brow unless a hair is clearly, obviously outside your mapped line. Most shape comes from cleaning up below and between the brows.
- Step back from the mirror periodically. Close-up mirrors exaggerate small gaps and make you want to “fix” hairs that look fine from a normal distance.
- Work in short bursts — remove a few hairs, then reassess — instead of tweezing continuously.
- Compare both brows against each other throughout, not just at the end.
- Stop as soon as the shape looks balanced, even if it’s not identical hair-for-hair.
How to Fix Uneven Eyebrows
Some asymmetry is completely normal — most people’s brows sit at slightly different heights or grow in slightly different directions. The goal is a balanced overall look, not identical brows.
- Strategic trimming: If one brow has noticeably longer hairs, trim just enough to match the general density of the other side.
- Targeted tweezing: Focus on the fuller brow rather than trying to “catch up” the sparser one by over-plucking it.
- Filling sparse areas: A brow pencil or powder can visually balance a thinner brow without removing anything from the other side.
- Brow gel: Brushing hair in a slightly different direction can change how full or arched a brow appears.
- Time: If a shaping session went too far, the most reliable fix is simply letting the brow grow back before shaping again.
- Professional help: If the unevenness is significant or long-standing, a brow specialist can often correct it faster and more precisely than continued at-home adjustments.
How to Create Natural-Looking Perfect Eyebrows With Makeup
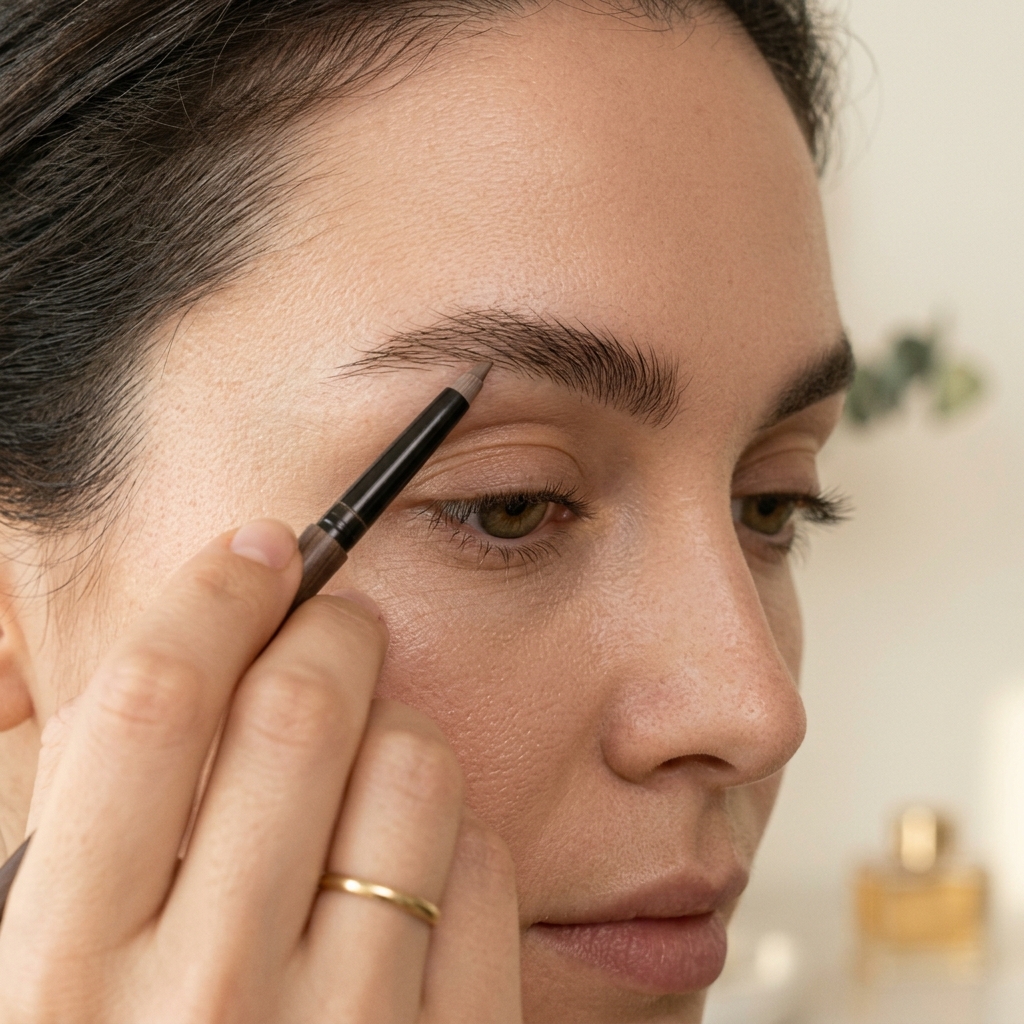
Makeup should extend your natural shape, not draw a new one on top of it.
- Brow pencil: Best for filling small gaps with individual hair-like strokes rather than solid lines.
- Brow powder: Gives a softer, more diffused fill — good for a natural daytime look.
- Brow gel: Tints and holds hair in place; useful on its own for very full brows.
- Brow pomade: Longer-wearing and more pigmented — best for sparse brows that need more visible definition.
- Brow pen: Similar to a pencil but often finer-tipped, good for precise hair strokes.
- Clear brow gel: Holds shape without adding color — a good “no-makeup” finishing step.
The most common overcorrection is drawing brows thicker or straighter than the natural shape underneath, which reads as obviously “drawn on.” Filling in the direction hair actually grows, and stopping just short of your mapped end point rather than extending past it, keeps the result looking like skin and hair rather than product.
Common Eyebrow Shaping Mistakes to Avoid
- Over-plucking from the top of the brow instead of below and between.
- Squaring off the front of the brow too sharply, which can look harsh against a soft face shape.
- Trying to make both brows perfectly identical instead of balanced.
- Creating an arch that’s higher or more angular than your natural bone structure supports.
- Extending the tail of the brow too far past the mapped end point.
- Choosing brow makeup that’s darker than your natural hair color, which can look heavy.
- Trimming too aggressively in one pass instead of checking length gradually.
- Removing hair before mapping start, arch, and end points.
- Using dull tweezers or old razors, which pull hair instead of cutting cleanly.
- Shaping too frequently — brows need time to regrow evenly between sessions.
How to Maintain Your Eyebrow Shape
- Weekly: Brush brows into shape with a spoolie and remove only the one or two stray hairs that have grown outside your mapped lines.
- Every 3–4 weeks: Do a full reassessment — remap if your natural growth pattern has shifted, and address any hairs that have grown back inside the shape.
- Ongoing: Keep tools clean between uses, and avoid sharing tweezers, razors, or scissors with anyone else.
Light, frequent maintenance keeps the shape intact without the need for a dramatic reshaping session every time.
Best Eyebrow Tools and Products for At-Home Brow Shaping
A small, well-chosen tool kit covers nearly everything in this guide:
| Brow Tool | What It Does | Beginner Use |
|---|---|---|
| Slant-tip tweezers | Grips individual hairs close to the root | Best for most at-home tweezing |
| Brow scissors | Trims overly long hairs after brushing up | Use sparingly, small snips only |
| Spoolie brush | Brushes hair into place before and after shaping | Use before mapping and after filling |
| Brow pencil | Fills sparse areas with hair-like strokes | Good for beginners learning to fill naturally |
| Brow gel | Sets shape and adds light tint | Finishing step after filling |
| Brow razor | Removes fine surface hair between sessions | Maintenance only, not full reshaping |
See our full eyebrow makeup guide for a deeper look at filling techniques, product textures, and how to build definition without overdoing it.
AMAZON PRODUCT RECOMMENDATION SECTION
This post may contain affiliate links. If you purchase through them, Emrald Lifestyle may earn a small commission at no extra cost to you.
The categories below match the tools referenced throughout this guide. Specific product names, prices, ratings, and availability have not been included, since current Amazon listings cannot be verified here — insert verified product links before publishing.
Slant-tip tweezers.
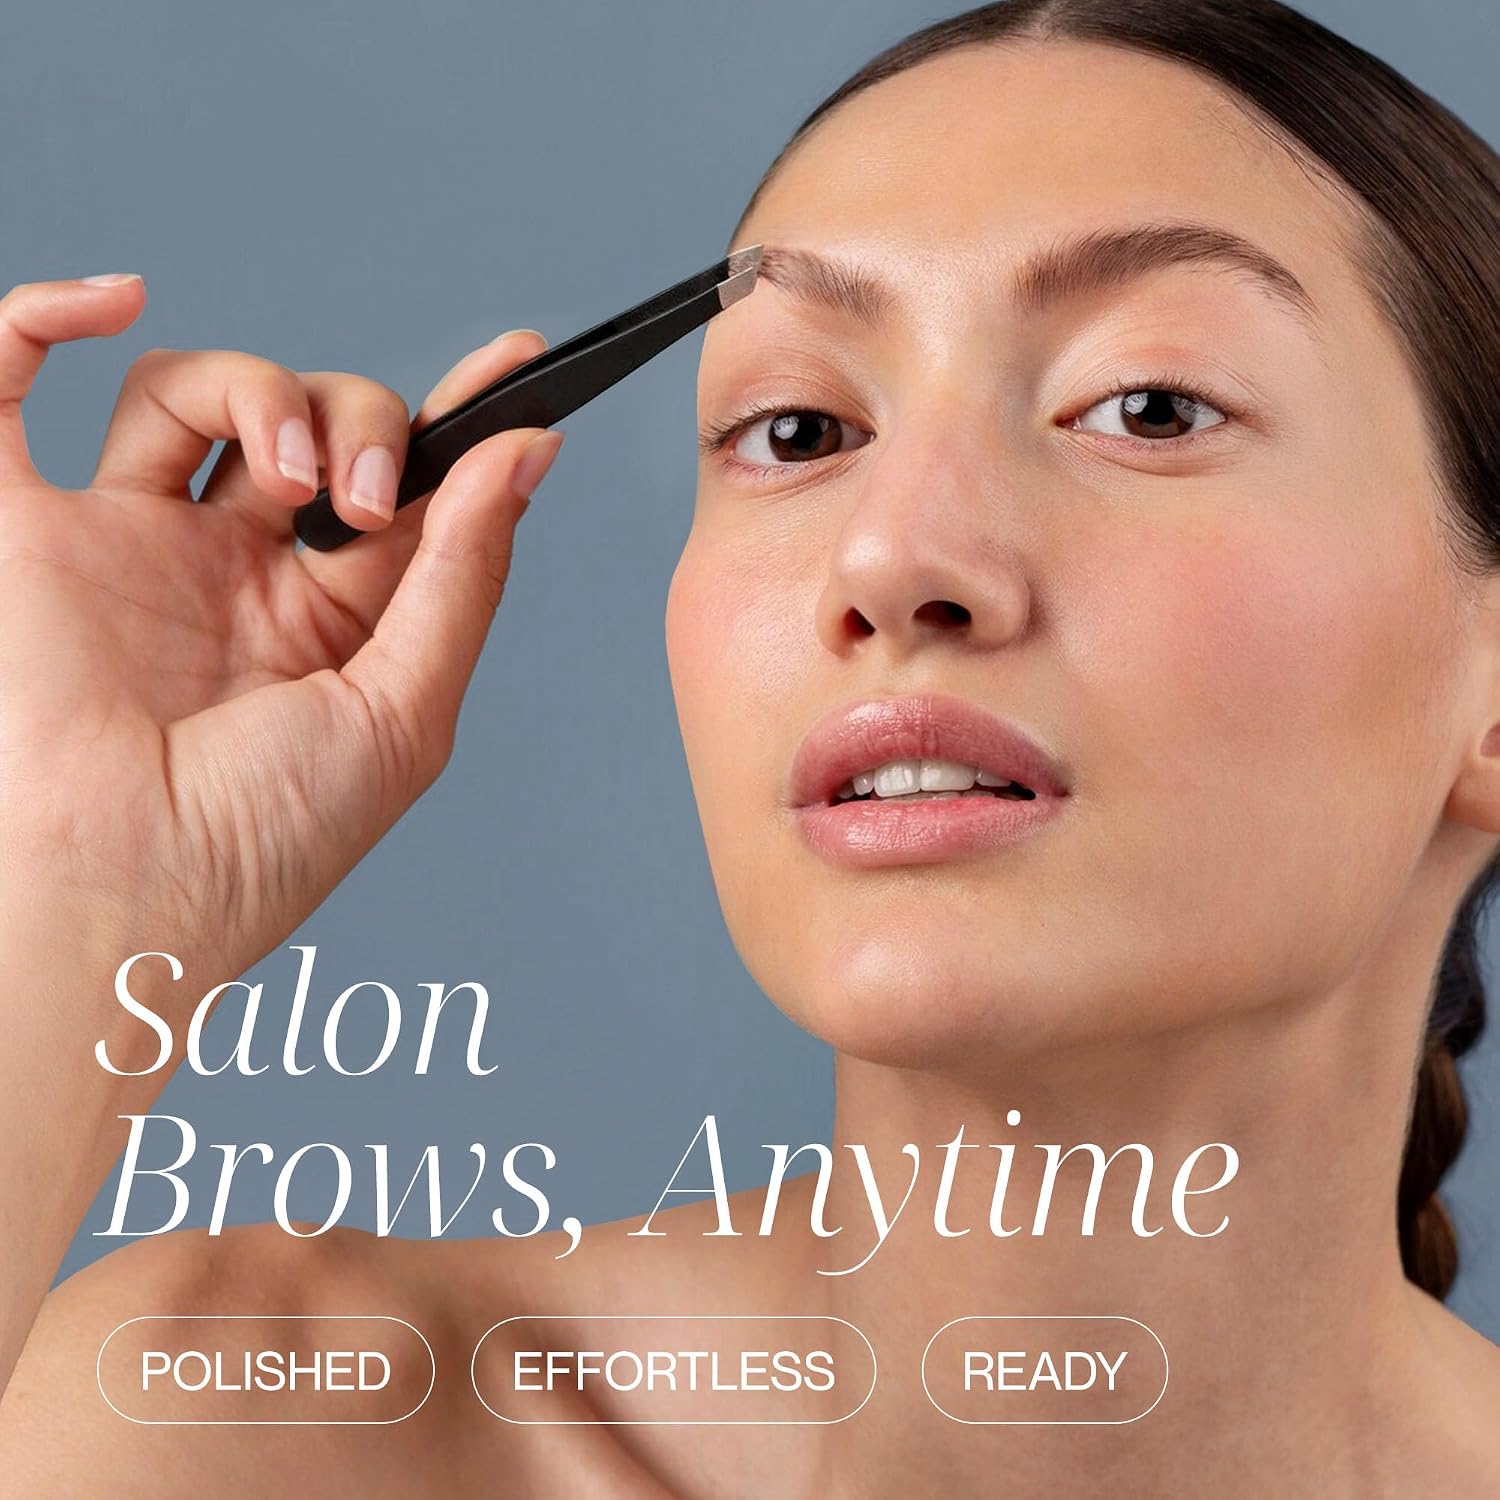
The core tool for the mapping and tweezing steps in this guide. Look for a firm, precise grip and a slanted tip for close-to-root removal. Buy on Amazon
Brow scissors

Used for the trimming step; a small, curved blade makes it easier to trim only the tips of longer hairs. Buy on Amazon
Spoolie brush (or dual-ended brow brush)
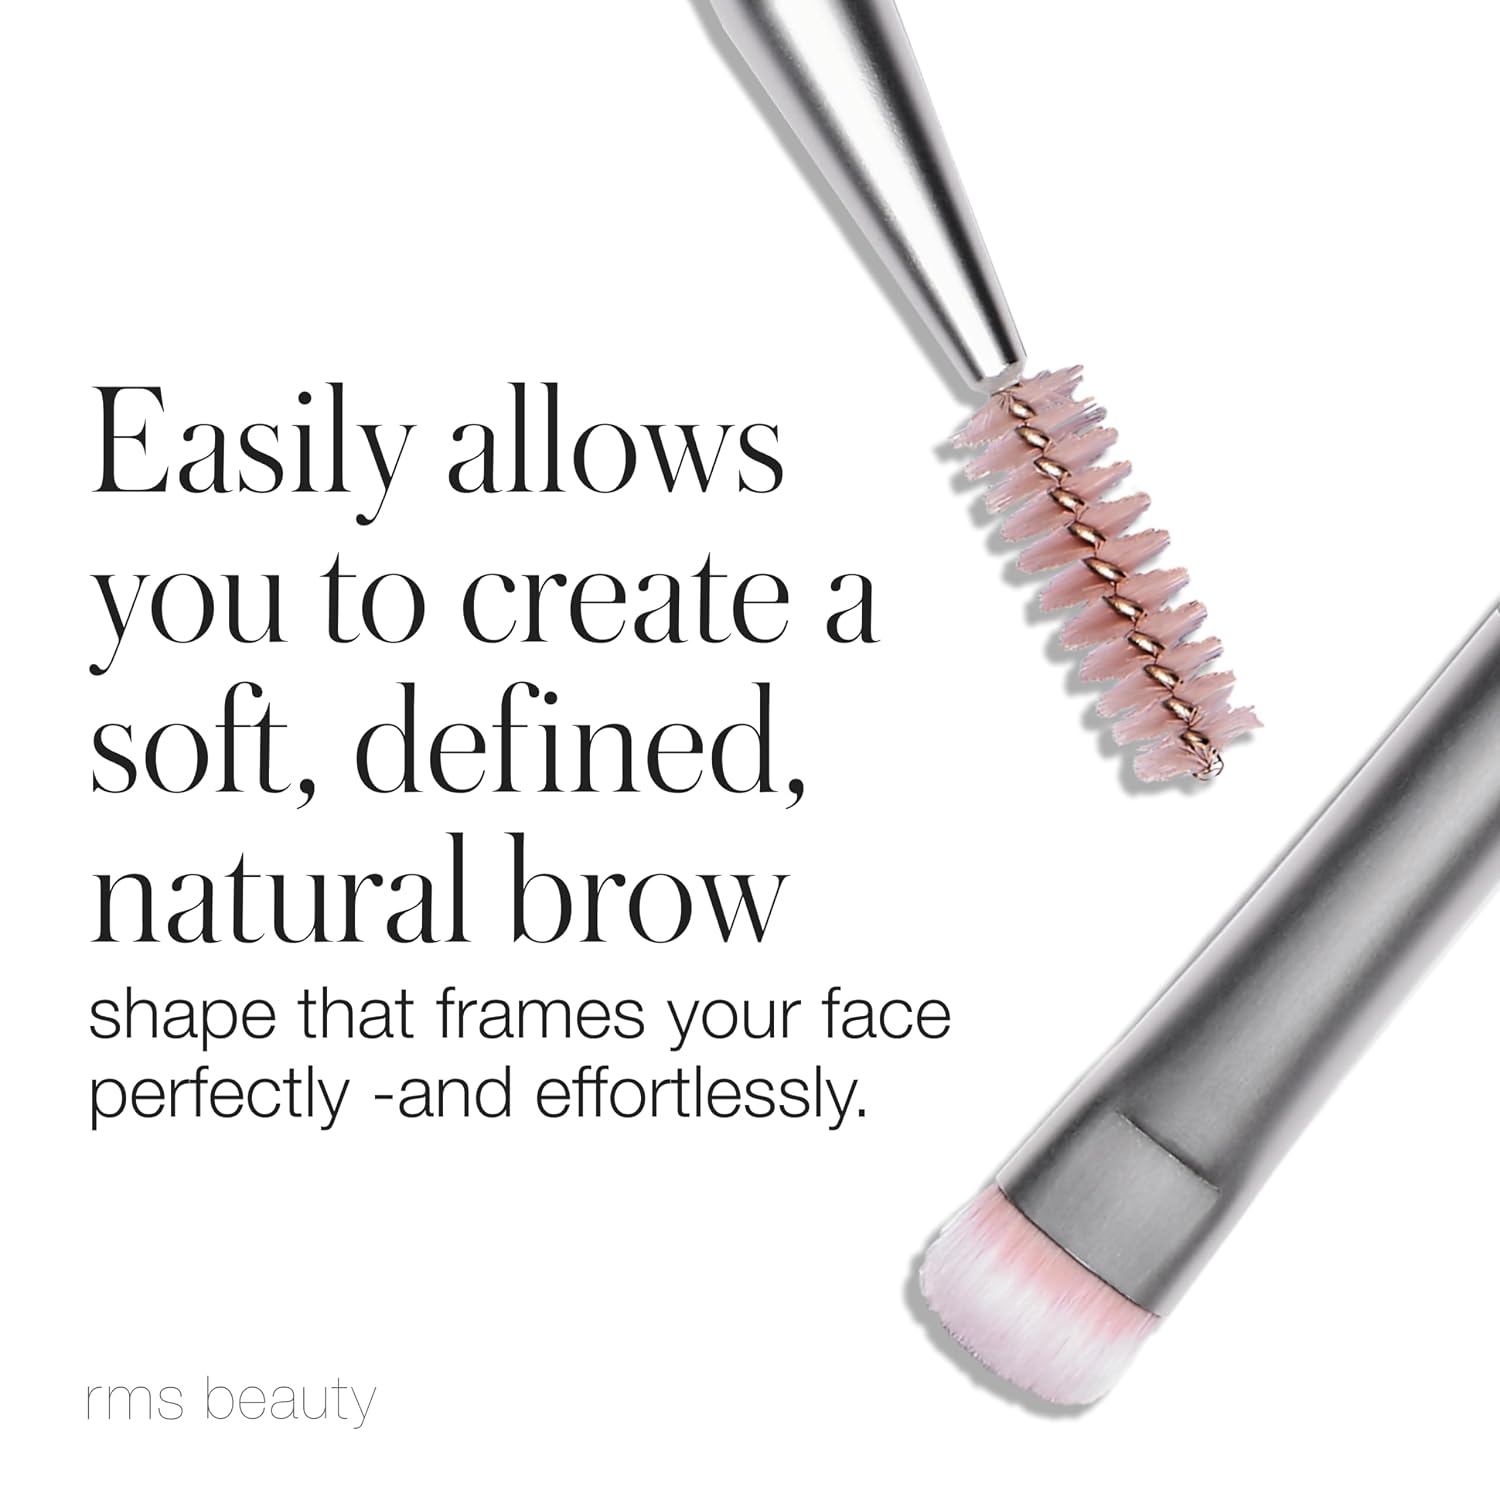
Needed before mapping and after filling; a stiff-bristle spoolie holds shape best. Buy on Amazon
Brow pencil

For filling sparse areas with hair-like strokes; a fine, retractable tip is easiest for beginners. Buy on Amazon
Tinted brow gel

Sets the shape and adds light color in the final step of the tutorial. Buy on Amazon
Brow mapping tool/stencil kit
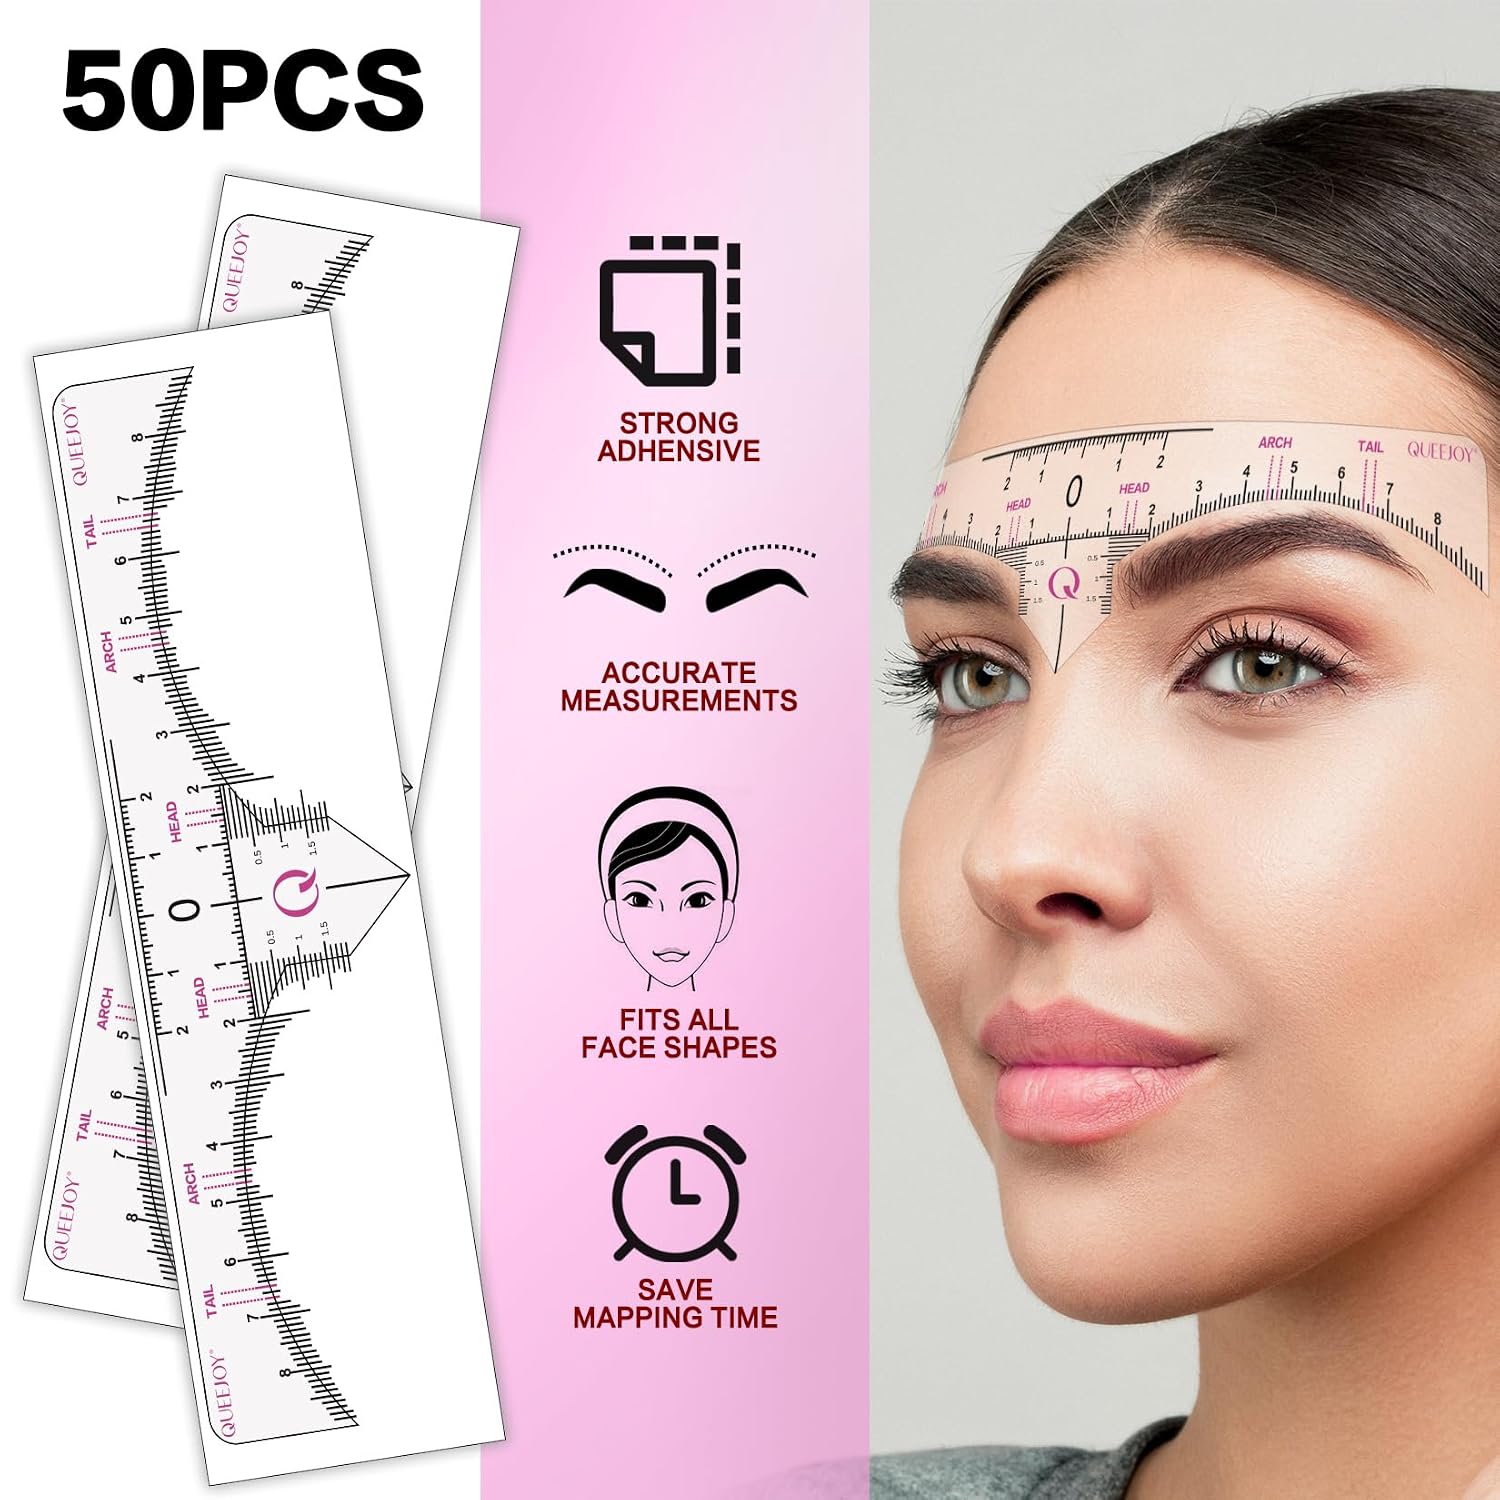
An optional aid for the 3-point mapping method, useful for beginners who want a guided version of the pencil technique. Buy on Amazon
Frequently Asked Questions
How often should you shape your eyebrows? Most people do well with a full shaping session every 3–4 weeks, with light weekly touch-ups in between to remove the occasional stray hair.
Is it better to tweeze or thread eyebrows? Tweezing offers more control and is easier to do accurately at home; threading can create a slightly crisper line but is generally best done by an experienced professional.
How do I know where my eyebrow should start? Hold a straight tool vertically against the outer edge of your nostril — where it meets your brow bone is a reliable starting point.
Where should my eyebrow arch be? Angle the tool from the outer edge of your nostril through the outer edge of your iris; where it crosses the brow bone marks a natural arch position.
How can I make uneven eyebrows look more even? Focus tweezing on the fuller brow rather than over-plucking the sparser one, and use a pencil or powder to fill in any gaps so both brows read as similar in shape and density.
How long does it take for over-plucked eyebrows to grow back? Brow hair typically takes several weeks to a few months to fully regrow, and growth speed varies by person — patience and avoiding further tweezing in that area both help.

The Takeaway
Perfect eyebrows aren’t identical eyebrows — they’re brows that follow your bone structure, sit in balance with each other, and hold up without needing constant correction. Mapping before you shape is what actually prevents the over-plucked, uneven look most people are trying to avoid in the first place.
Start slow, recheck your work from a distance, and let your natural shape do most of the work. If you want to go further with definition and color, our eyebrow makeup guide picks up exactly where this one leaves off — and if you’re building out a full at-home beauty routine, our nail and skincare guides on Emrald Lifestyle are a good next stop.
Before publishing, confirm each product is currently in stock, pull the live price and star rating directly from the Amazon listing, and update the affiliate link accordingly. Do not carry over any placeholder text into the live post.